
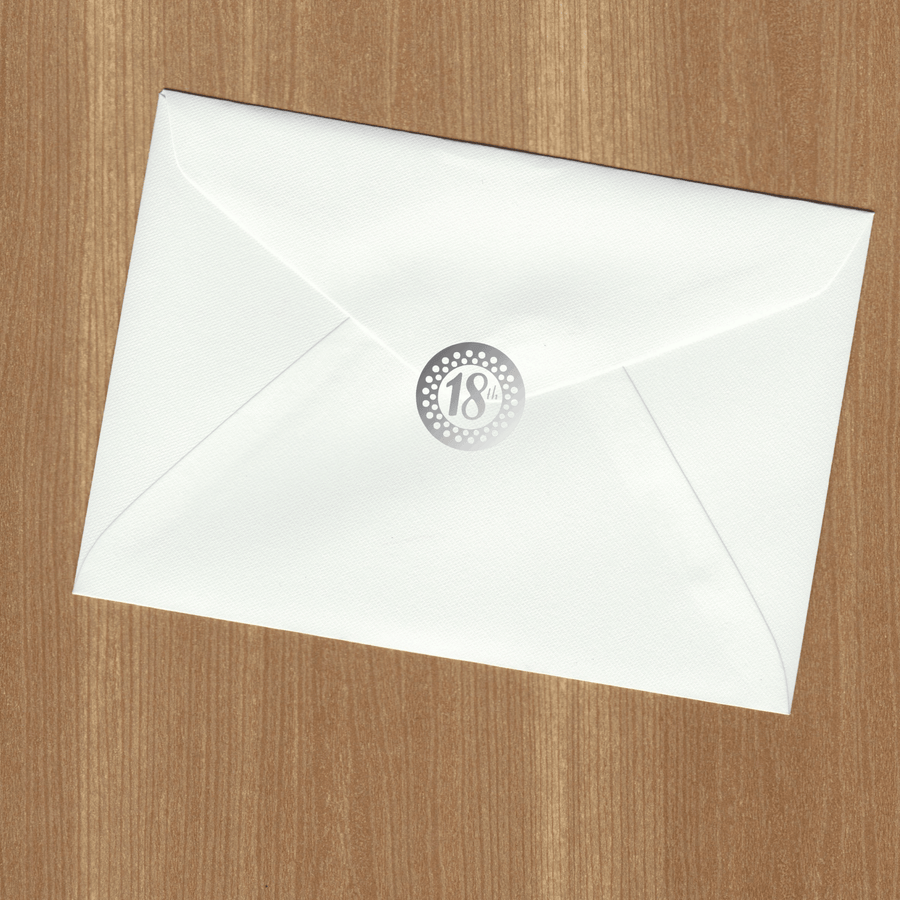

18th Birthday Silver Envelope Seal (pack of 36)
$2.50
Round laser cut 18th envelope sticker seals. Can be used for birthday or anniversary. Metallic...

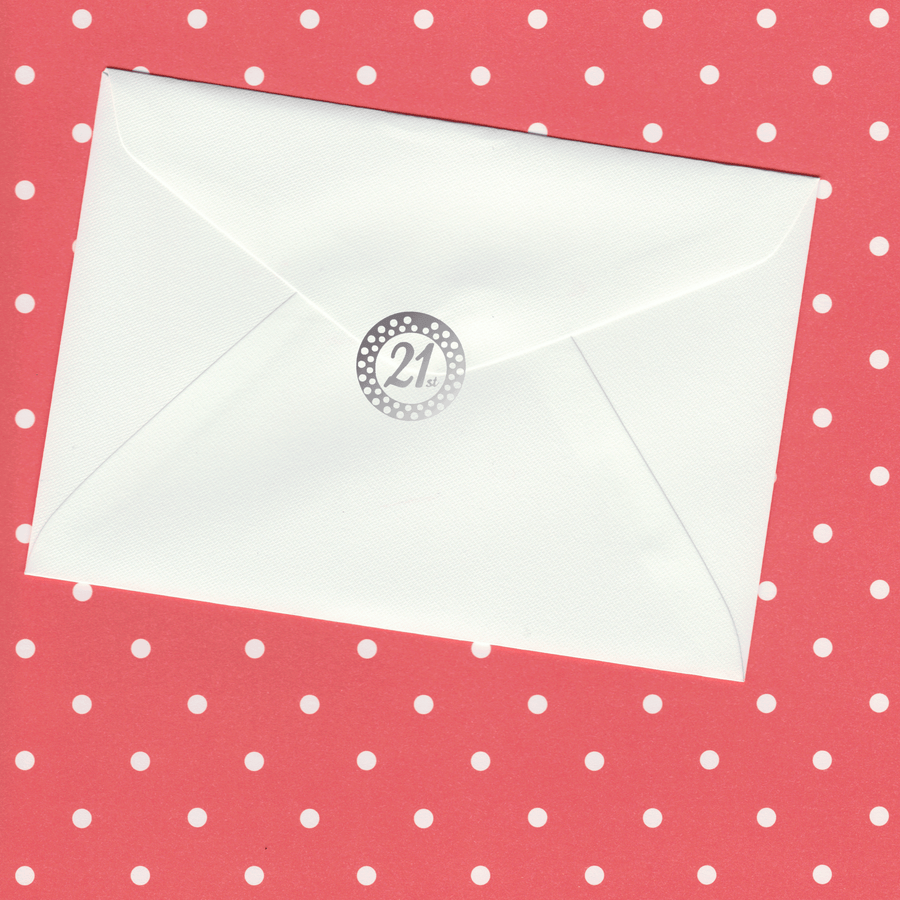
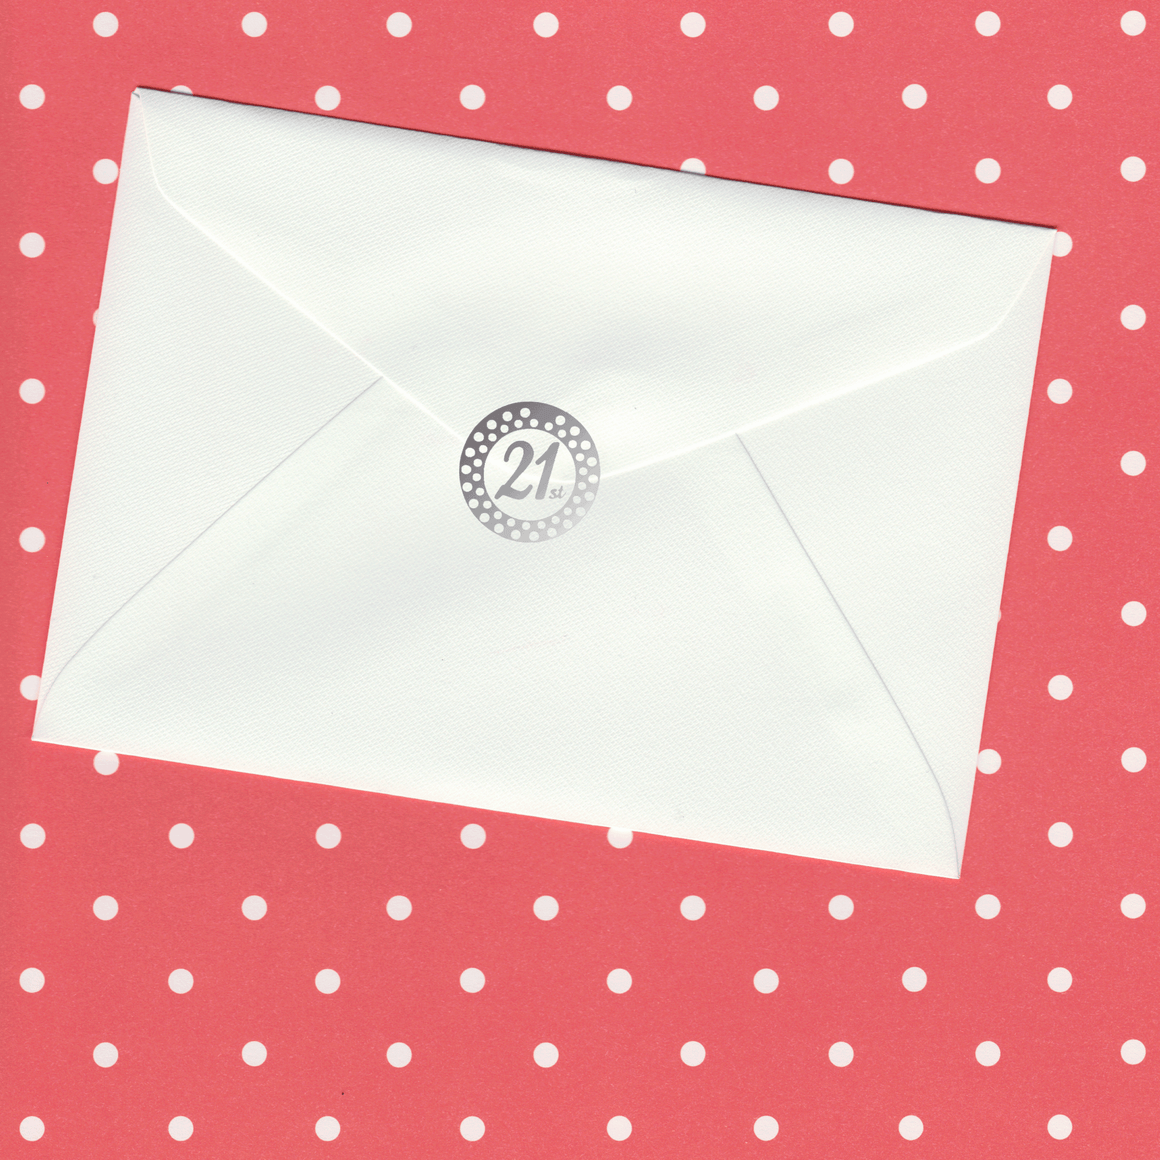
21st Birthday Silver Envelope Seal (pack of 36)
$2.50
Round laser cut 21st envelope sticker seals. Can be used for birthday or anniversary. Metallic...

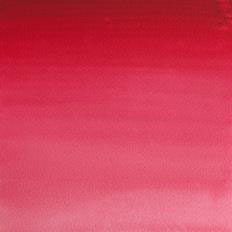

Alizarin Crimson - Winsor & Newton Cotman
$9.95
Alizarin Crimson - Cotman - is a Winsor and Newton studio quality watercolor paint. 8ml...
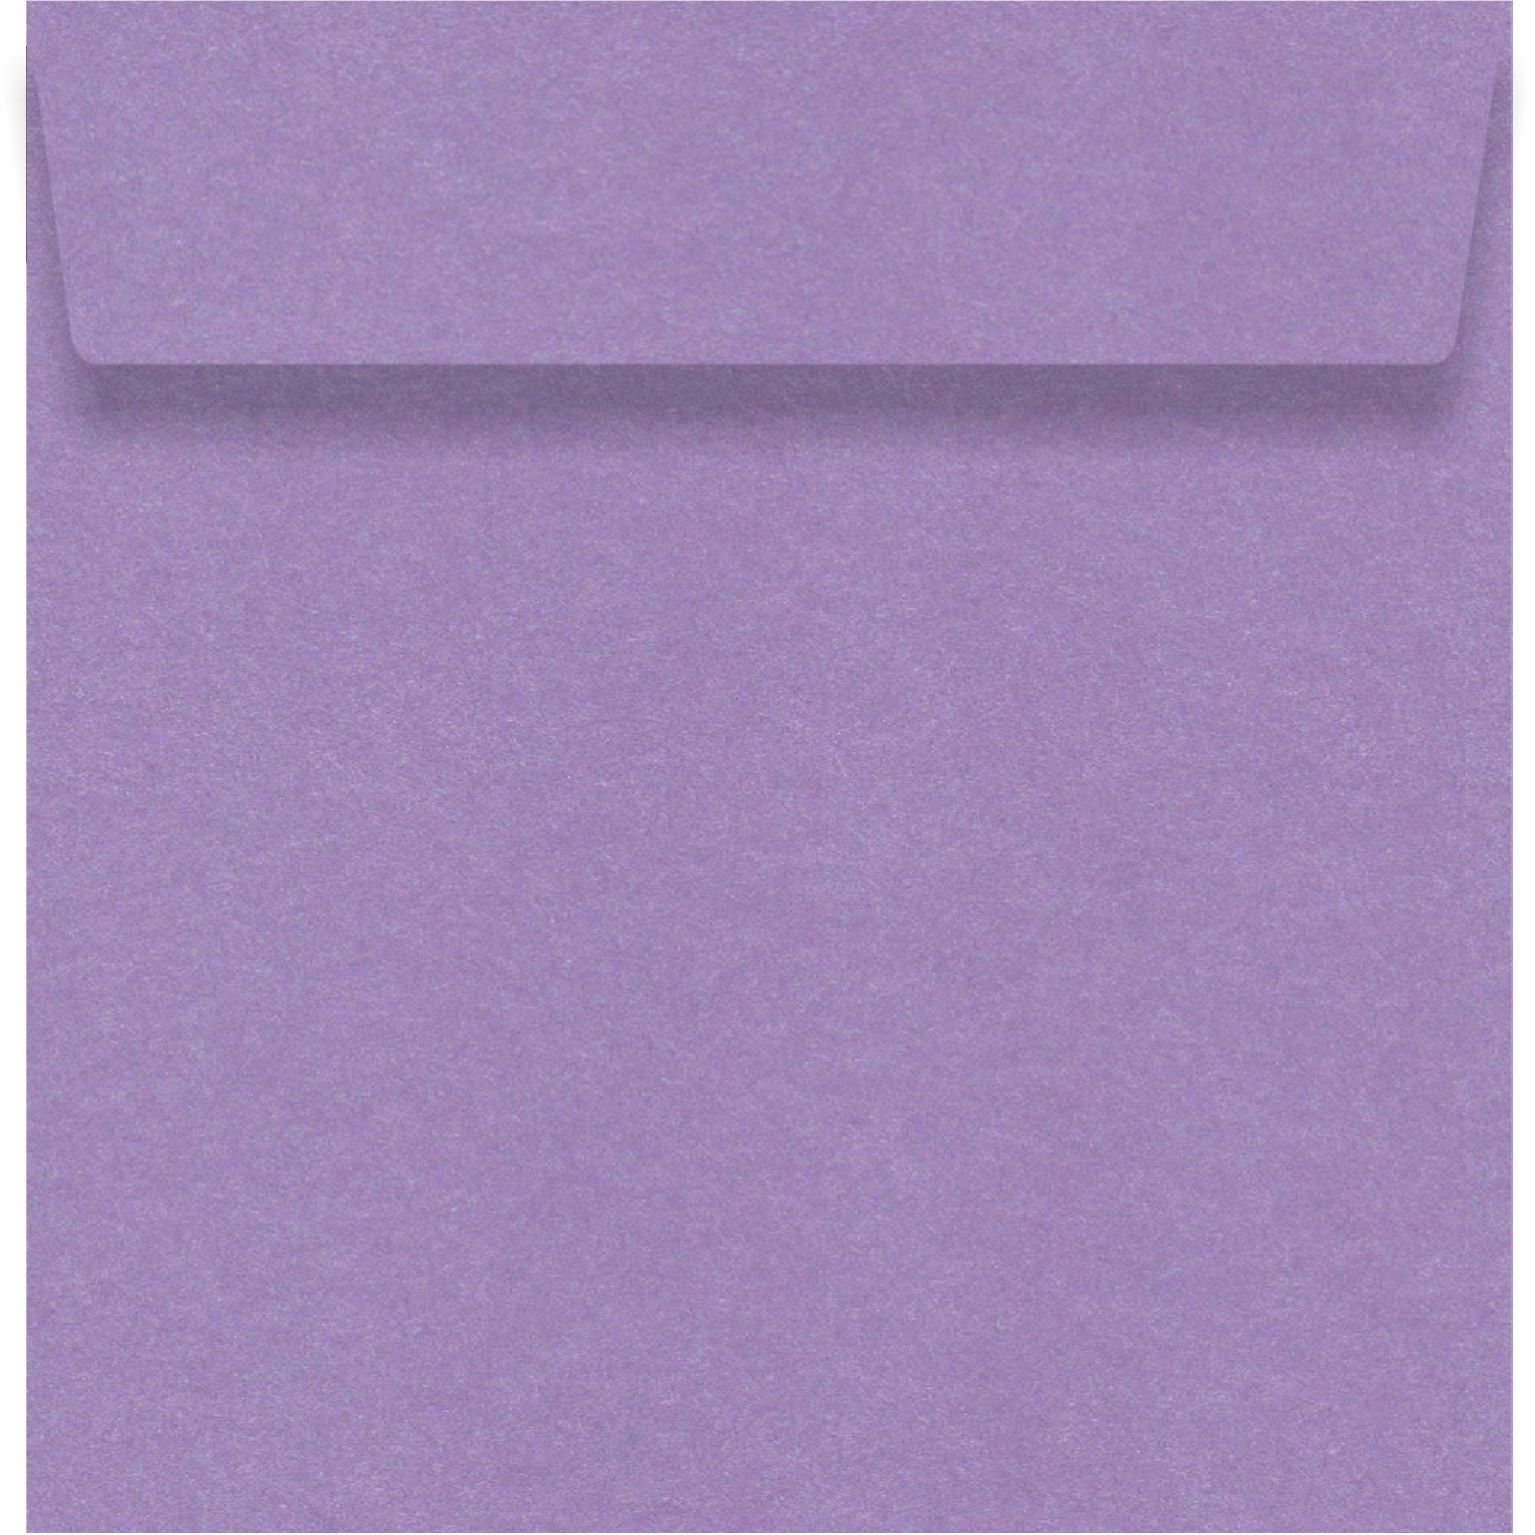
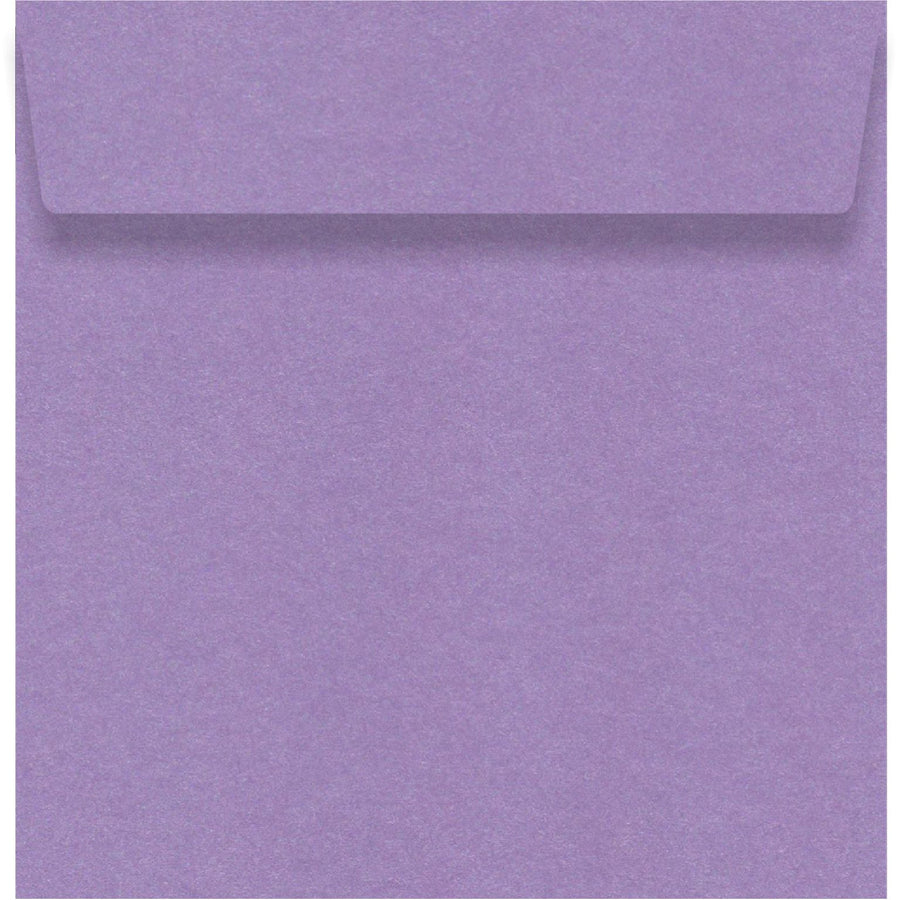
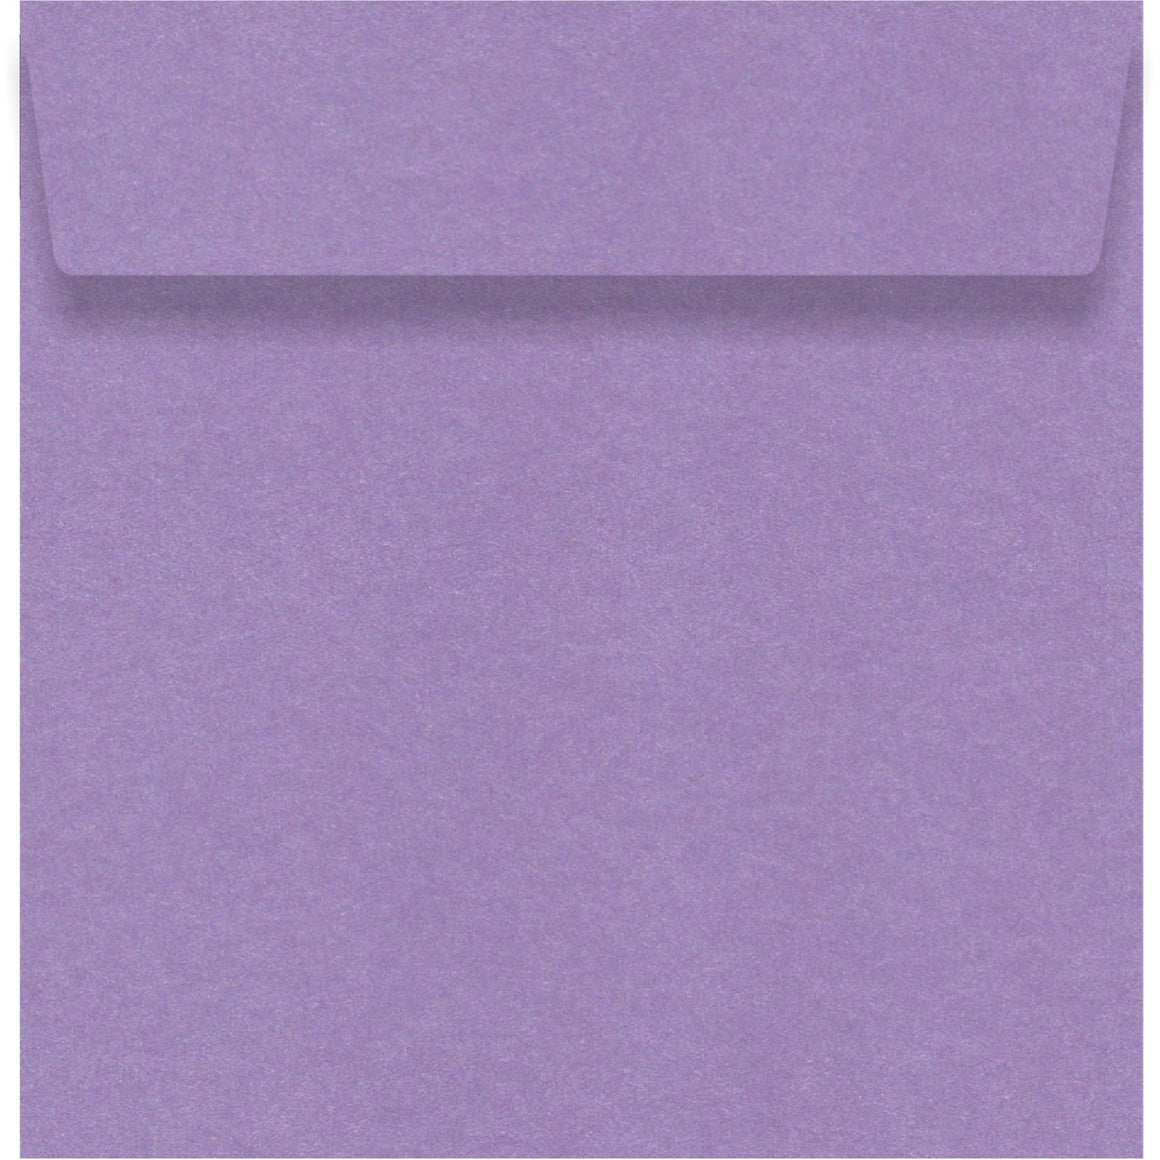
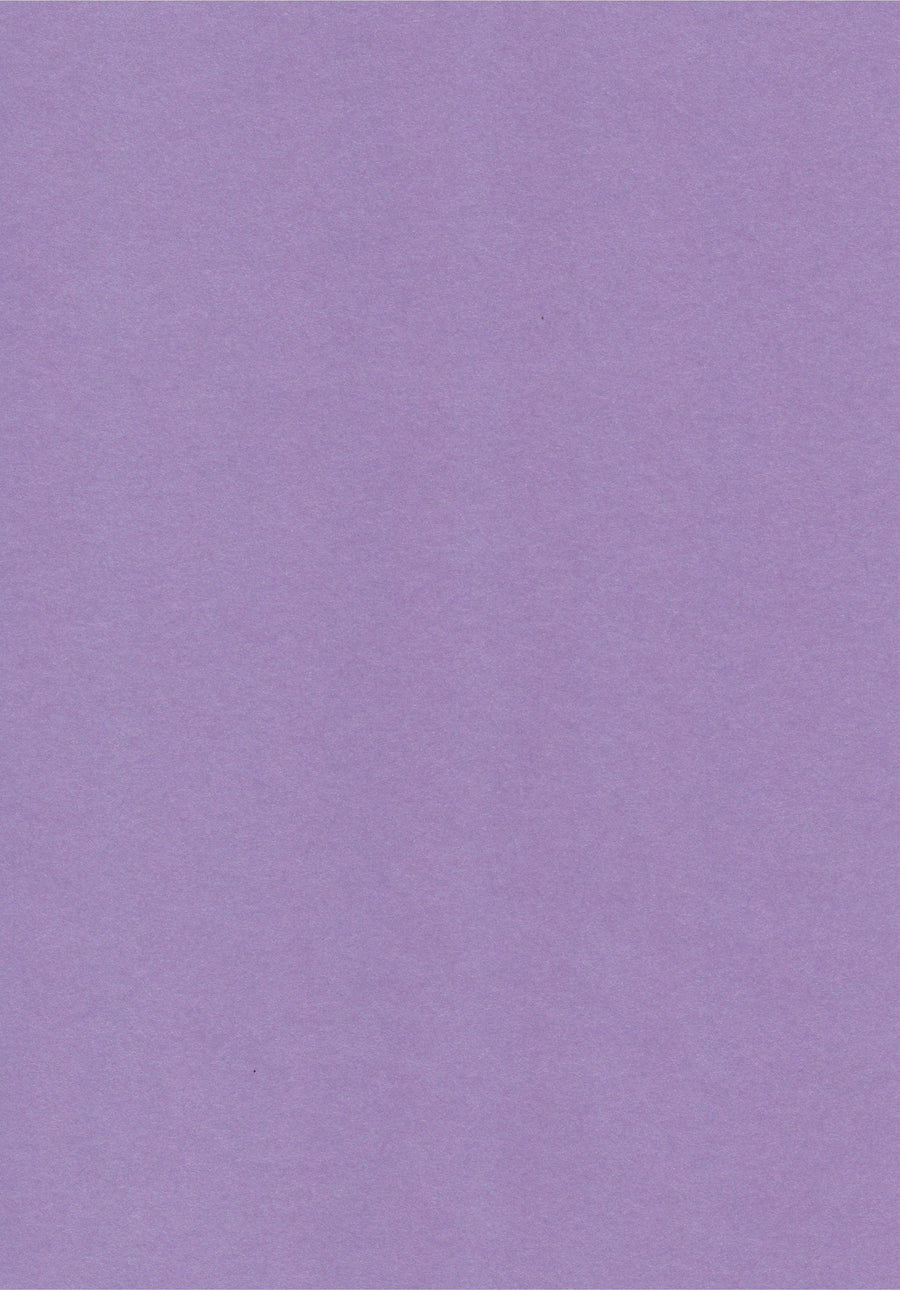
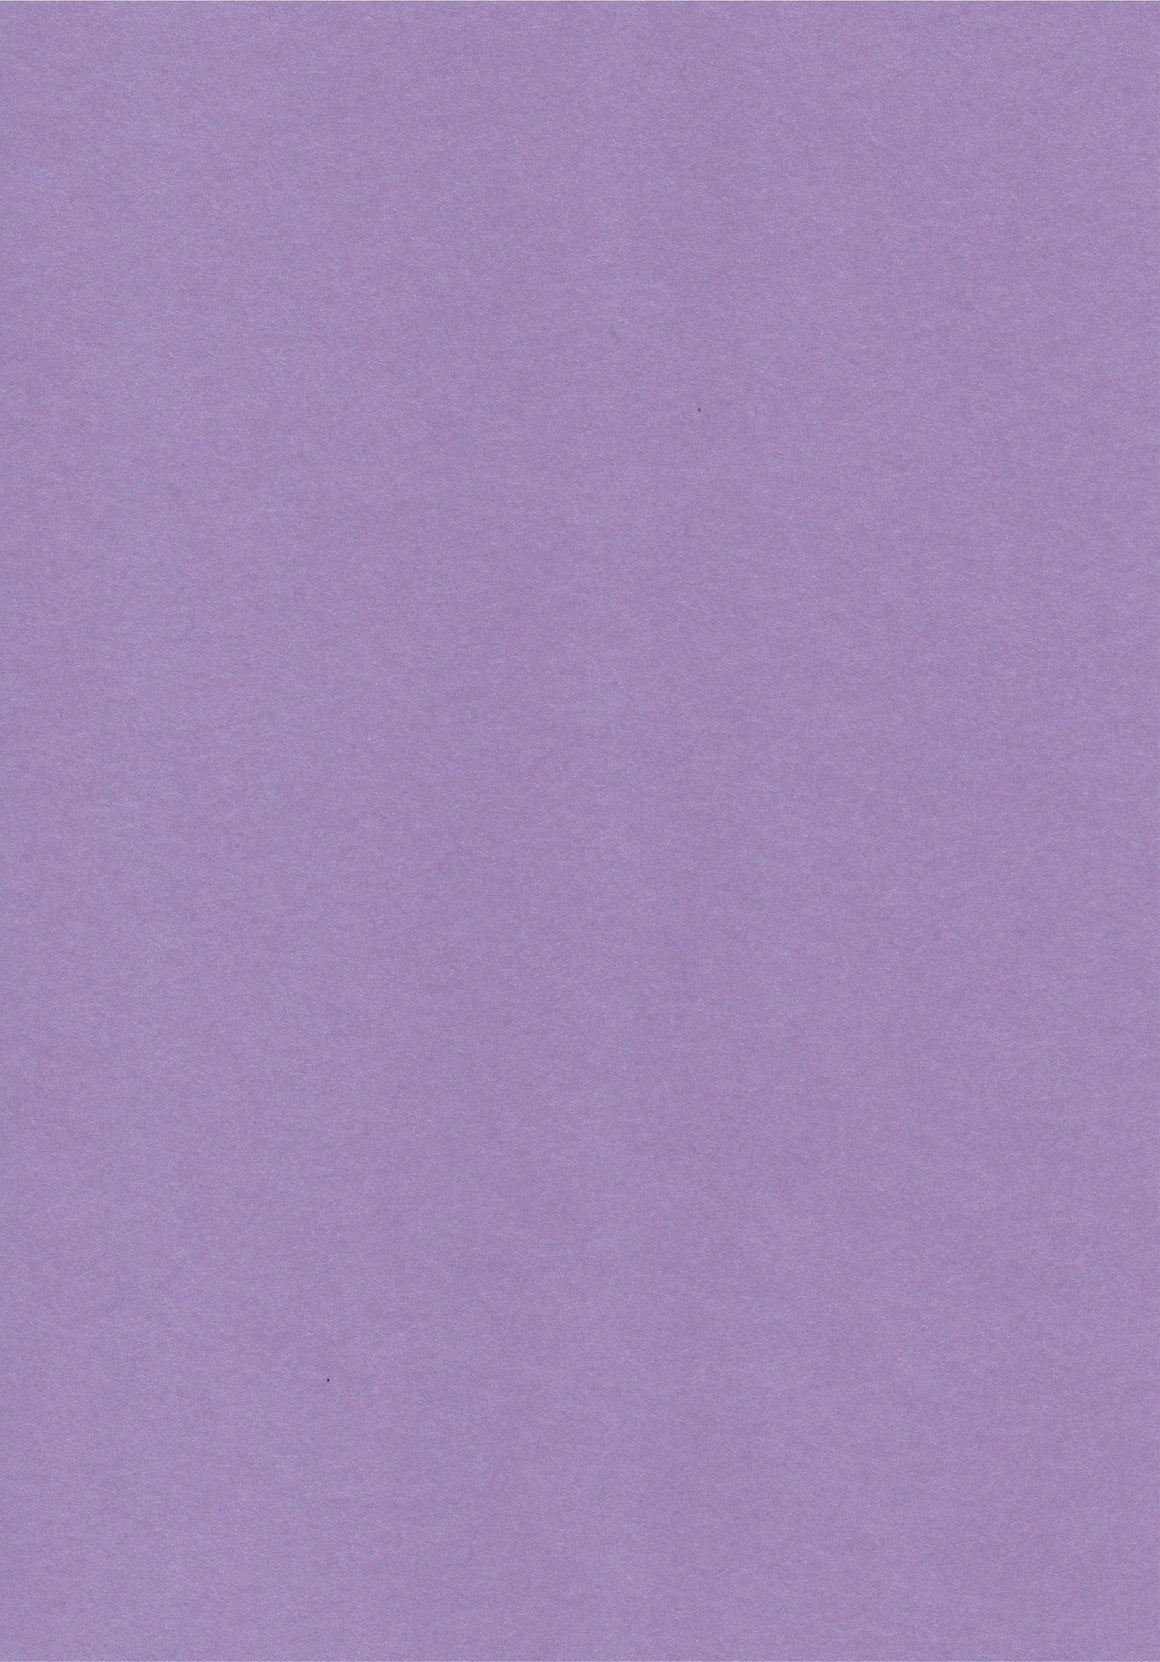
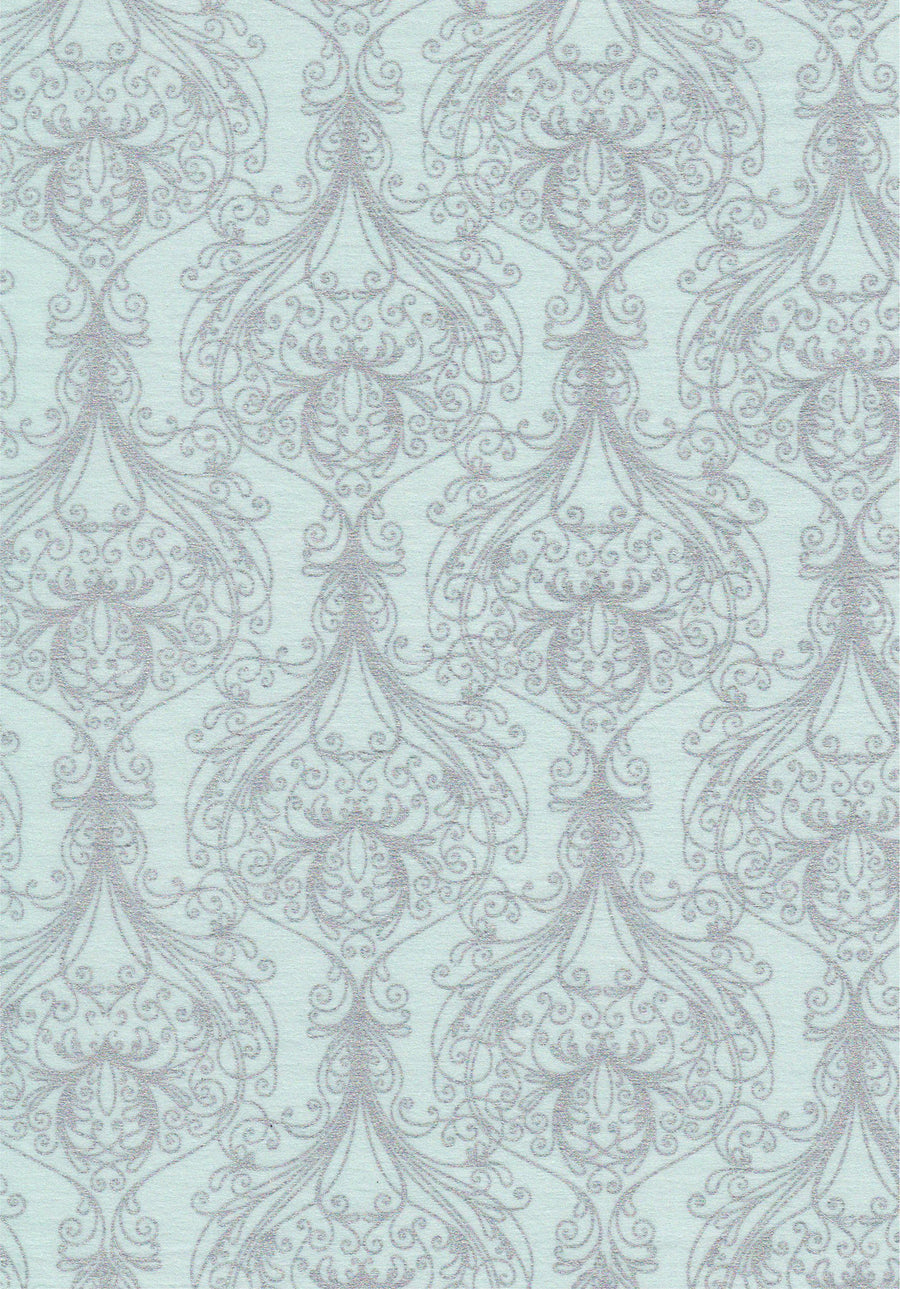
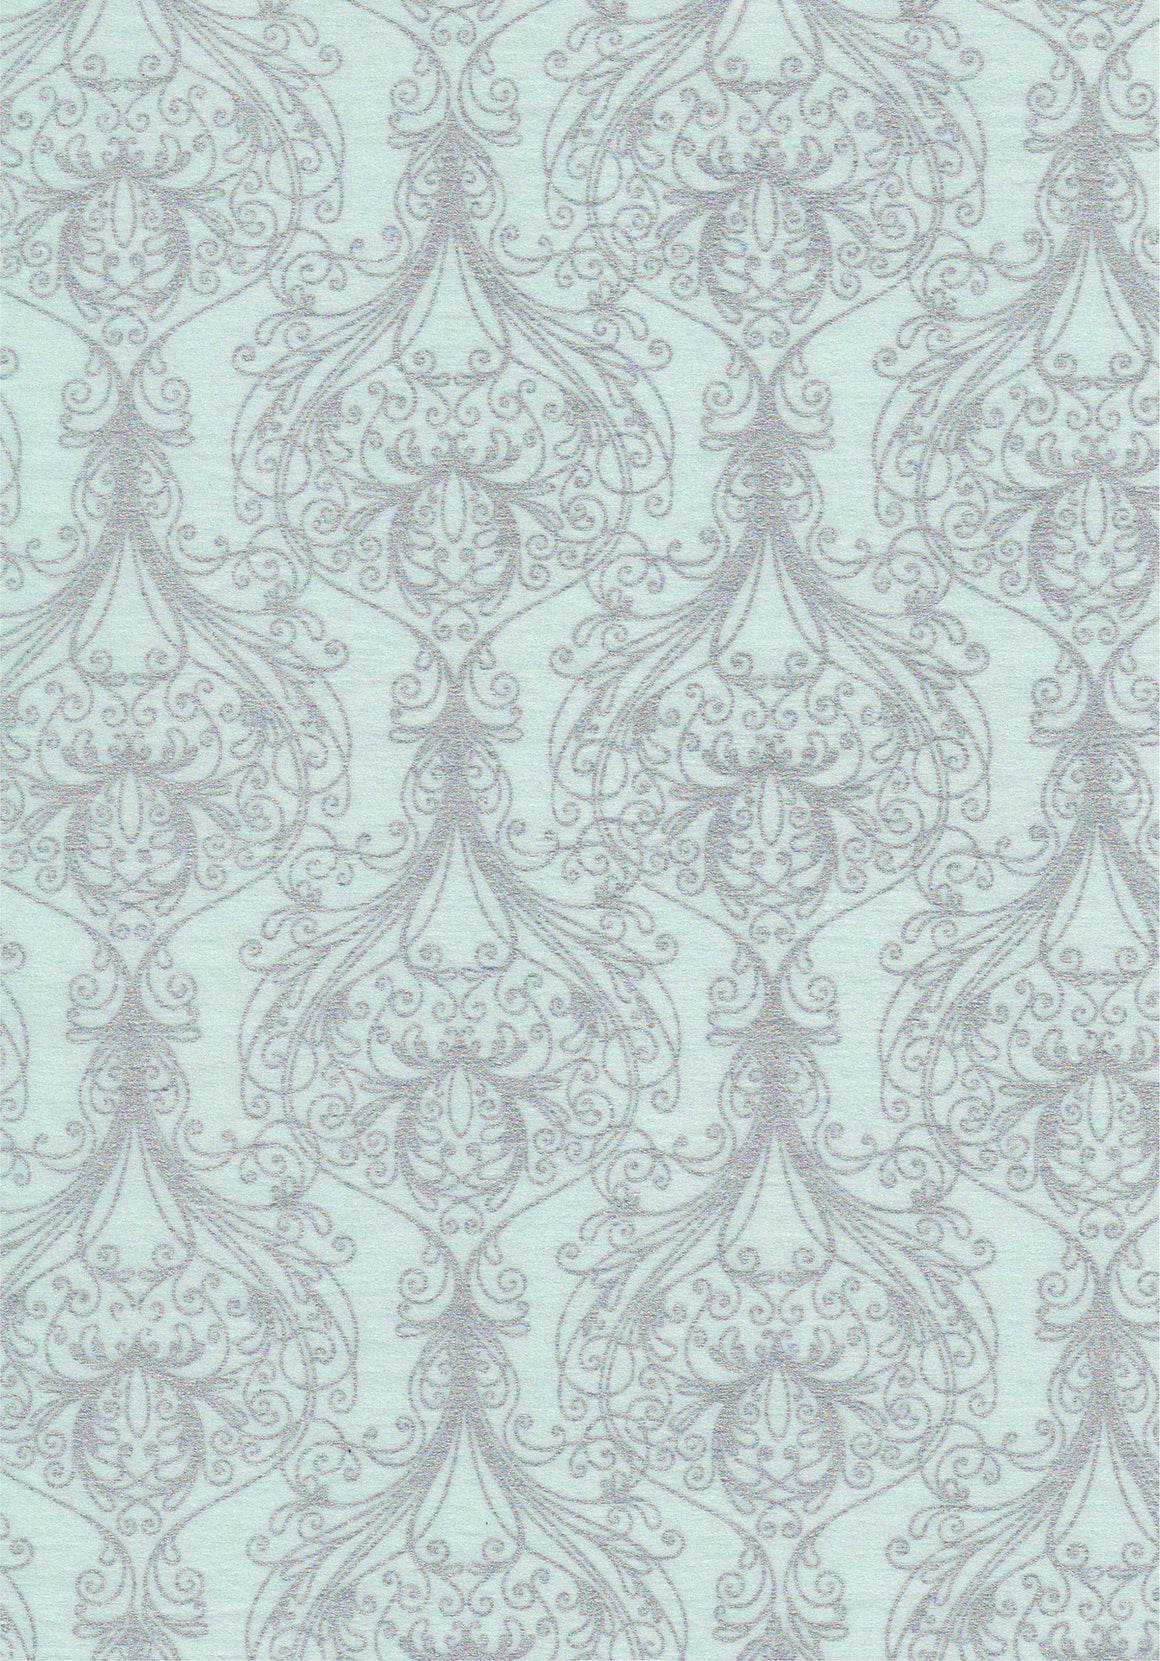
Amethyst 130 x 130mm
$0.30 $0.60
Amethyst square envelopes are made from a soft violet 120gsm metallic paper-stock. This wallet style...
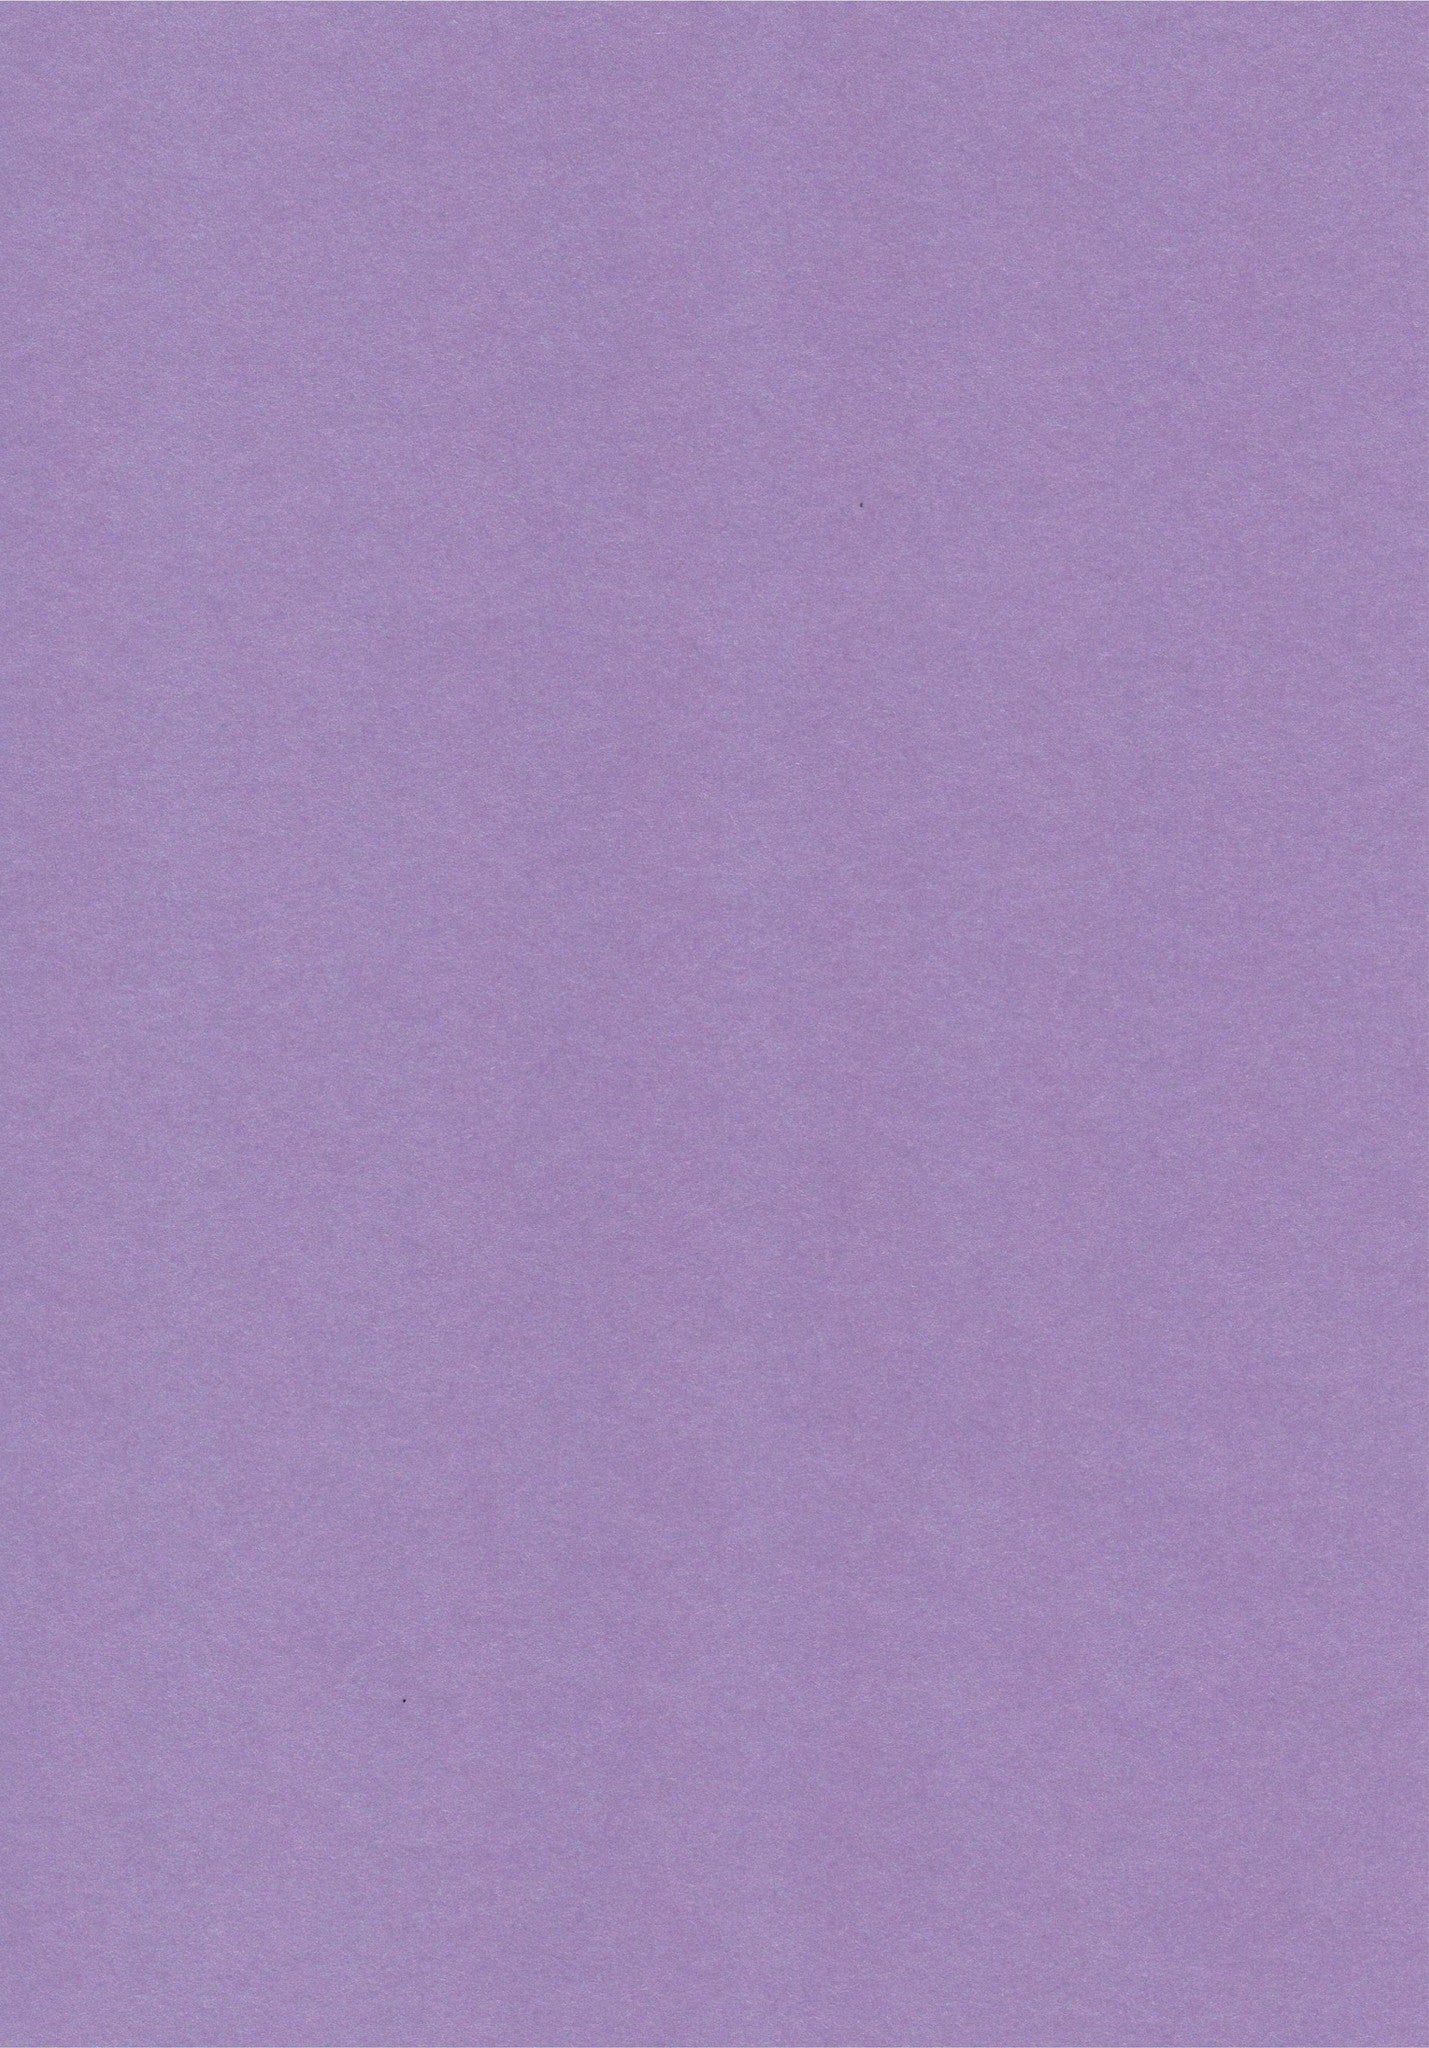
Amethyst A4 Card
$0.40 $1.50
Soft violet quartz hue set on iridescent 285gsm card-stock. This acid free card is double...
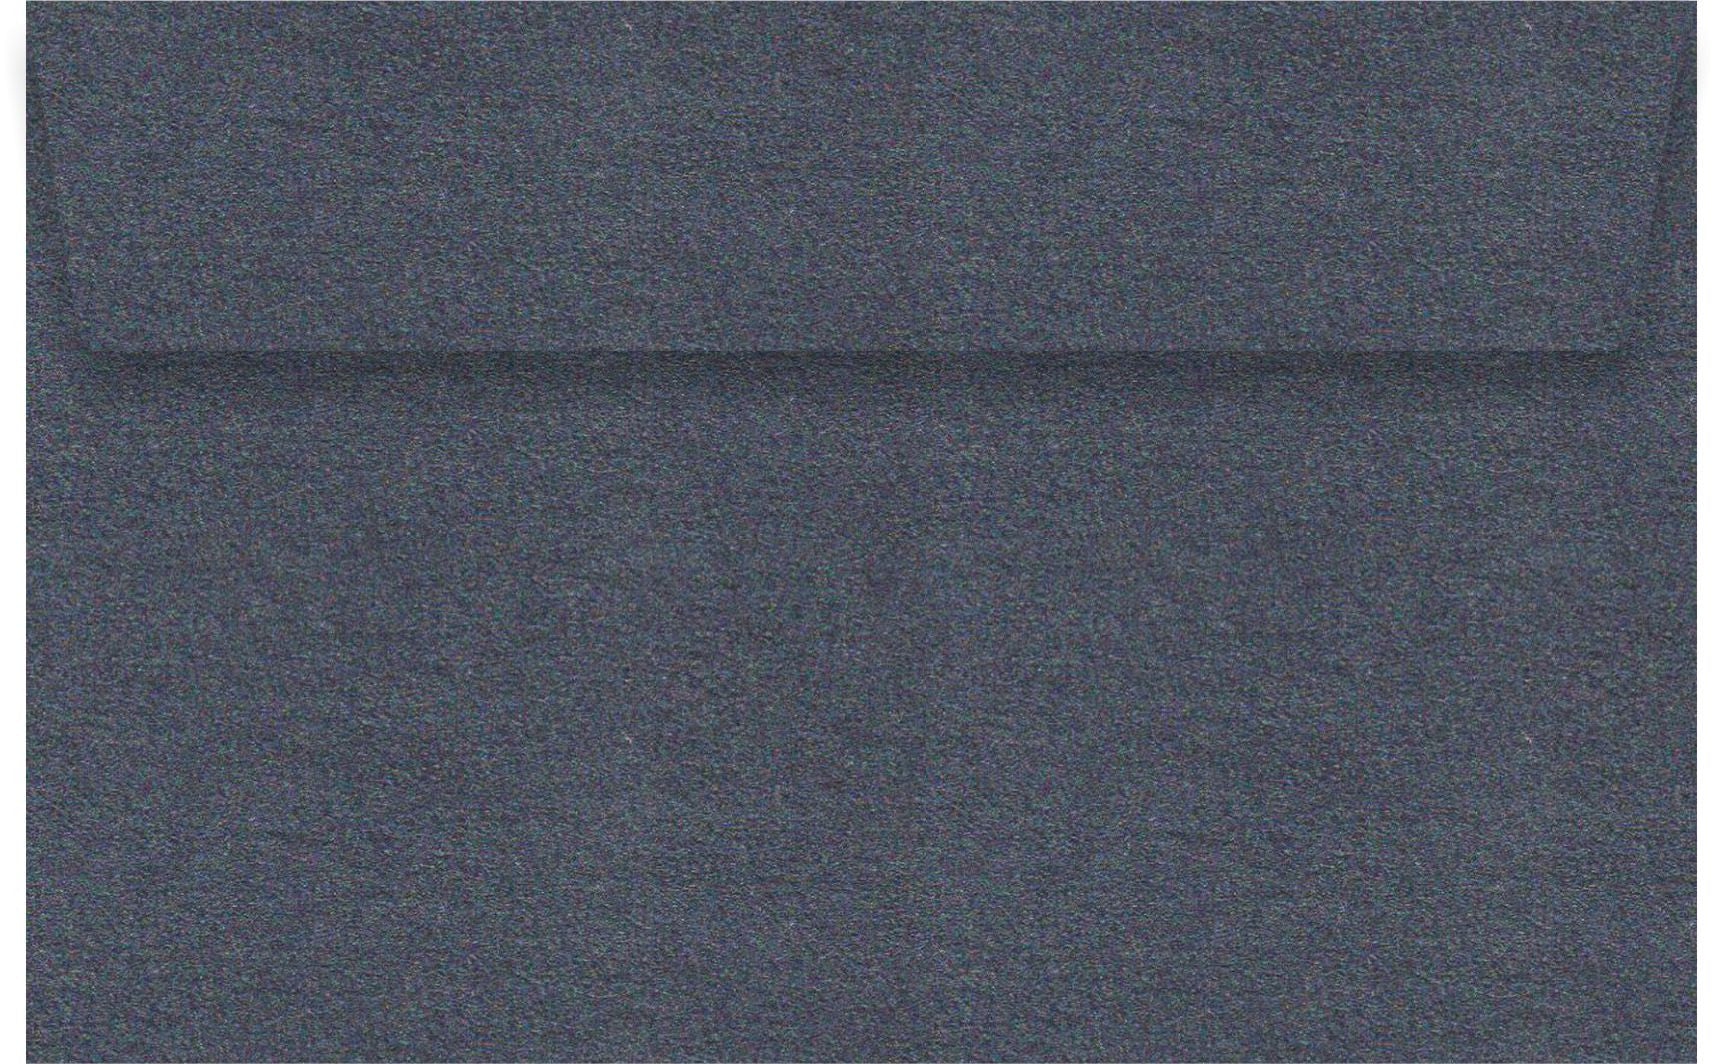
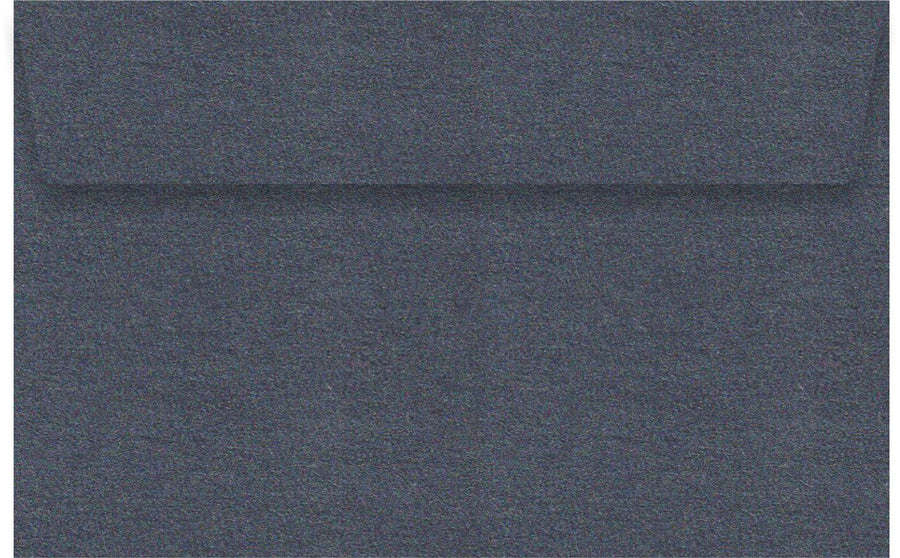
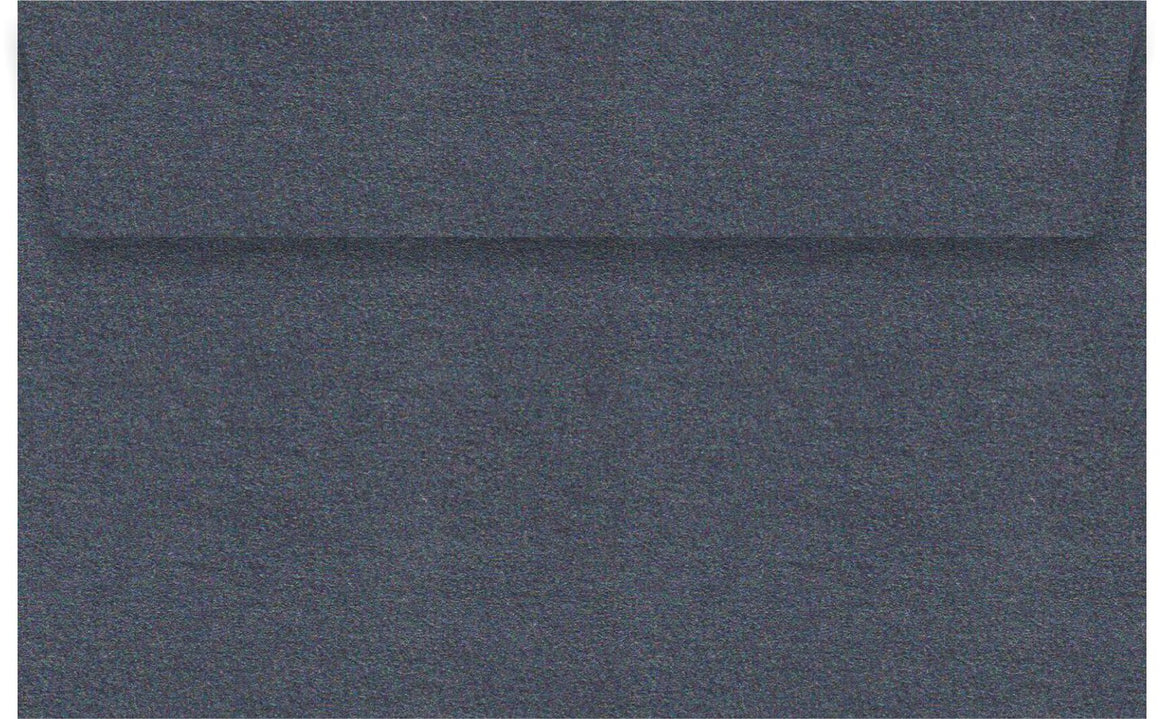
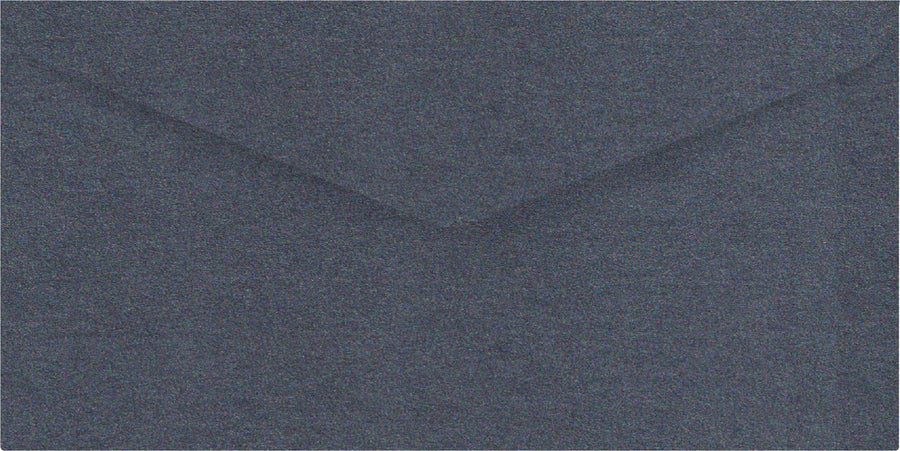
Anthracite 11B Envelopes
$0.20 $0.55
Anthracite 11B envelopes are made from a charcoal black 120gsm metallic paper-stock. This wallet style...

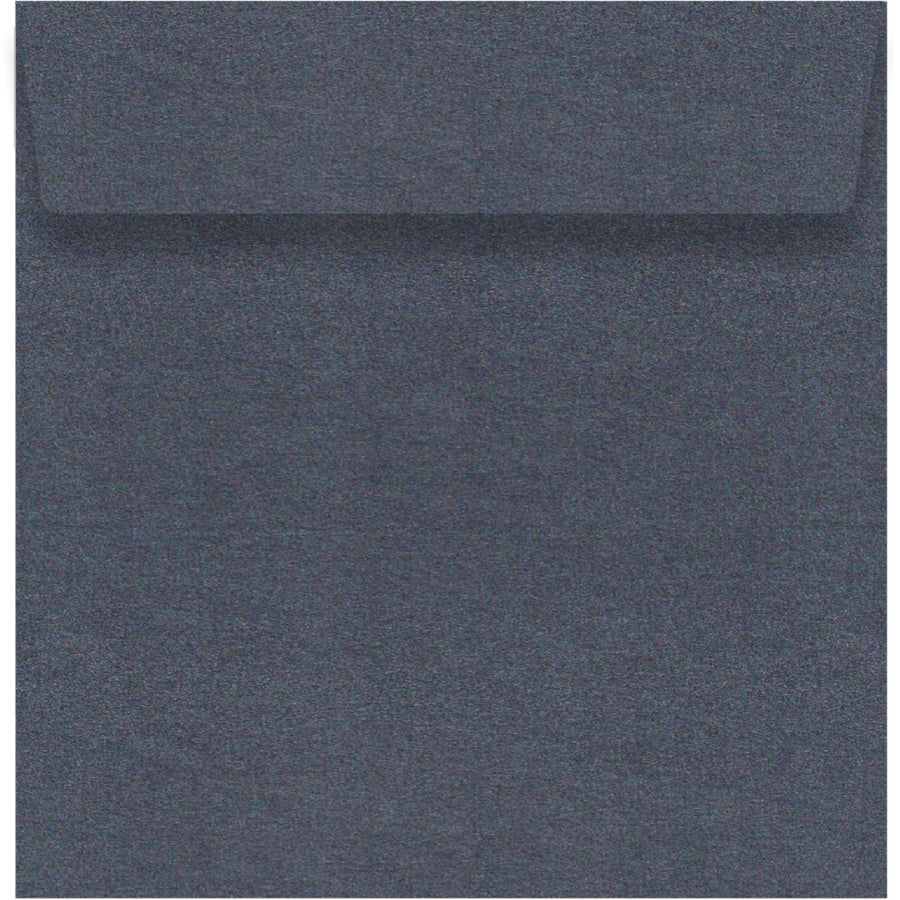
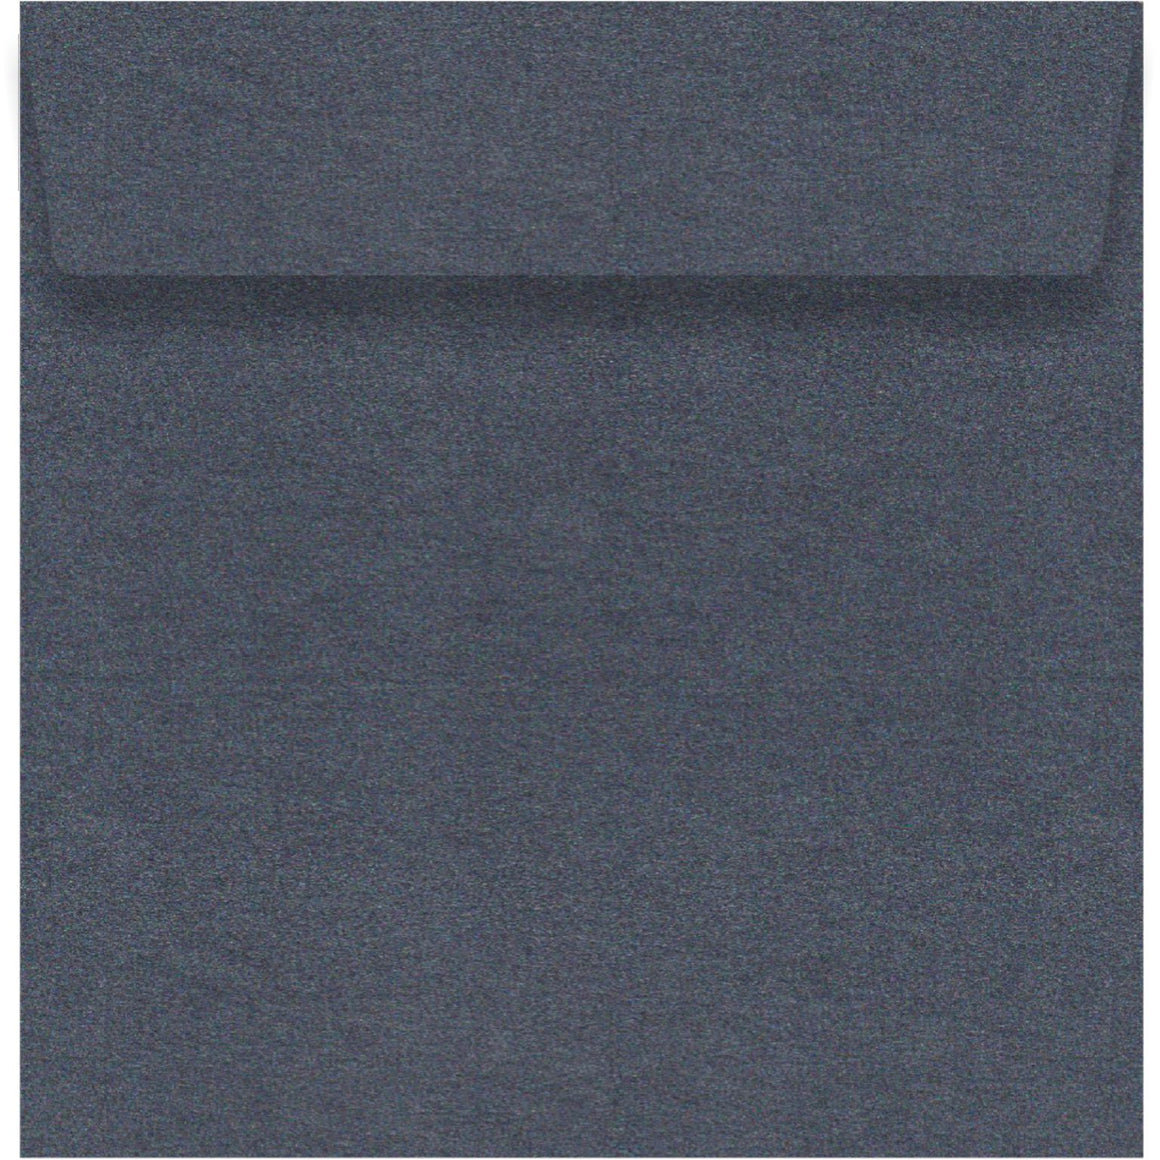
Anthracite 130 x 130mm
$0.25 $0.60
Anthracite square envelopes are made from a charcoal black 120gsm metallic paper-stock. This wallet style...


Anthracite A4 Paper
$0.30 $0.70
Pearlescent dark charcoal 120gsm paper. This acid free paper is double sided and laser printer...
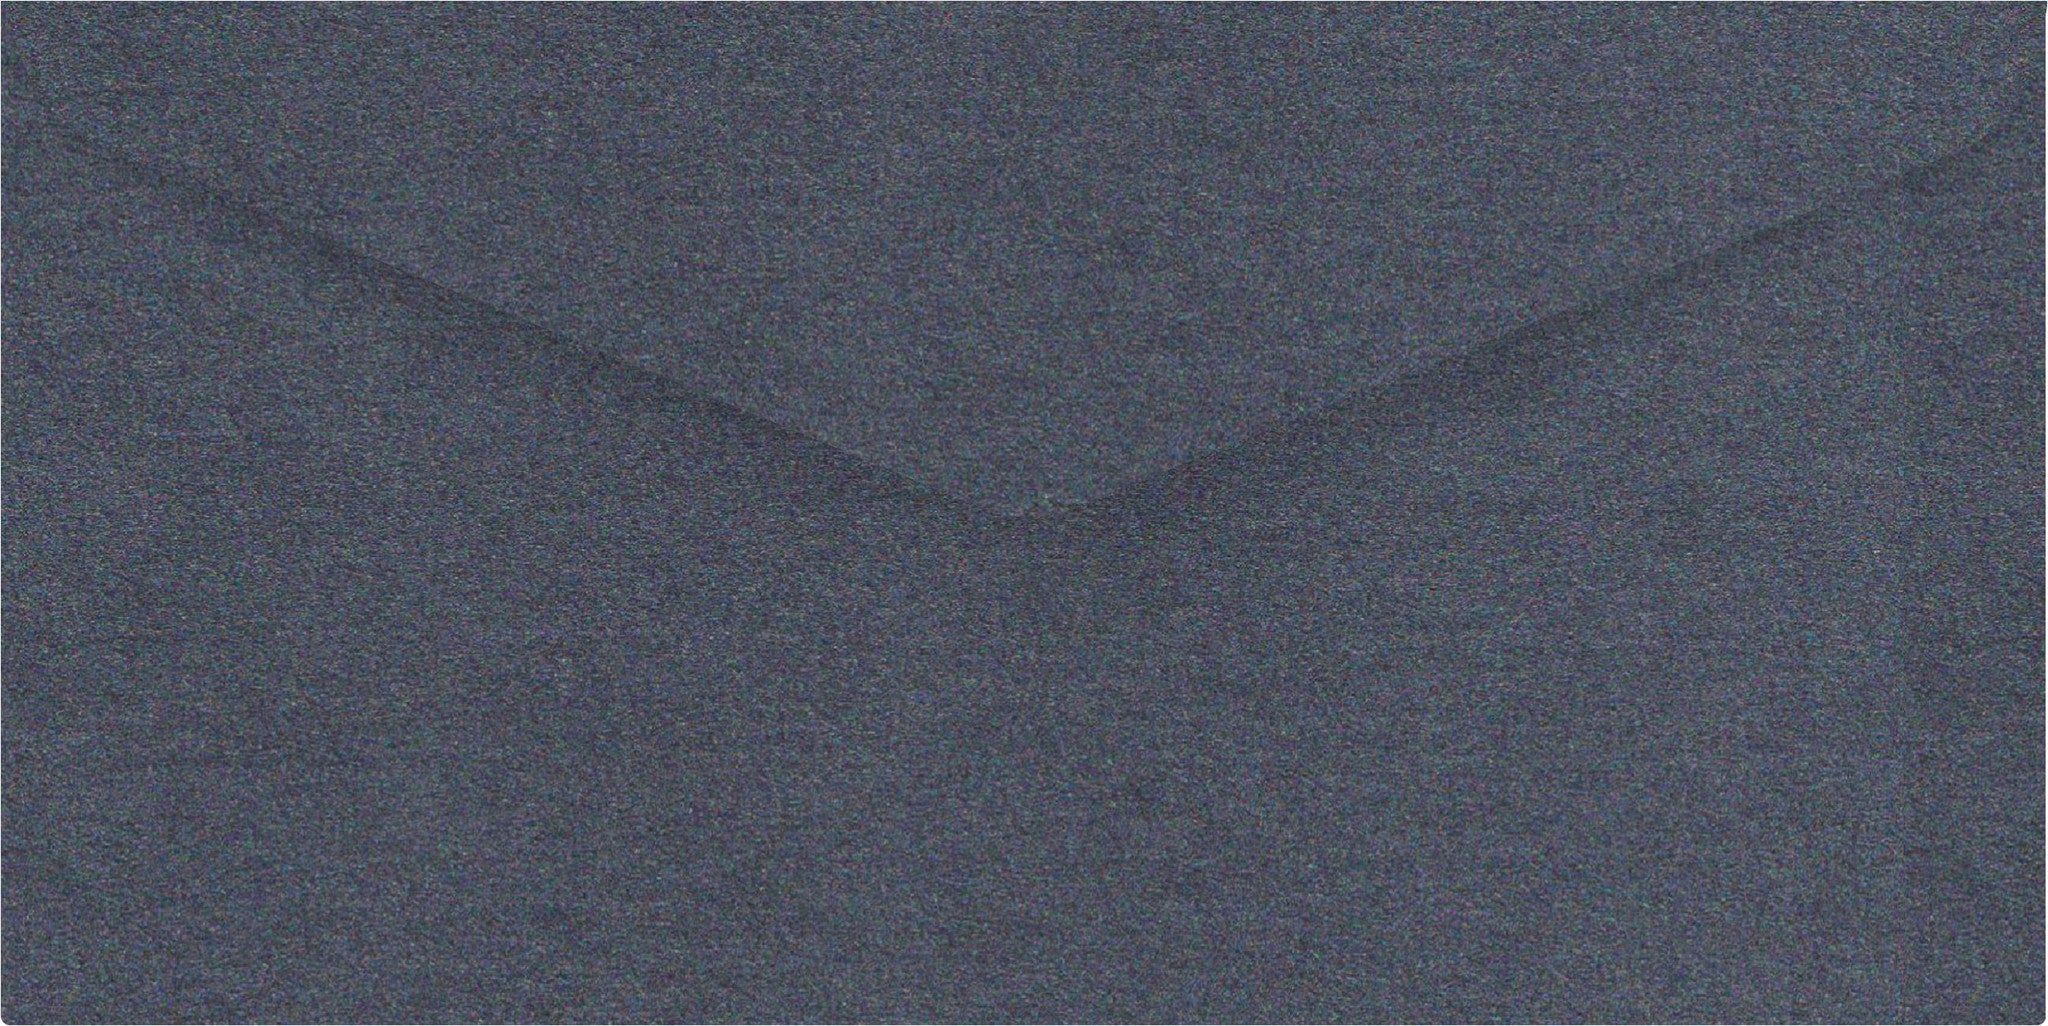
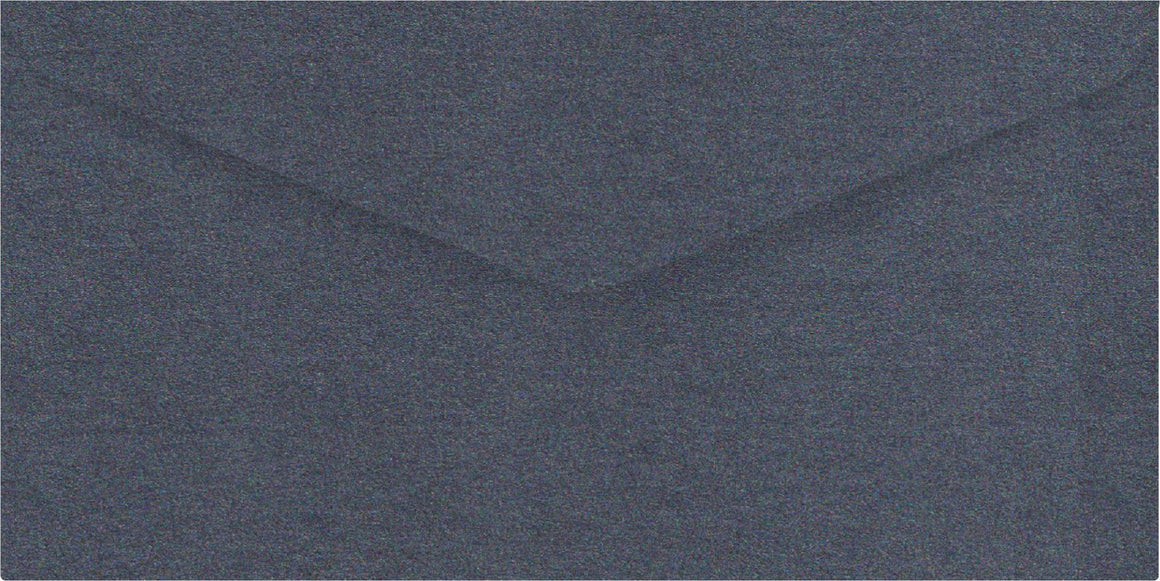
Anthracite DL Envelope
$0.40 $0.90
Anthracite DL envelopes are made from a charcoal black 120gsm metallic paper-stock. This banker style...
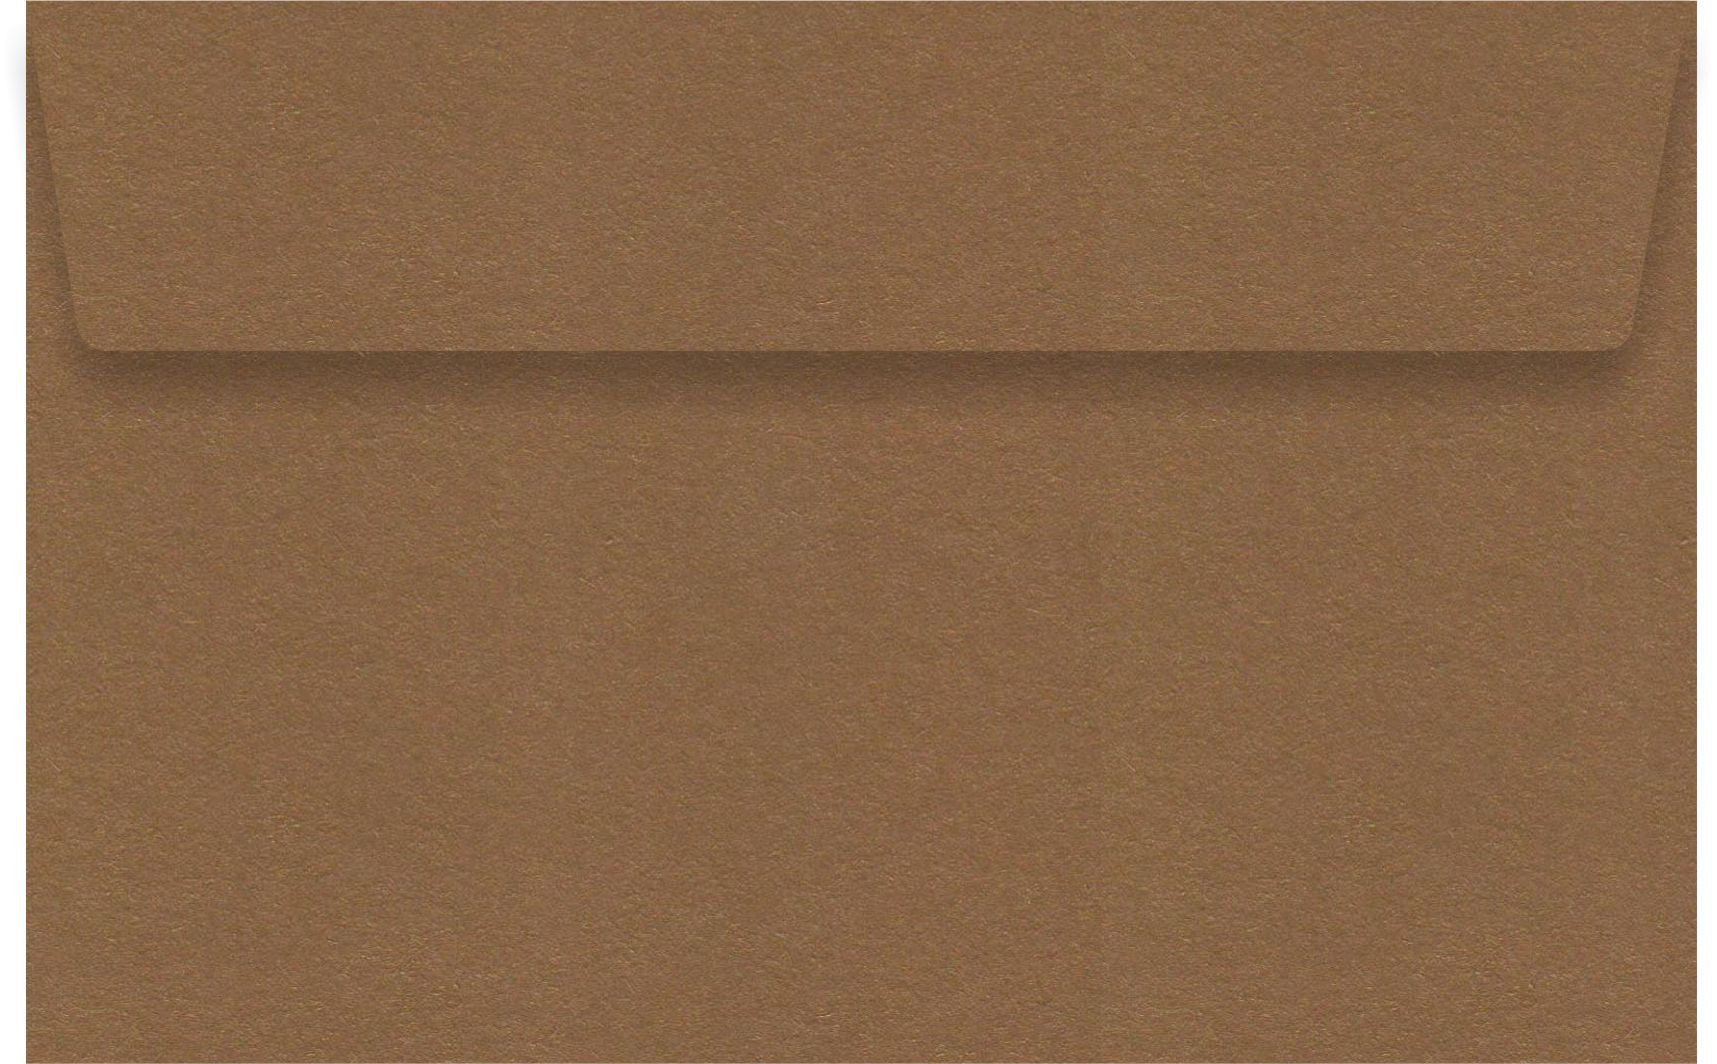
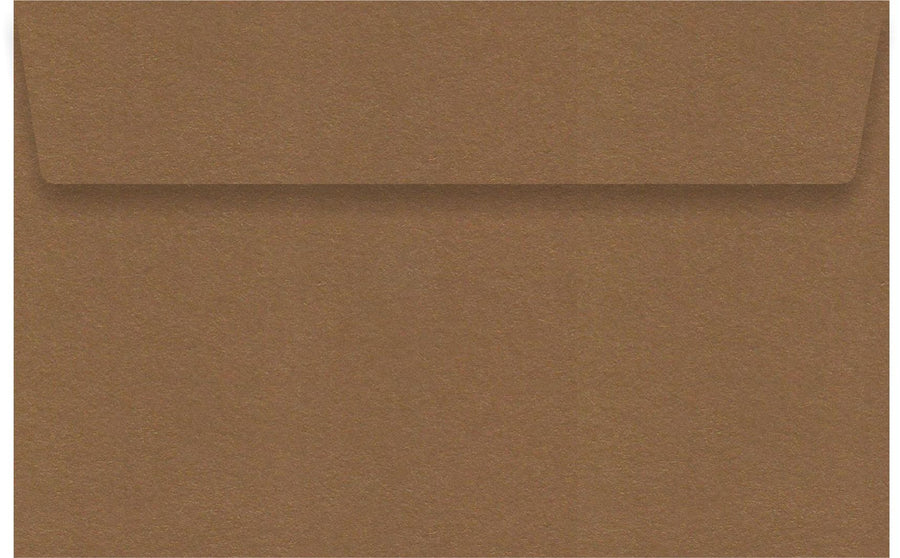
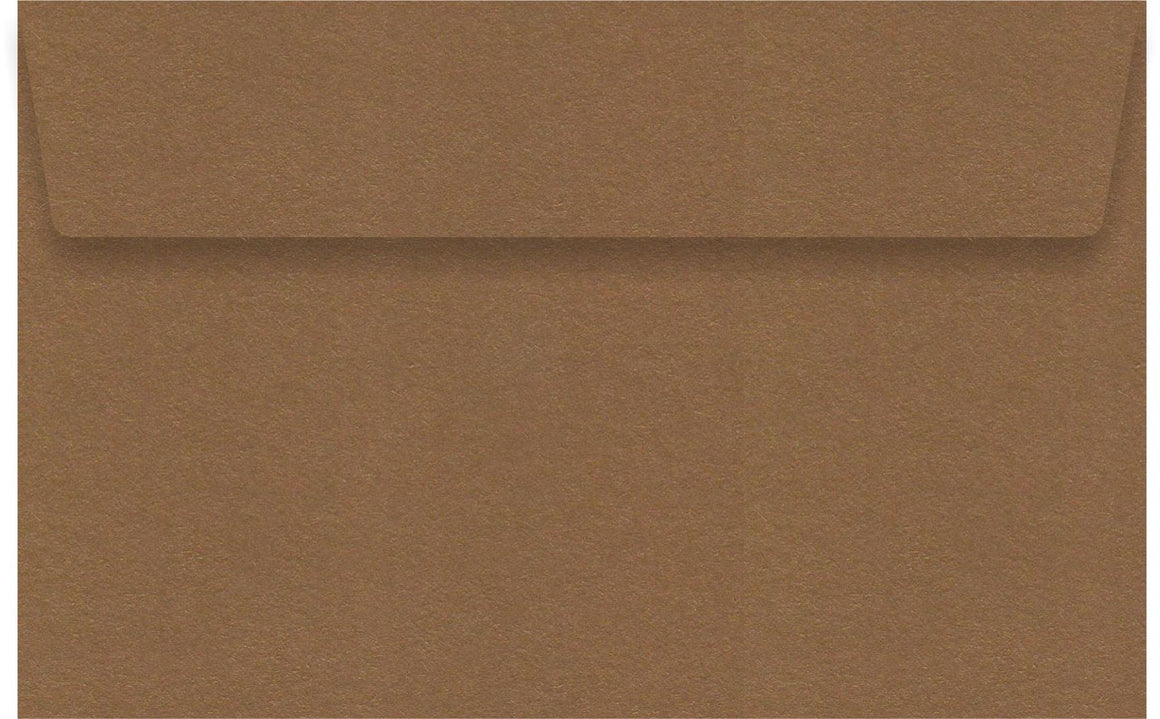
Antique Gold 11B Envelope
Sold Out
Antique Gold 11B envelopes are made from a bronze gold 120gsm metallic paper-stock. This wallet...
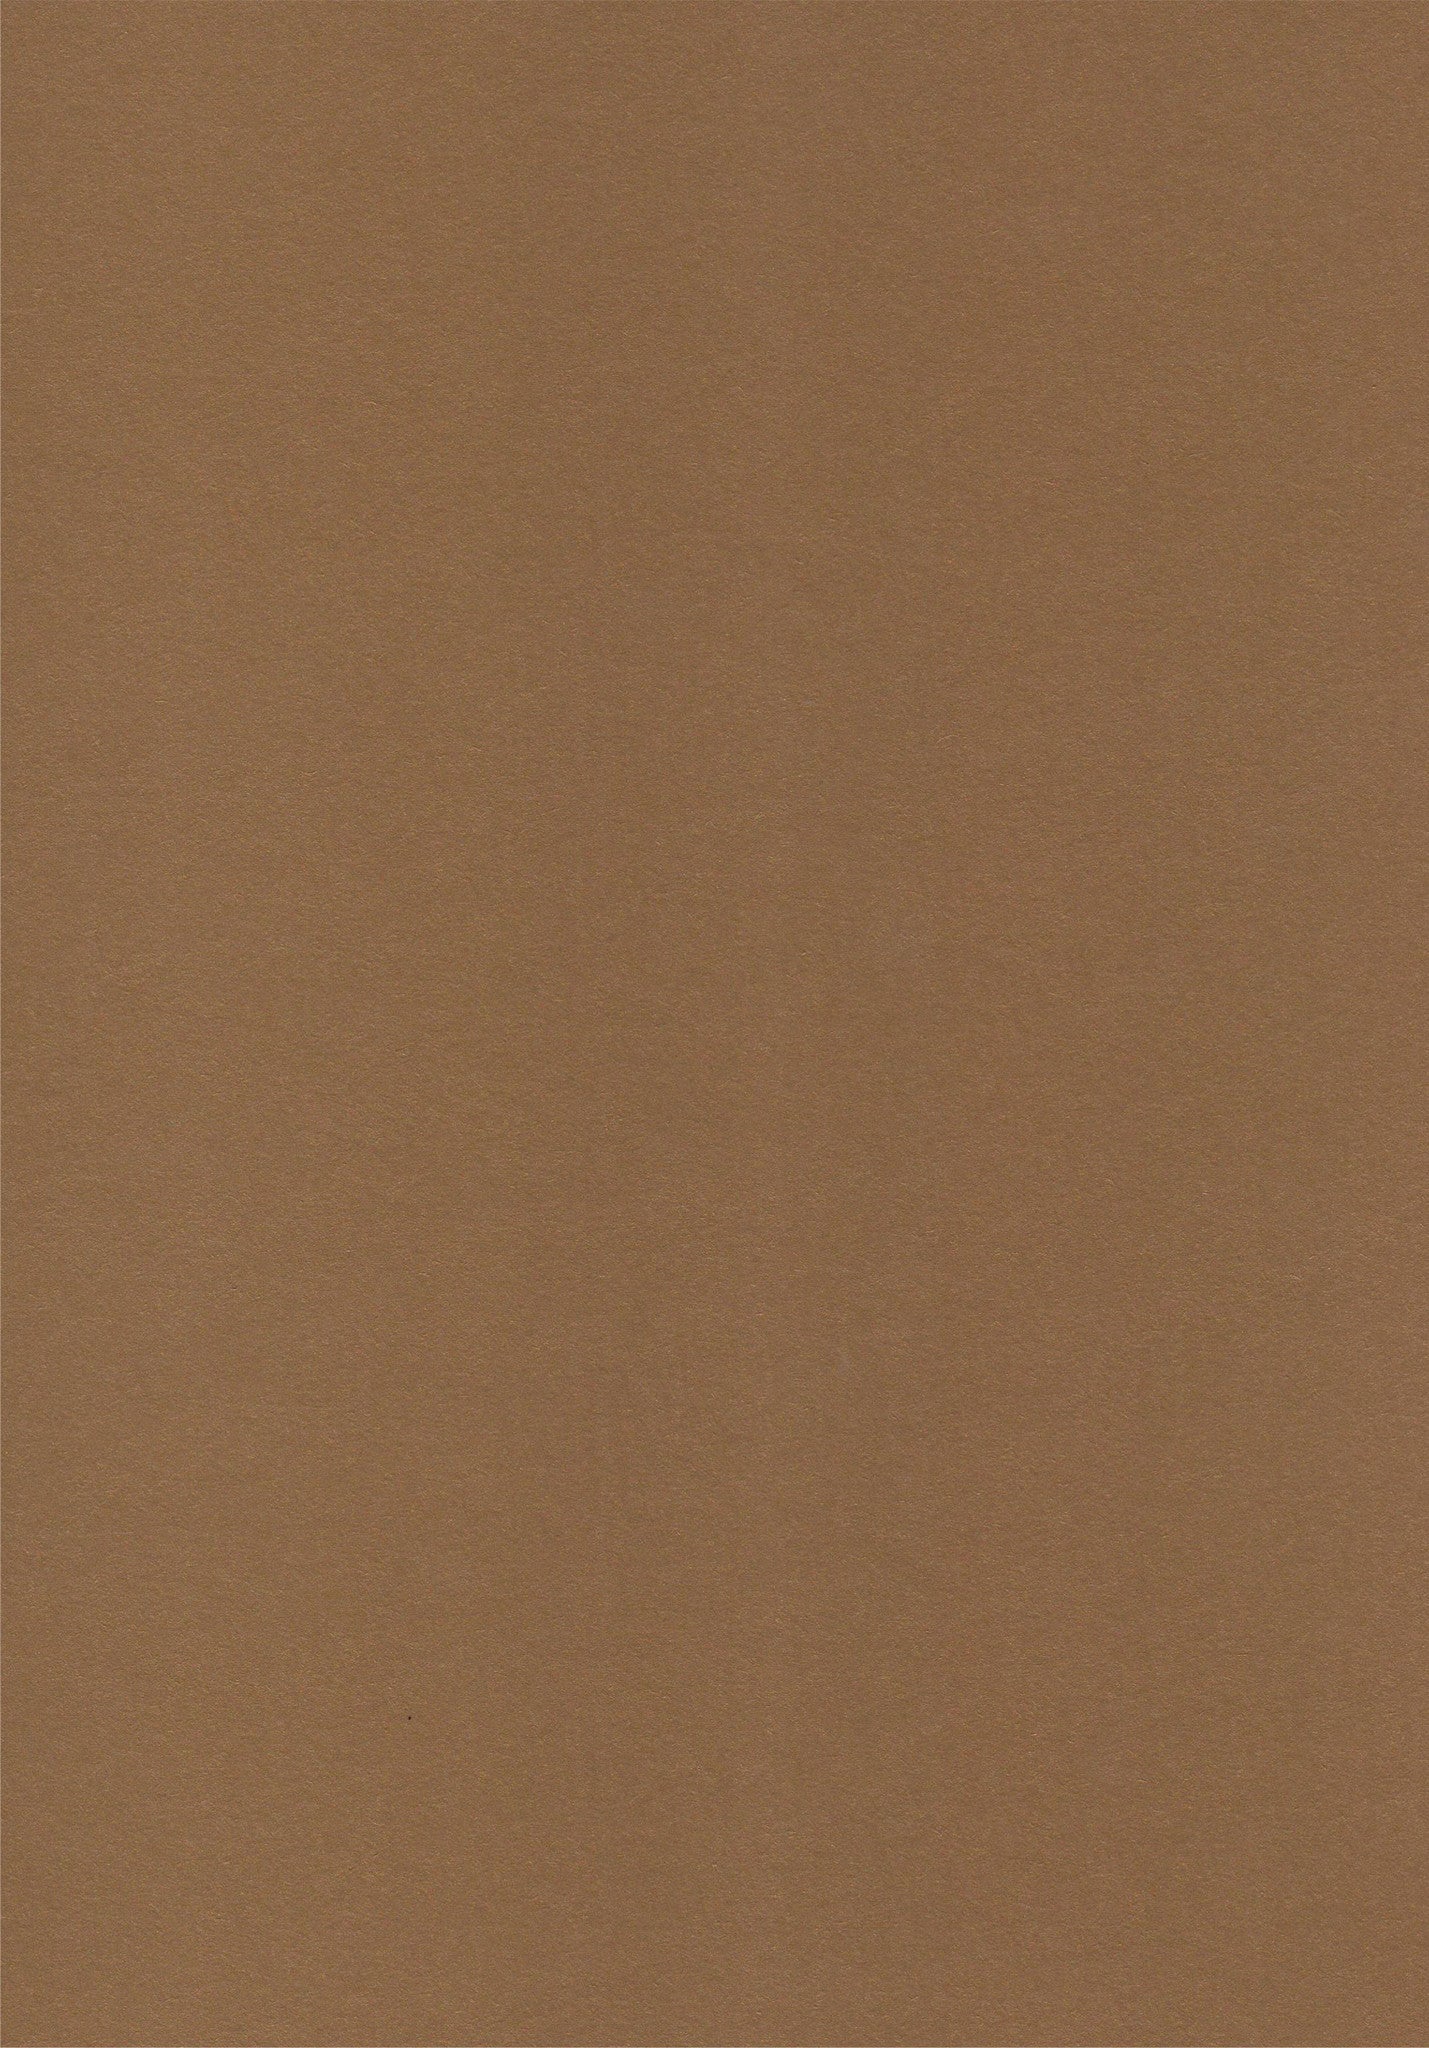
Antique Gold A4 Paper
Sold Out
A classic luminous rich gold and bronze blend paper weighing 120gsm. This acid free paper...


Apple Green 130 x 190mm Envelope
$0.45 $0.65
Apple Green non standard envelopes are made from a 100% 120gsm recycled paper stock. This...
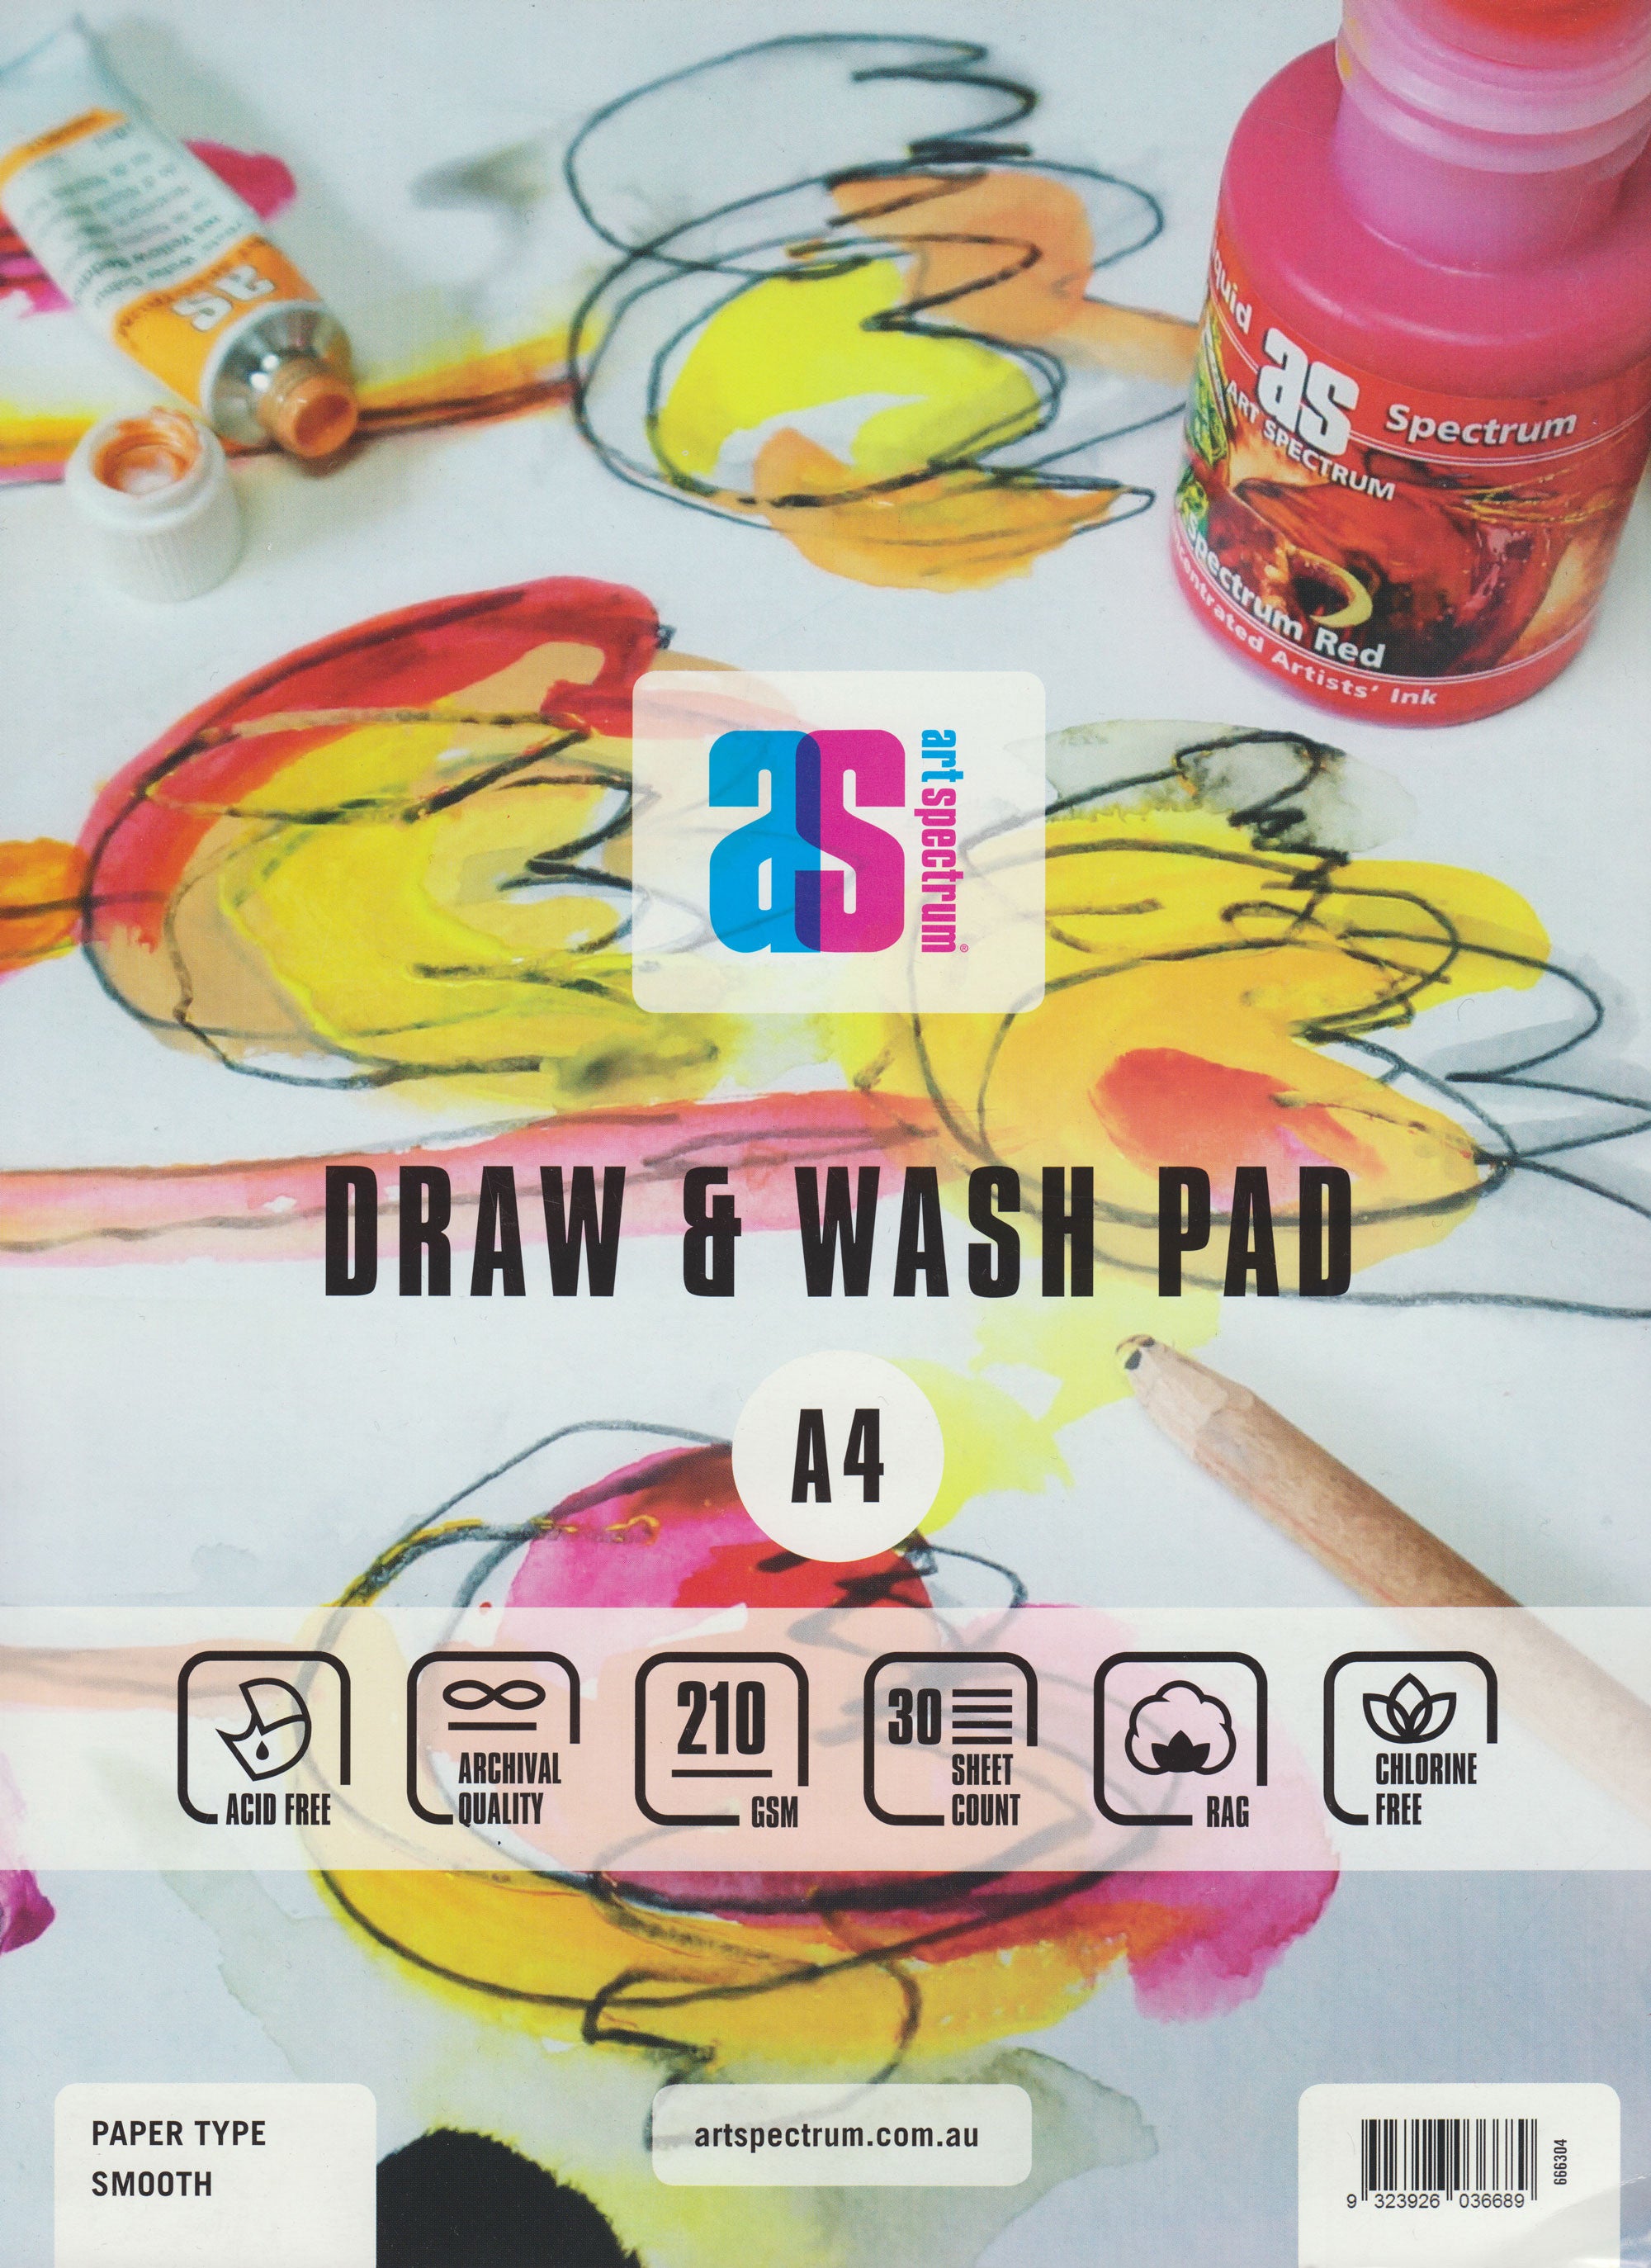


Art Spectrum Draw and Wash Pad A4 210gsm Smooth
$30.00
A4 size, quality, smooth cotton rag drawing pad. The 210gsm paper has been specially sized...

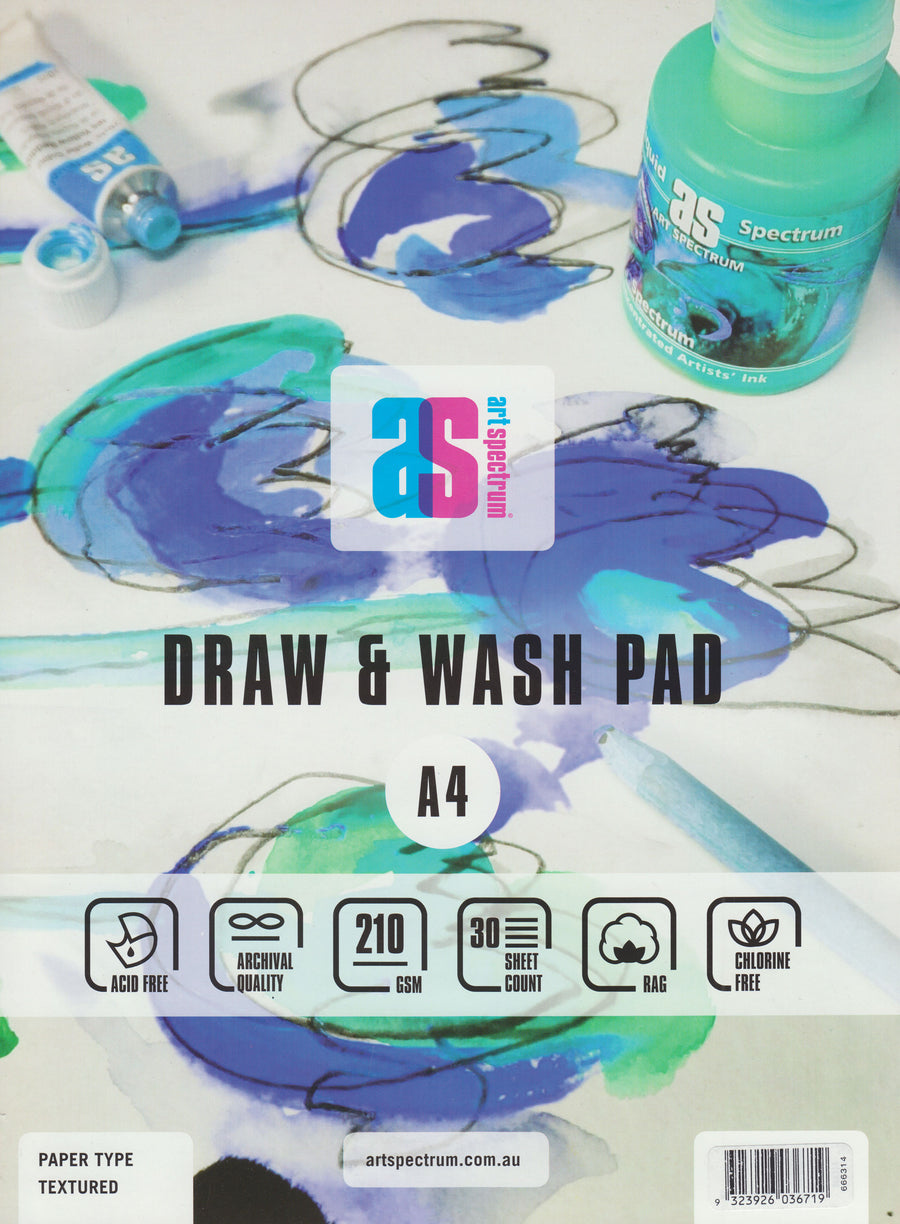

Art Spectrum Draw and Wash Pad A4 210gsm Textured
Free
A4 size, acid free 210gsm textured paper pad. The paper has been specially sized for...

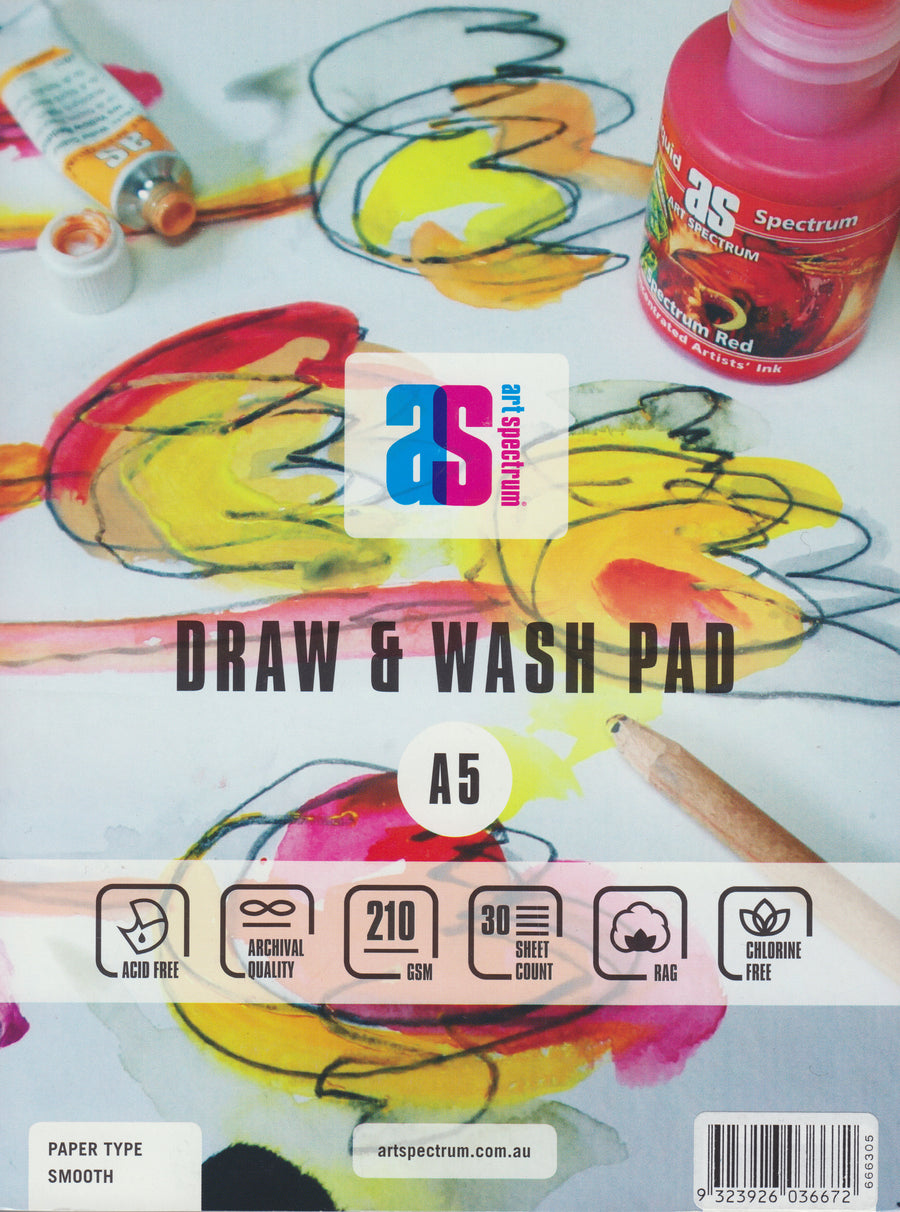
Art Spectrum Draw and Wash Pad A5 210gsm Smooth
$20.00
Acid free, cotton rag drawing pads sized for wet and dry media use. The pad...


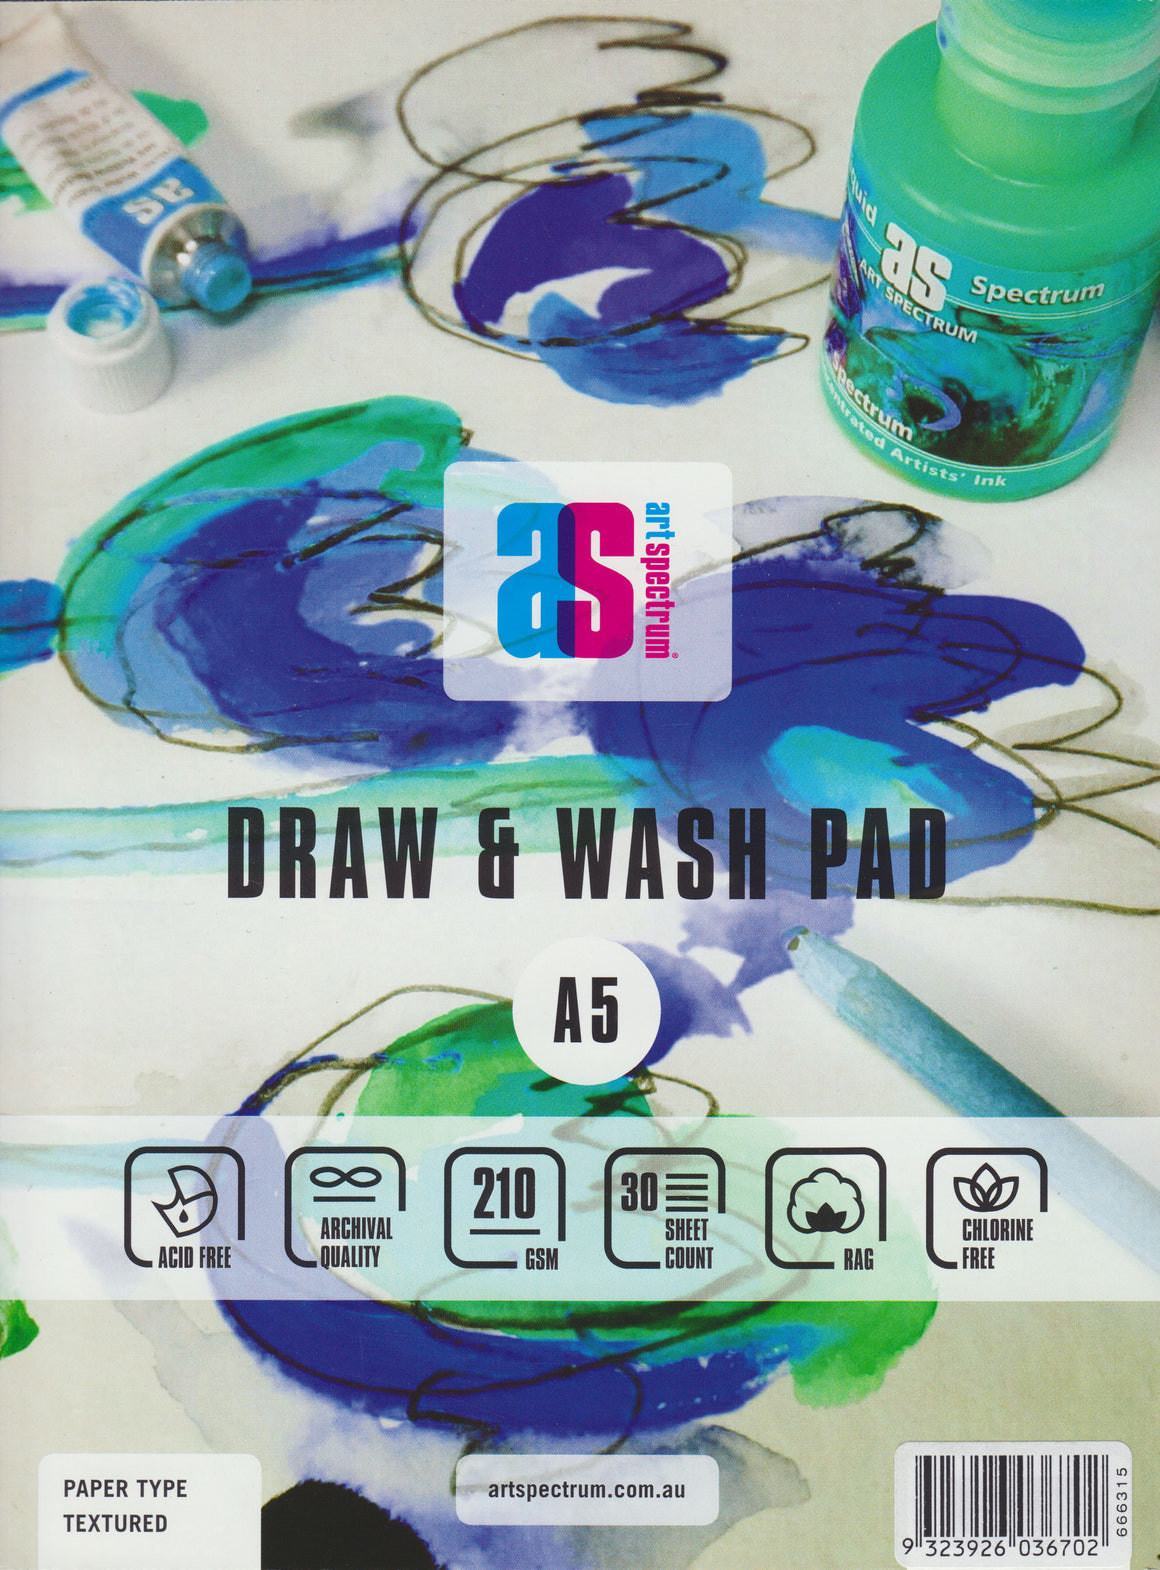
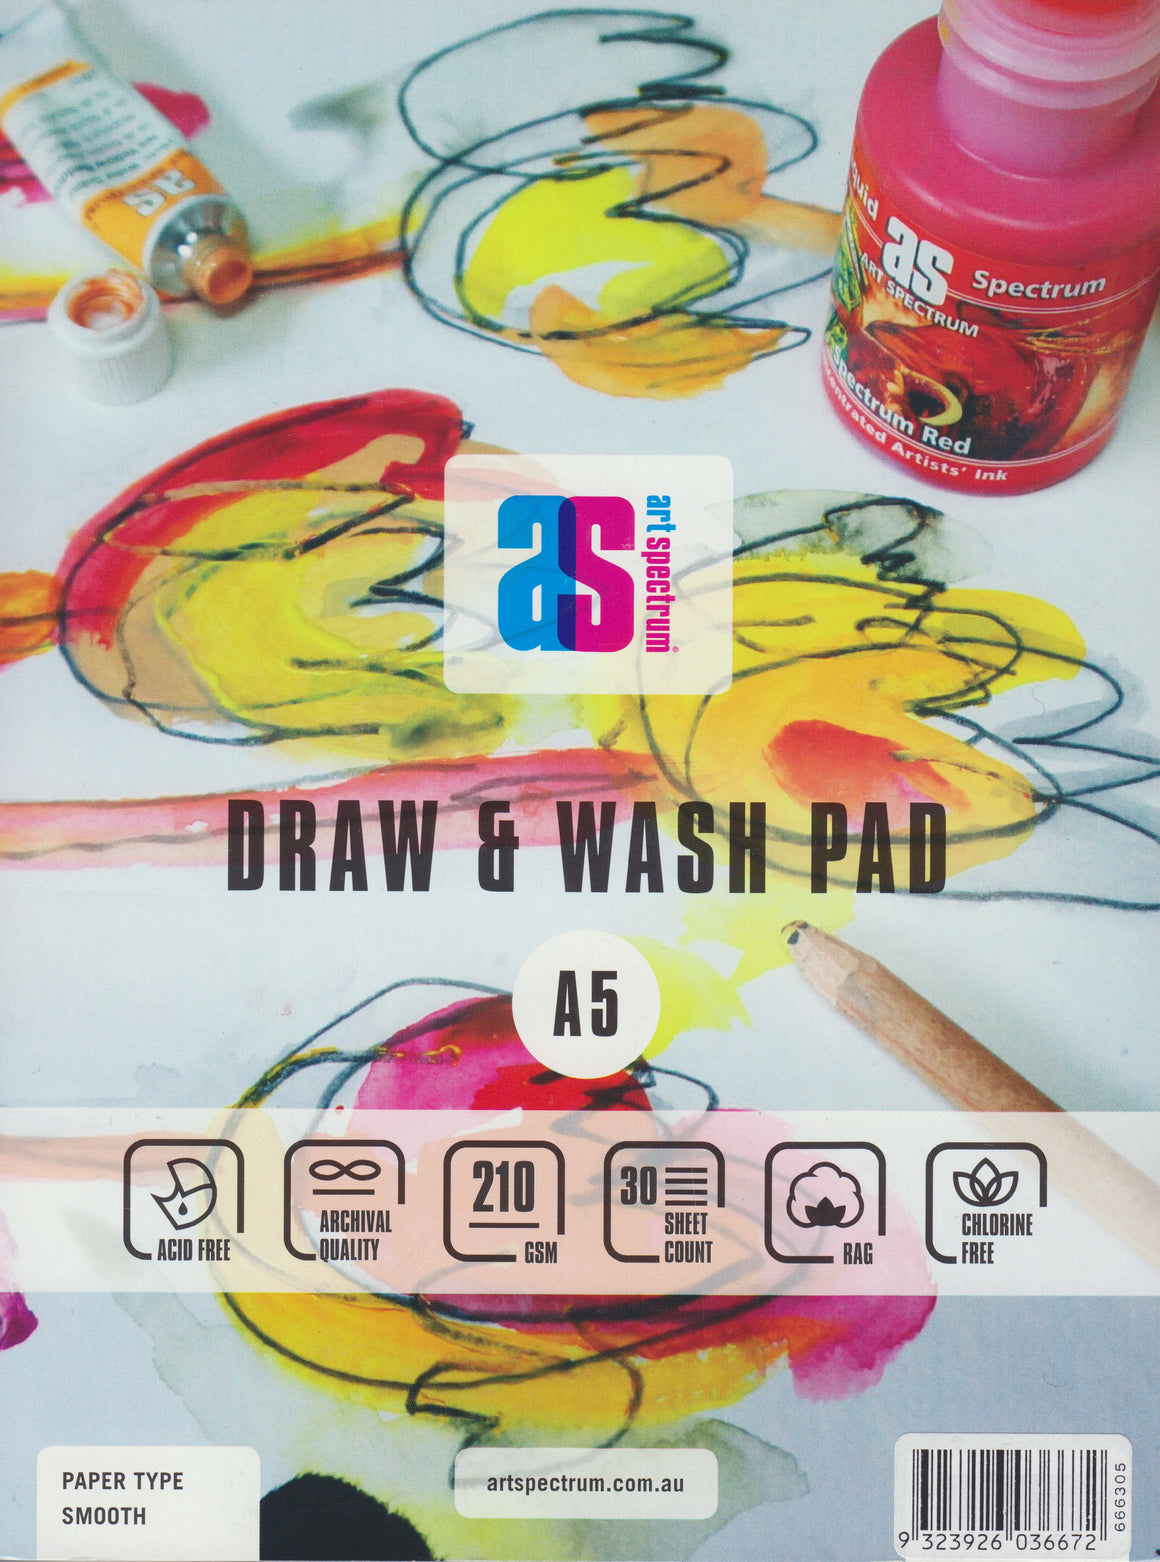
Art Spectrum Draw and Wash Pad A5 210gsm Textured
$20.00
High quality, textured 210gsm cotton rag art pad. The paper has been specially sized for...


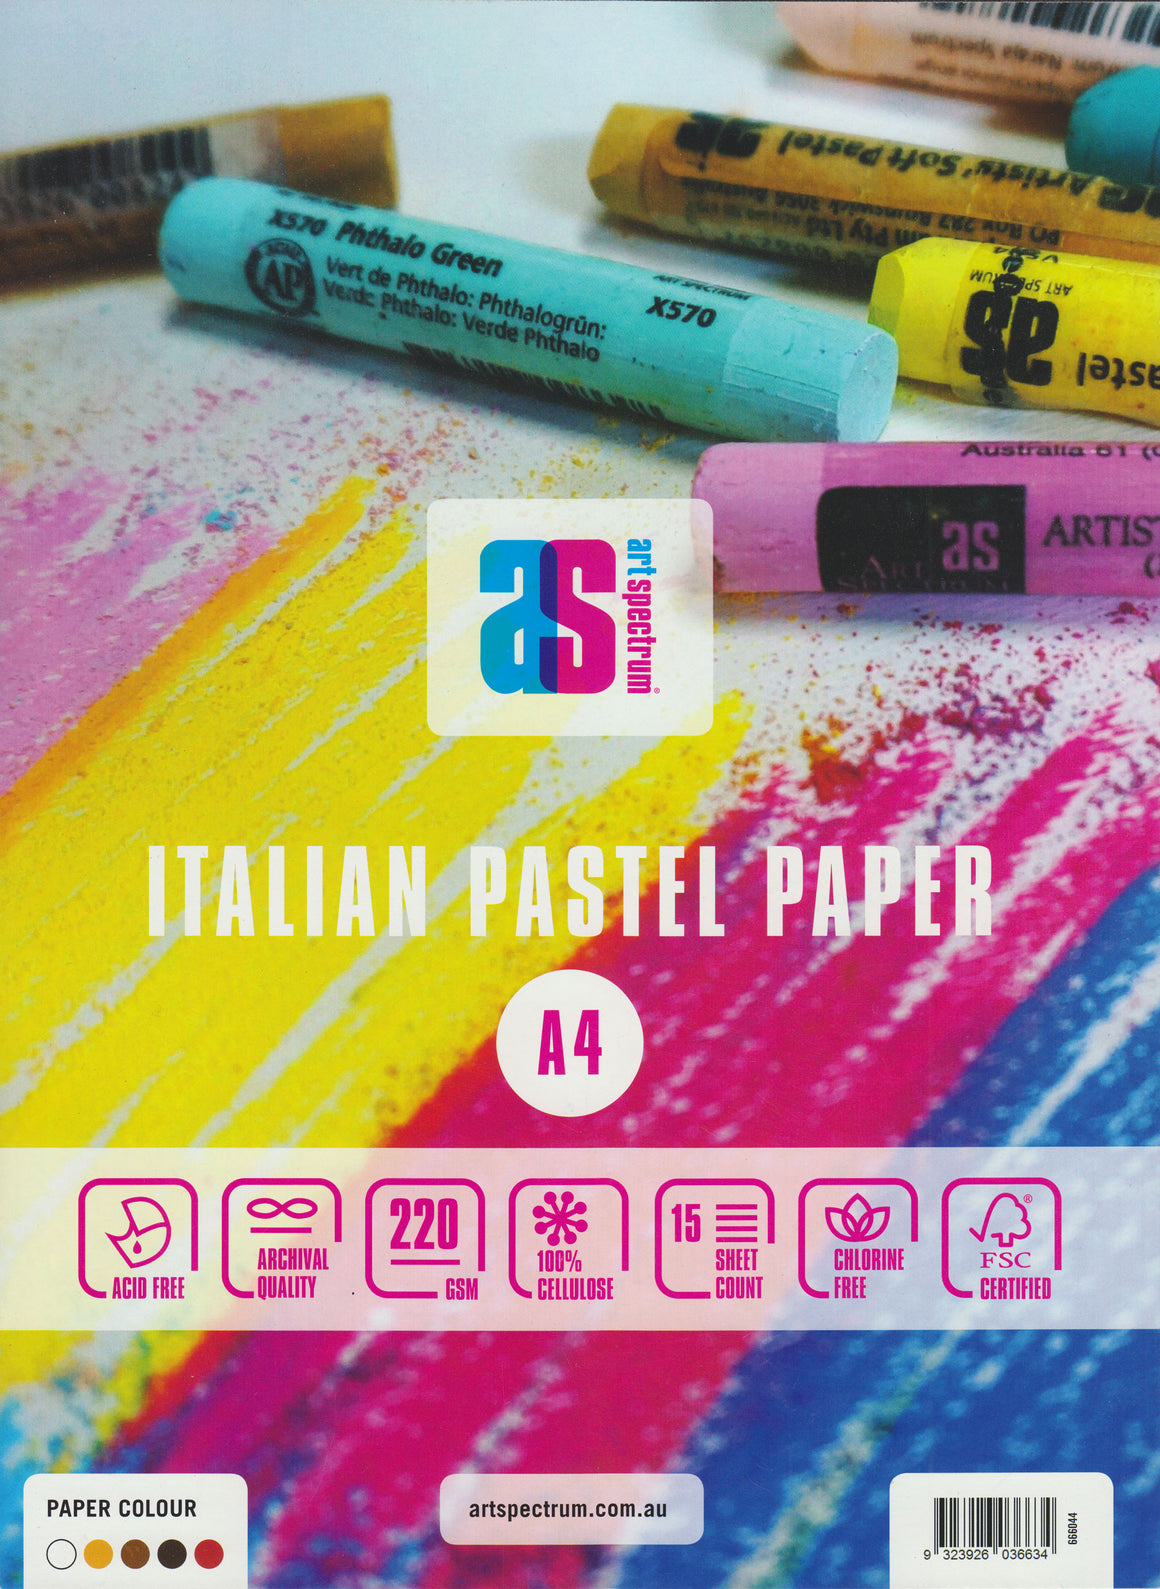
Art Spectrum Pastel Paper Pad Australian Colours A4 220gsm
$19.50
The Italian made pastel paper is matte with one side slightly felted.This surface makes it...


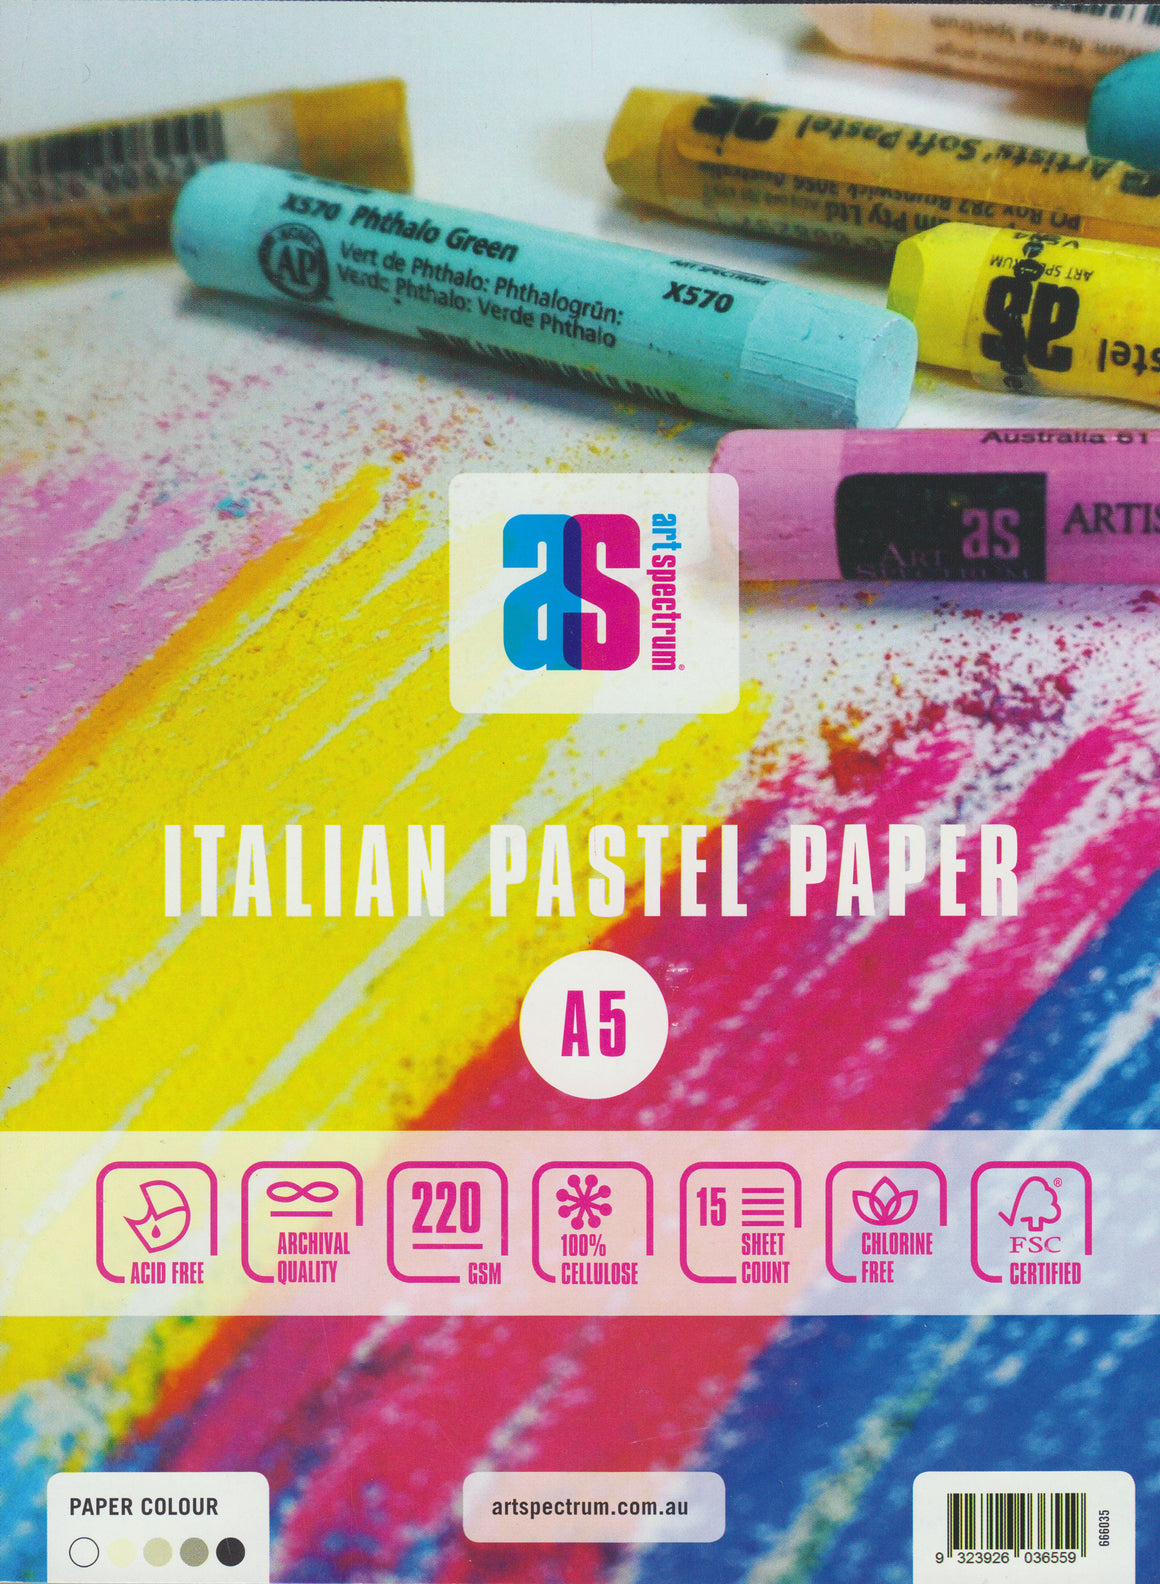
Art Spectrum Pastel Paper Pad Greys A5 220gsm
$12.50
The Italian made pastel paper has a matte surface with one side slightly textured (felt...


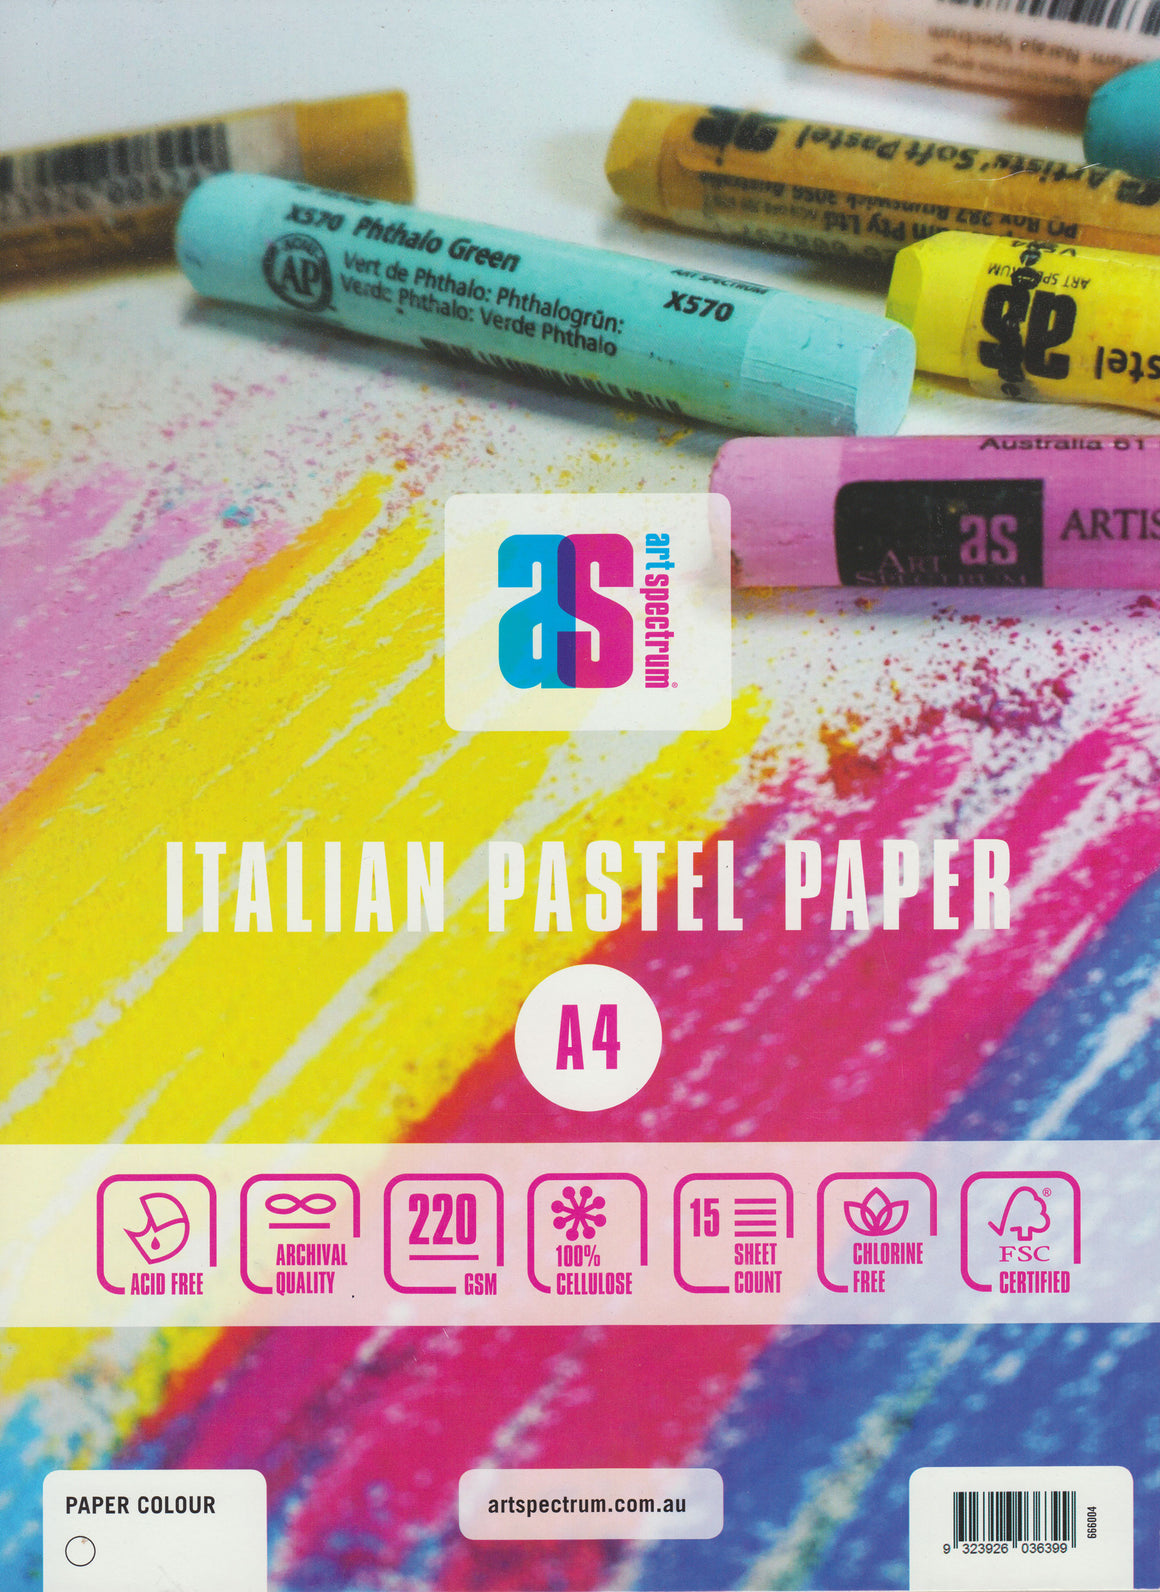
Art Spectrum Pastel Paper Pad White A4 220gsm
$19.50
The Italian made warm white pastel paper is matte with one side slightly textured making...
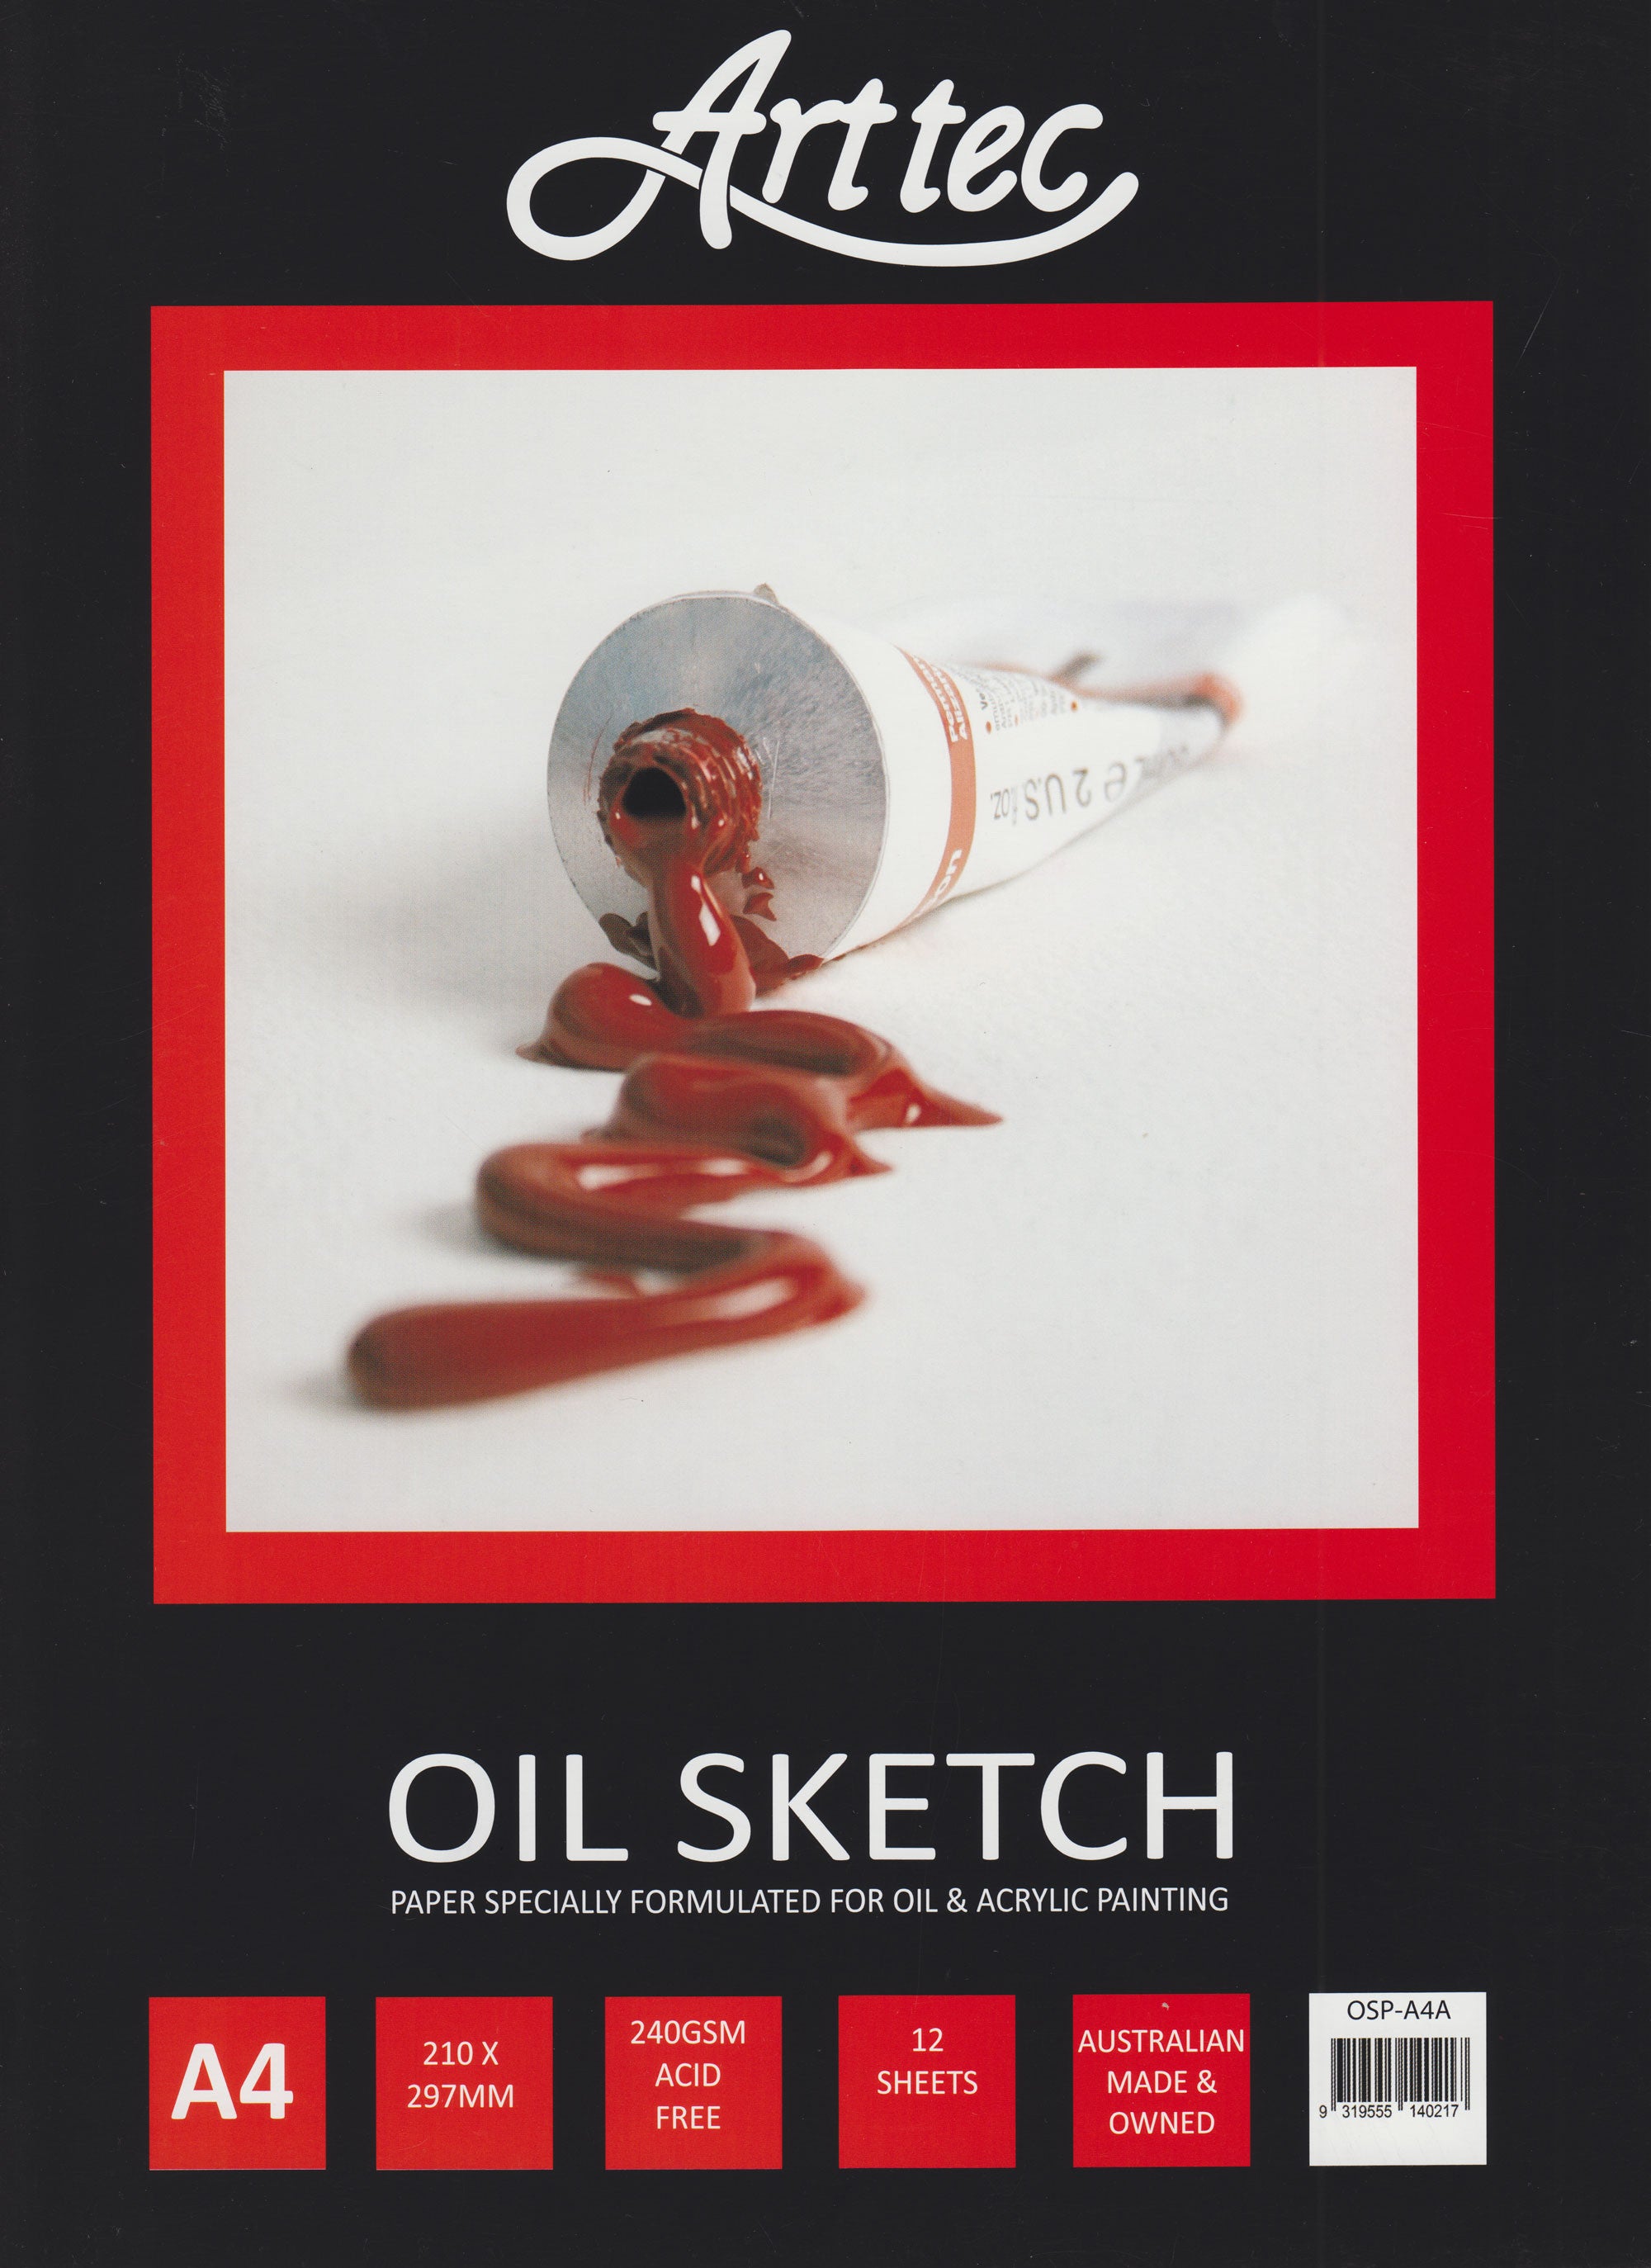


Arttec A4 Oil Sketch Pad
$14.05
Arttec A4 Oil Sketch pads comprise 12 sheets of 240gsm acid free paper. The warm...
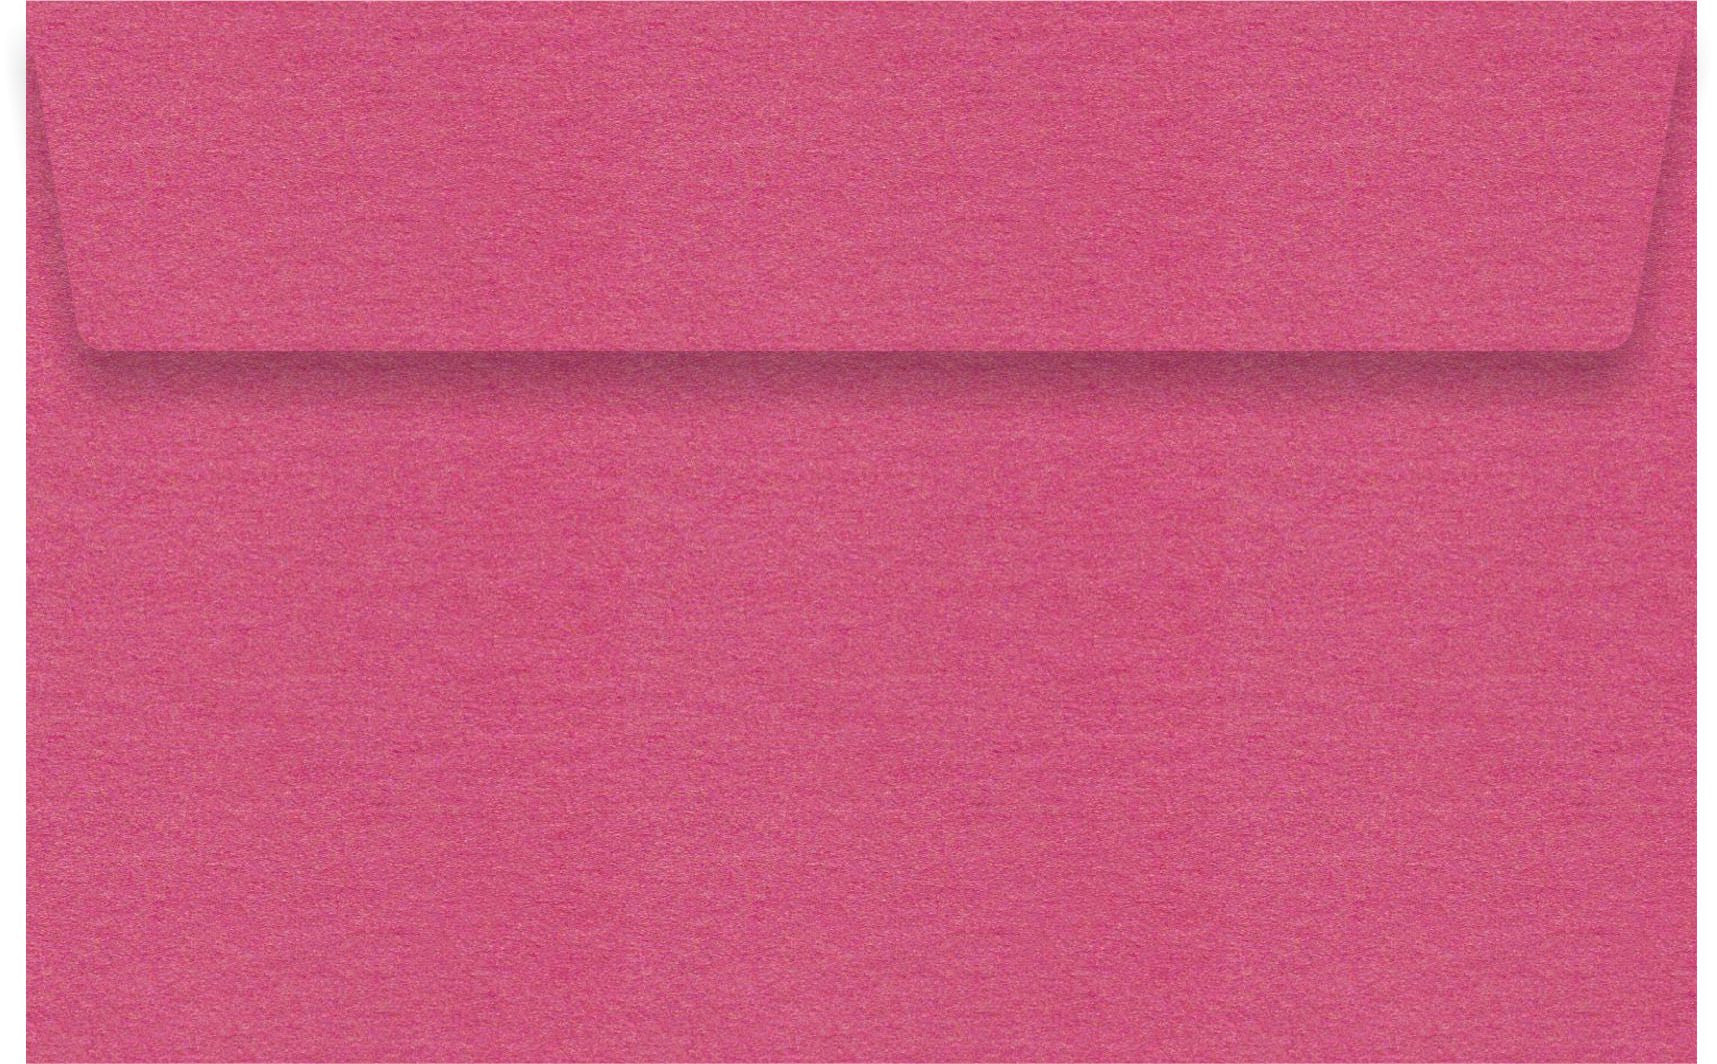

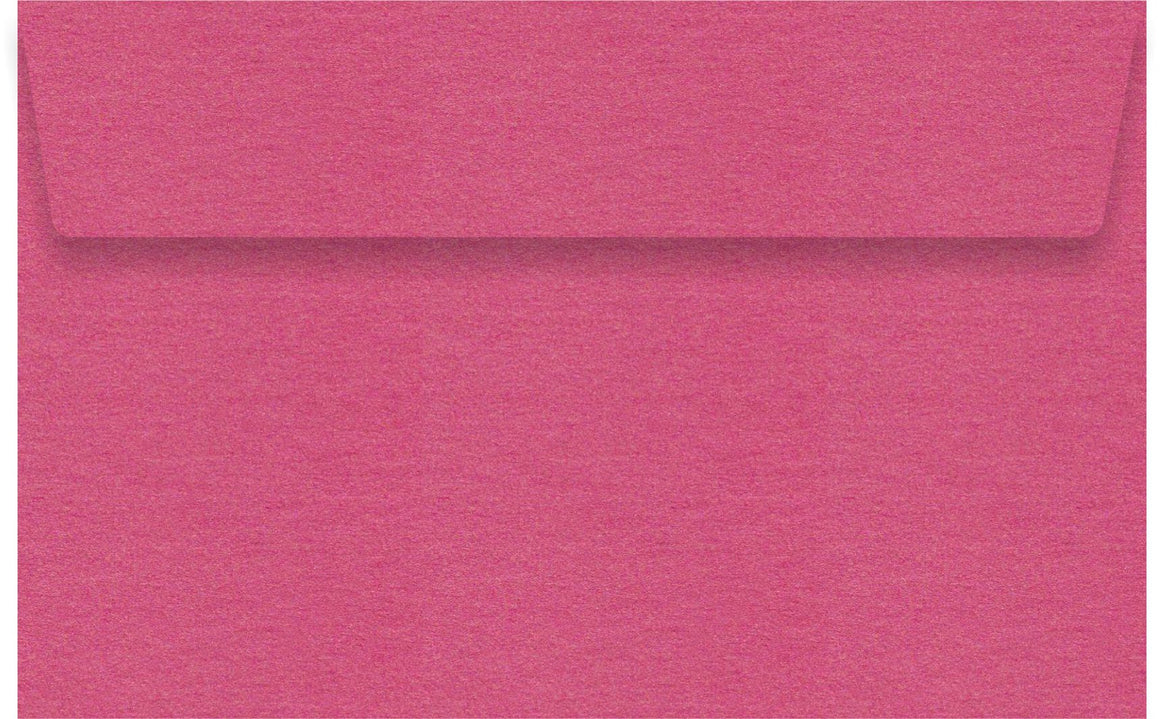
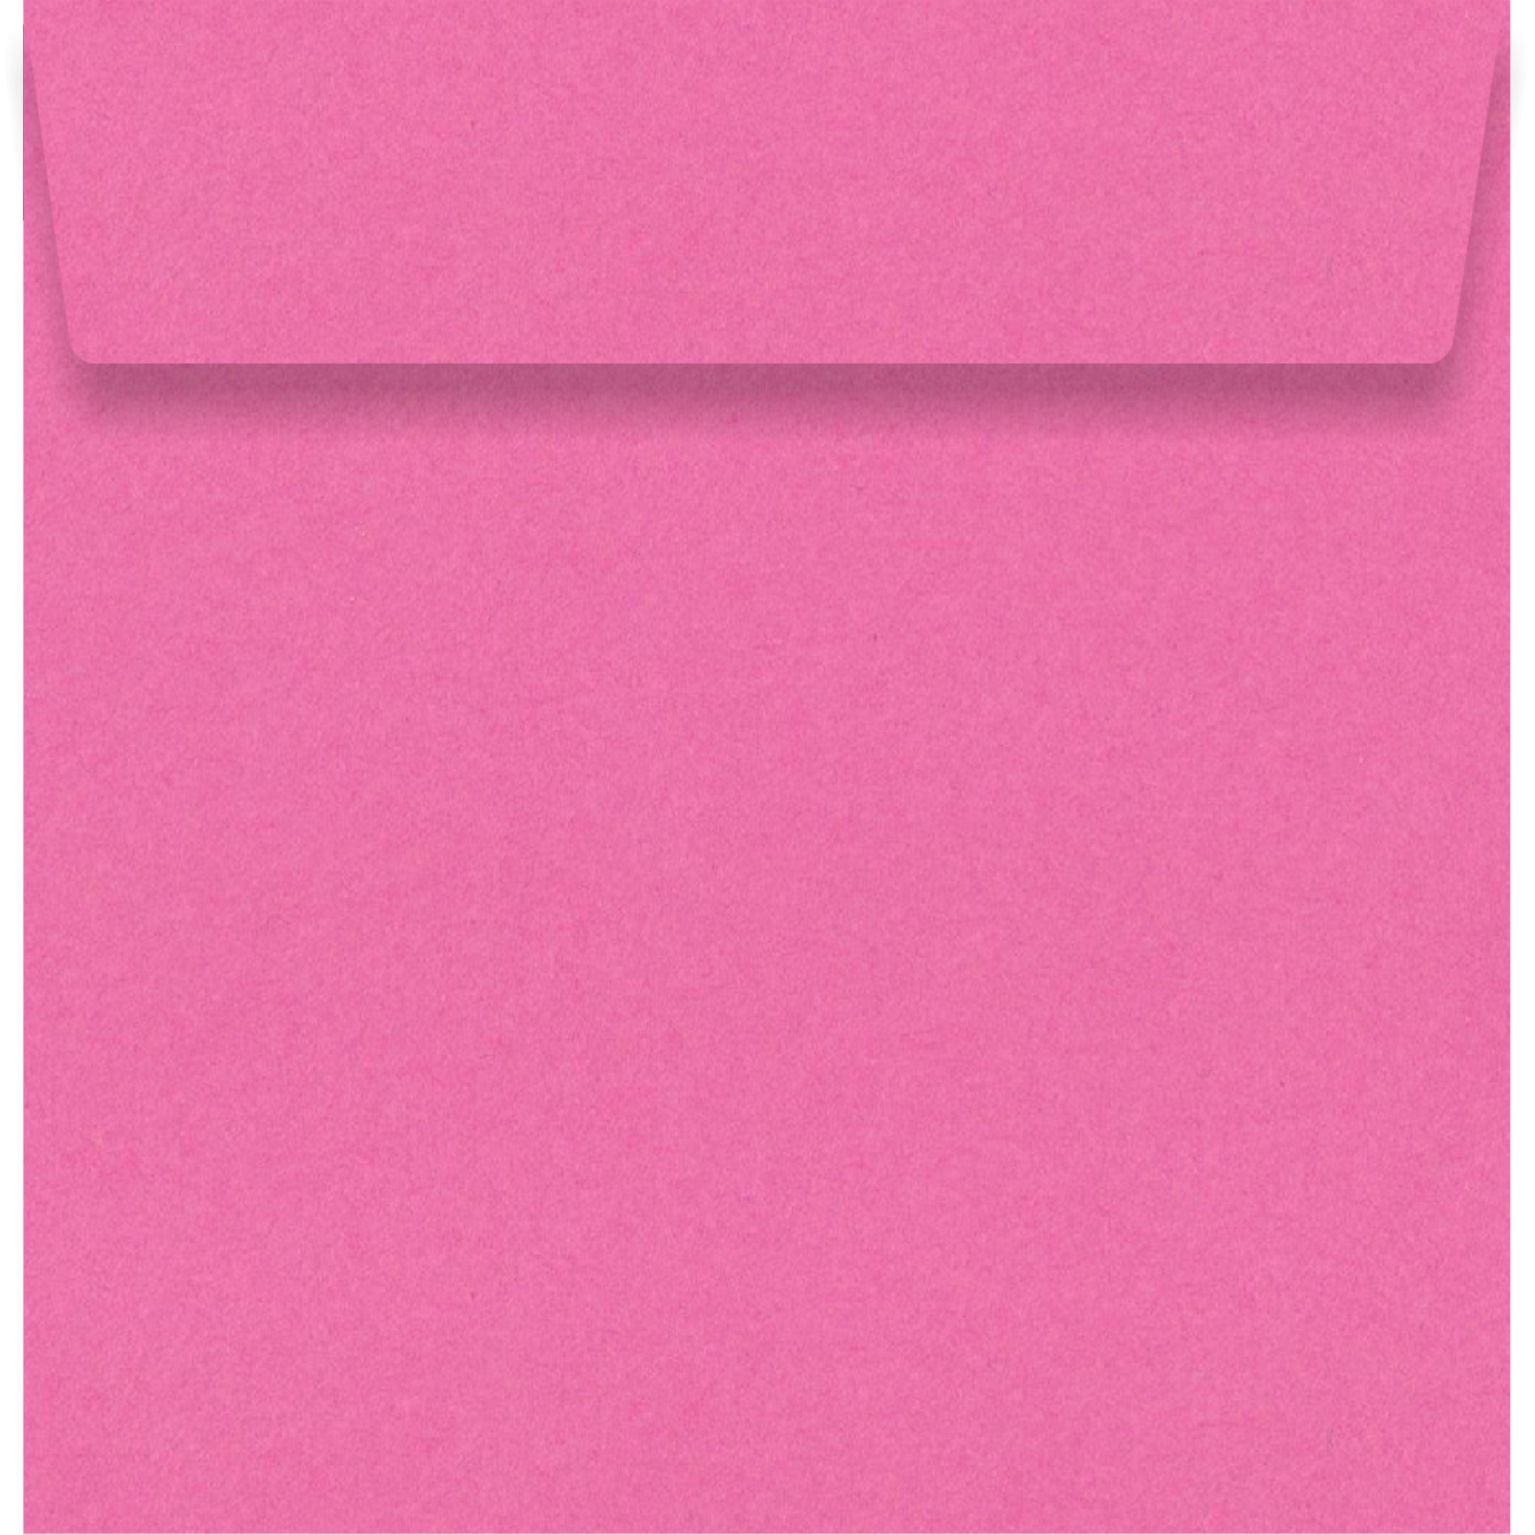
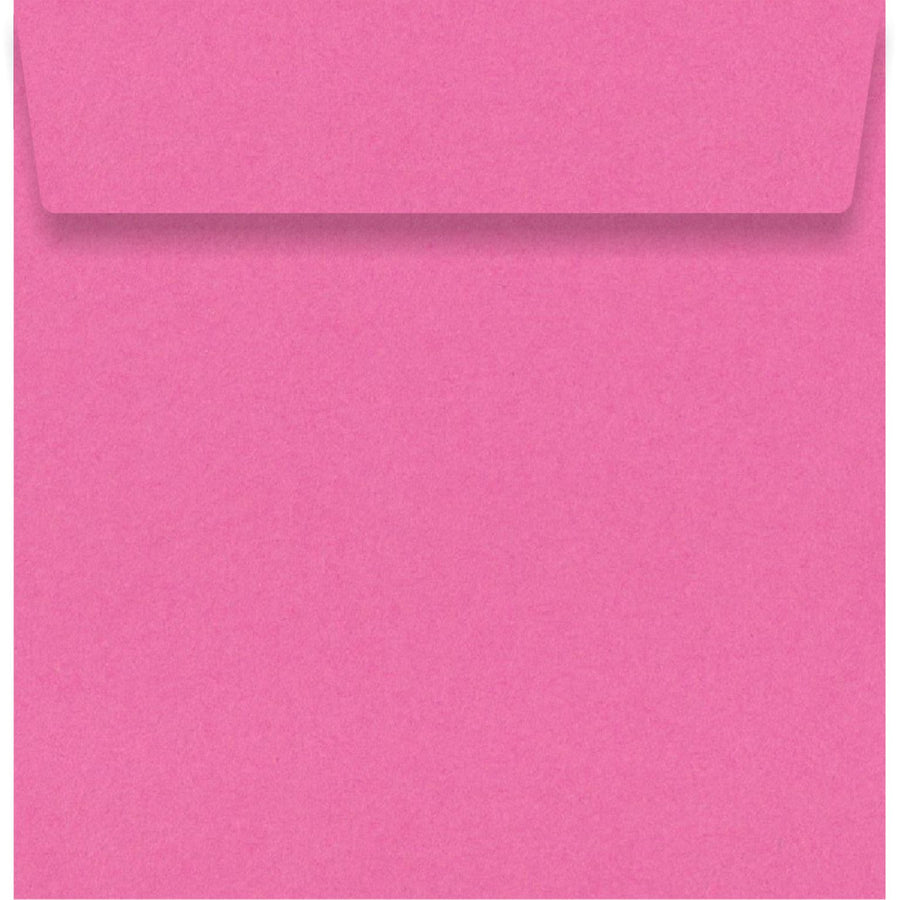
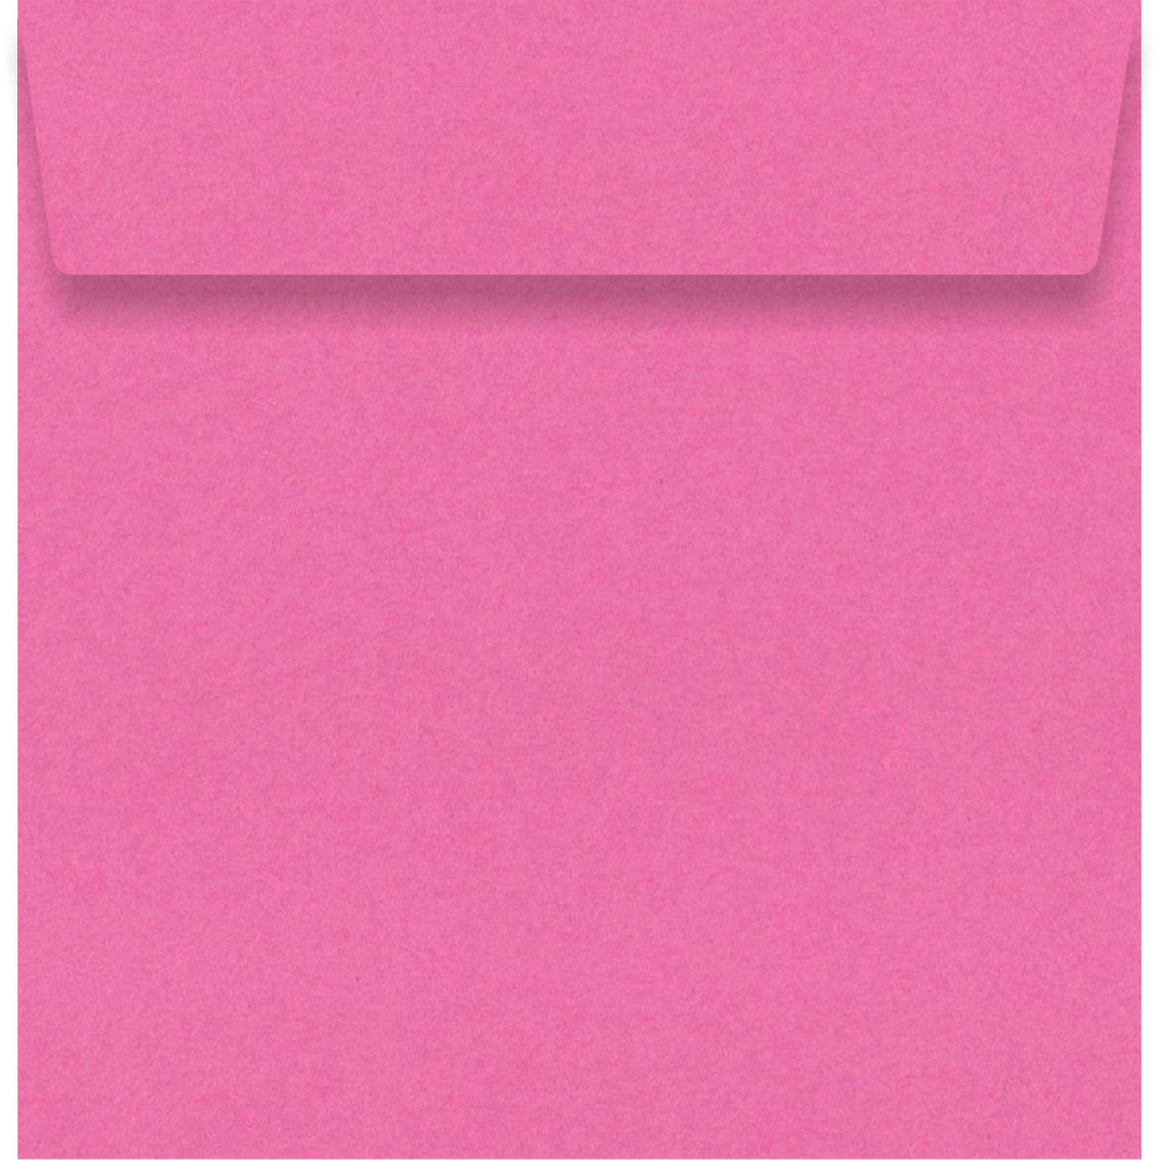
Azalea 11B Envelope
$0.20 $0.55
Azalea 11B envelopes are made from a reddish pink 120gsm metallic paper-stock. This wallet style...
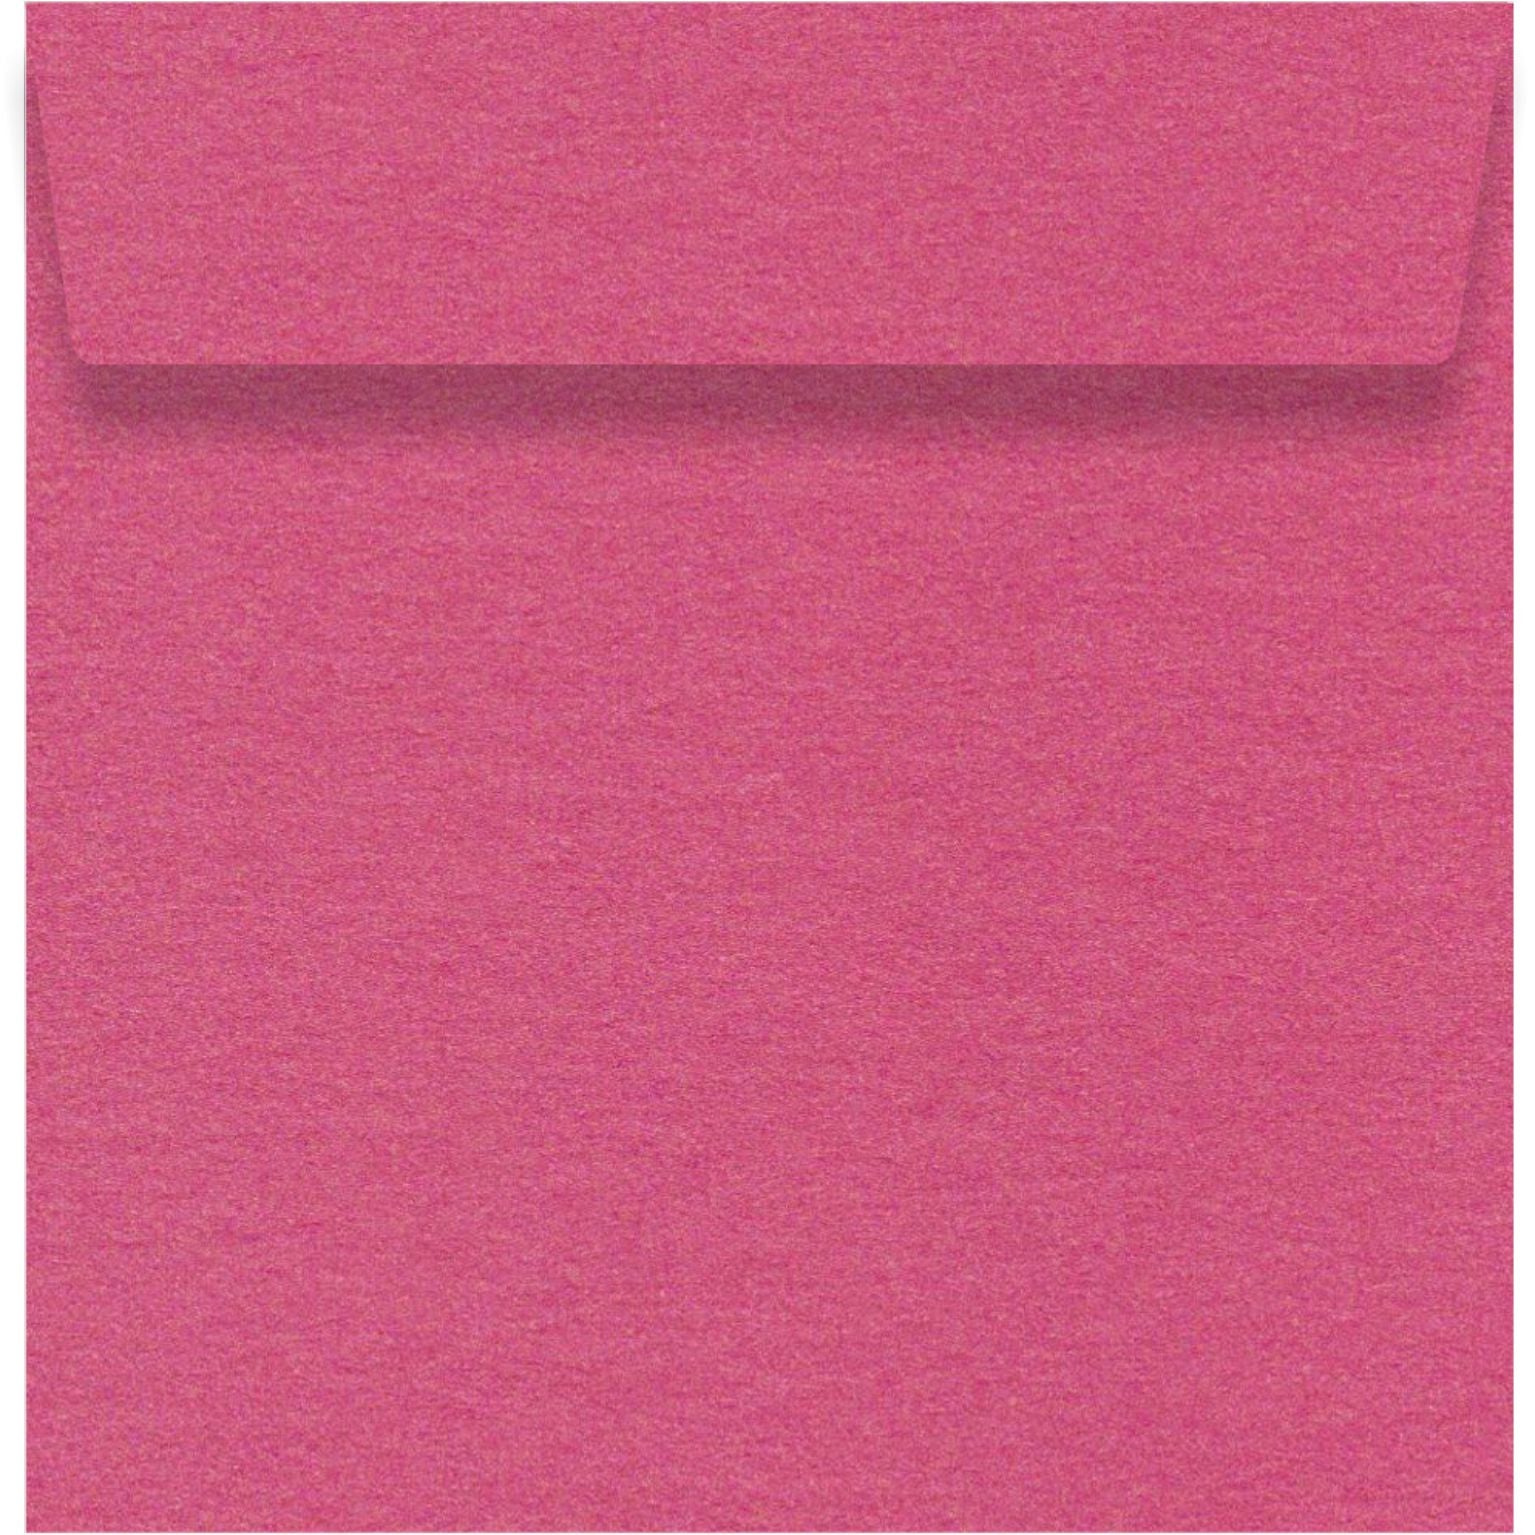

Azalea 130 x 130mm
Sold Out
Azalea square envelopes are made from a reddish pink 120gsm metallic paper-stock. This wallet style...
Azalea A4 Card
$0.40 $1.50
A deep pinkish hue which is reminiscent of the famous flower and set amidst iridescent...


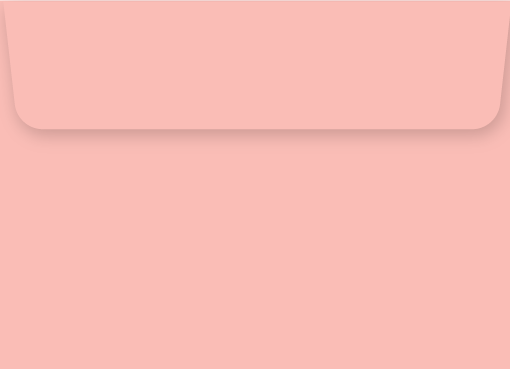
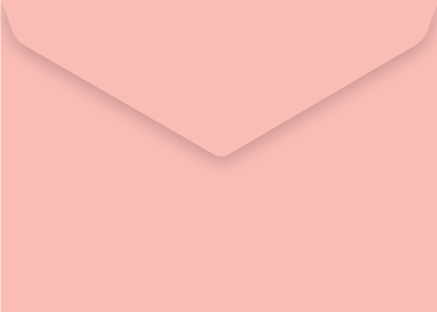
Baby Pink 130 x 190mm Envelope
$29.25
Baby Pink non standard envelopes are made from a 100% 120gsm recycled paper stock. This...


Baby Pink C6 Envelope
$0.40 $0.60
Baby Pink C6 envelopes are made from a pink 120gsm recycled matte paper-stock. This banker...
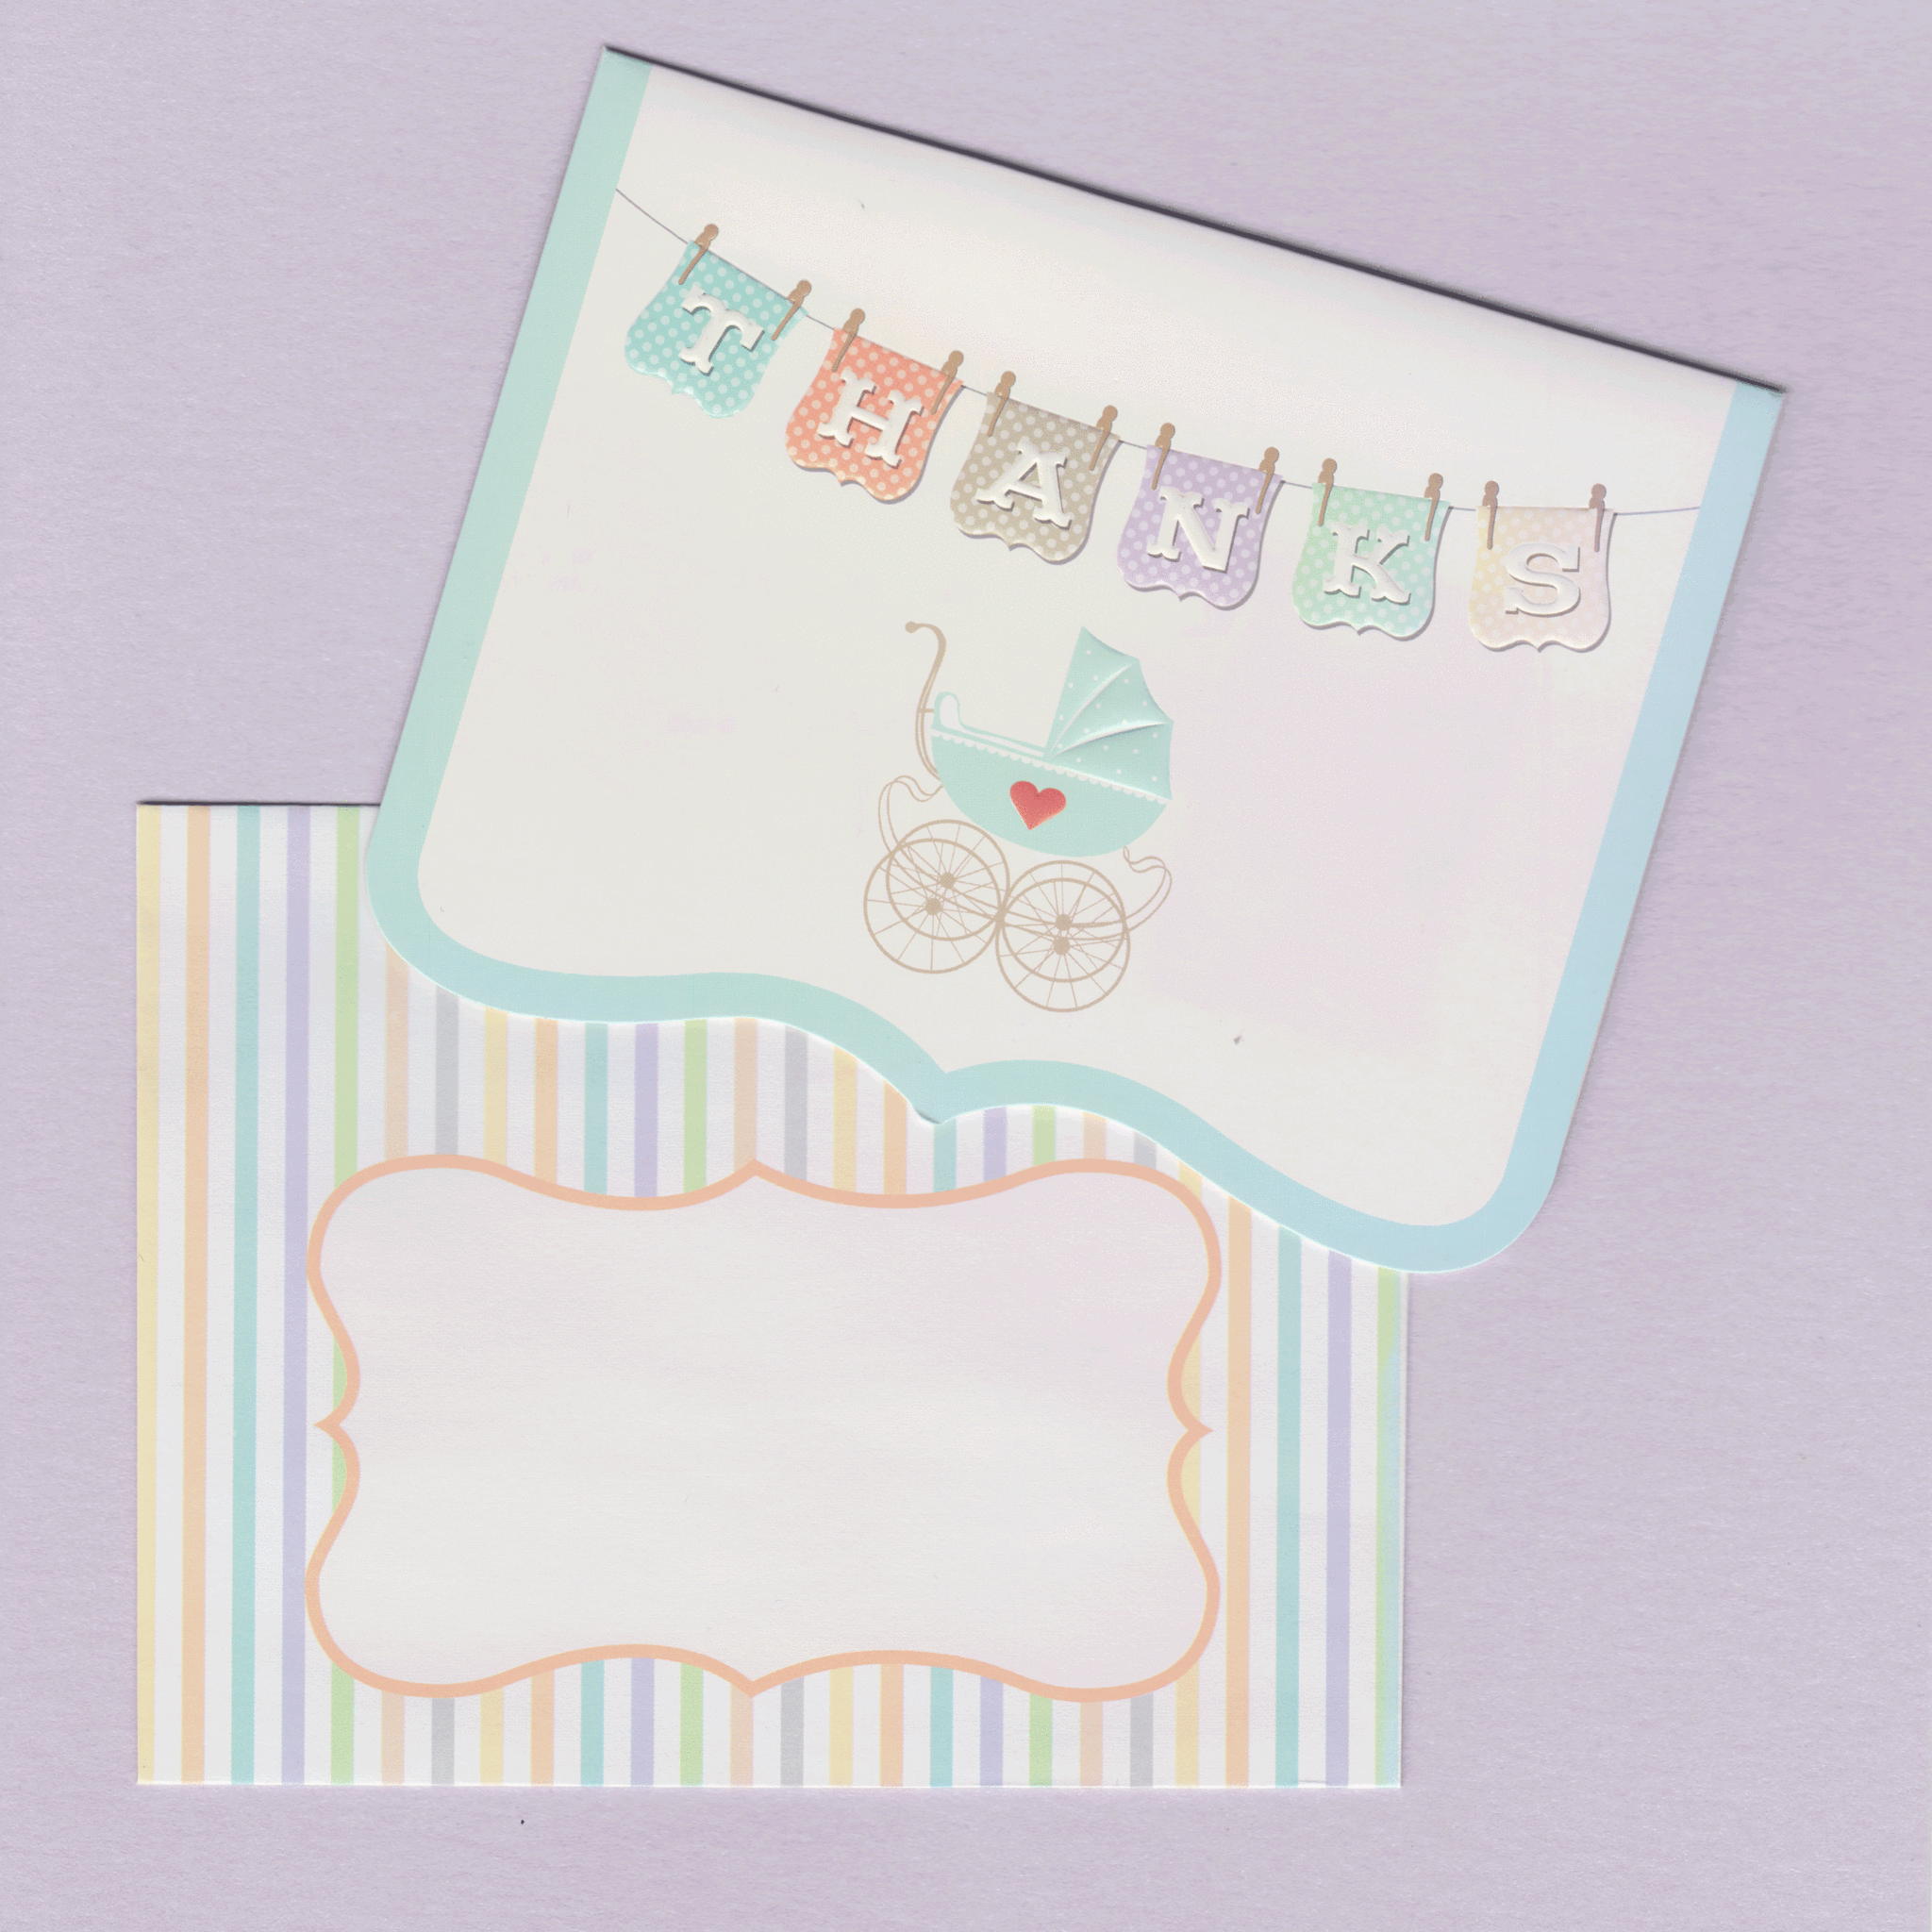
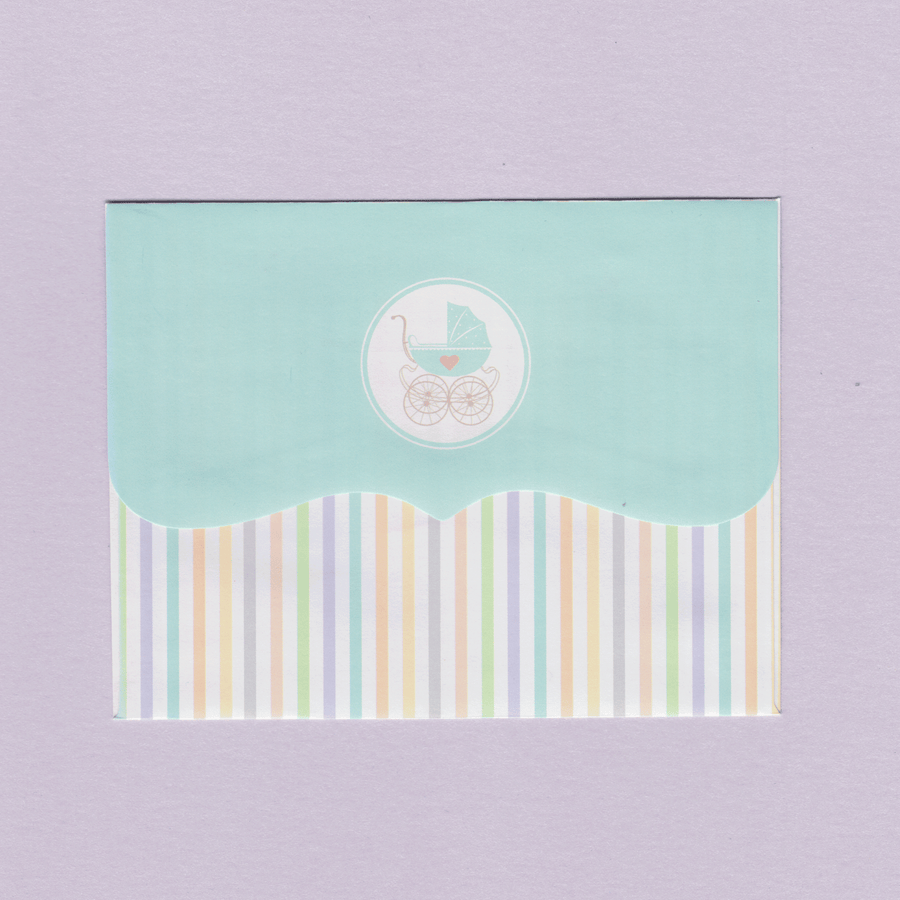
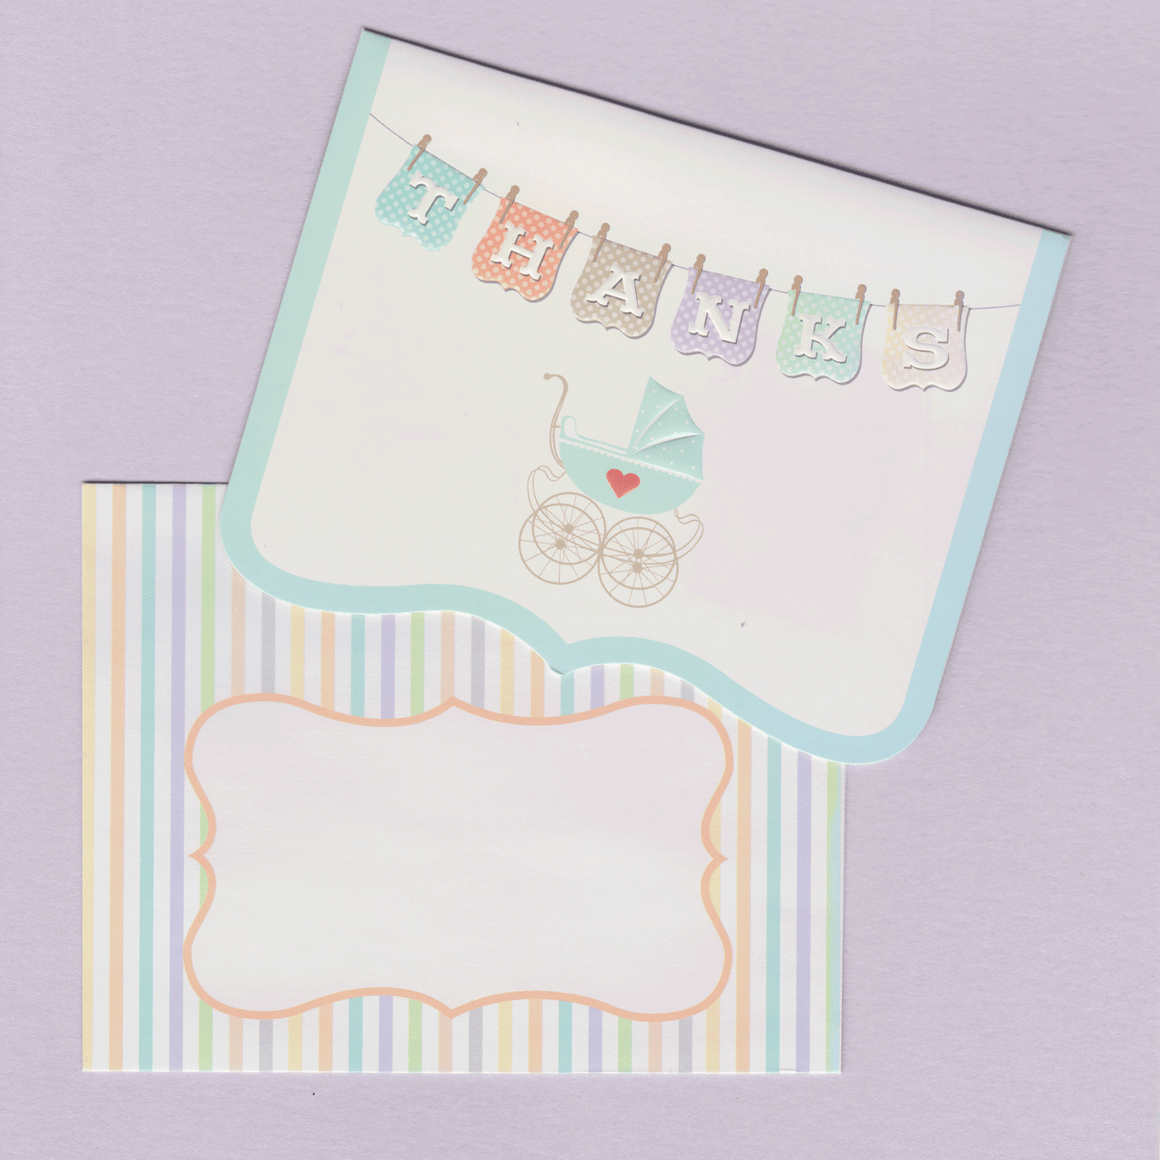
Baby Shower Thank You Cards
$8.00 $15.95
These "Thanks" bi-fold cards are printed with a bunting and pram design. The inside is...
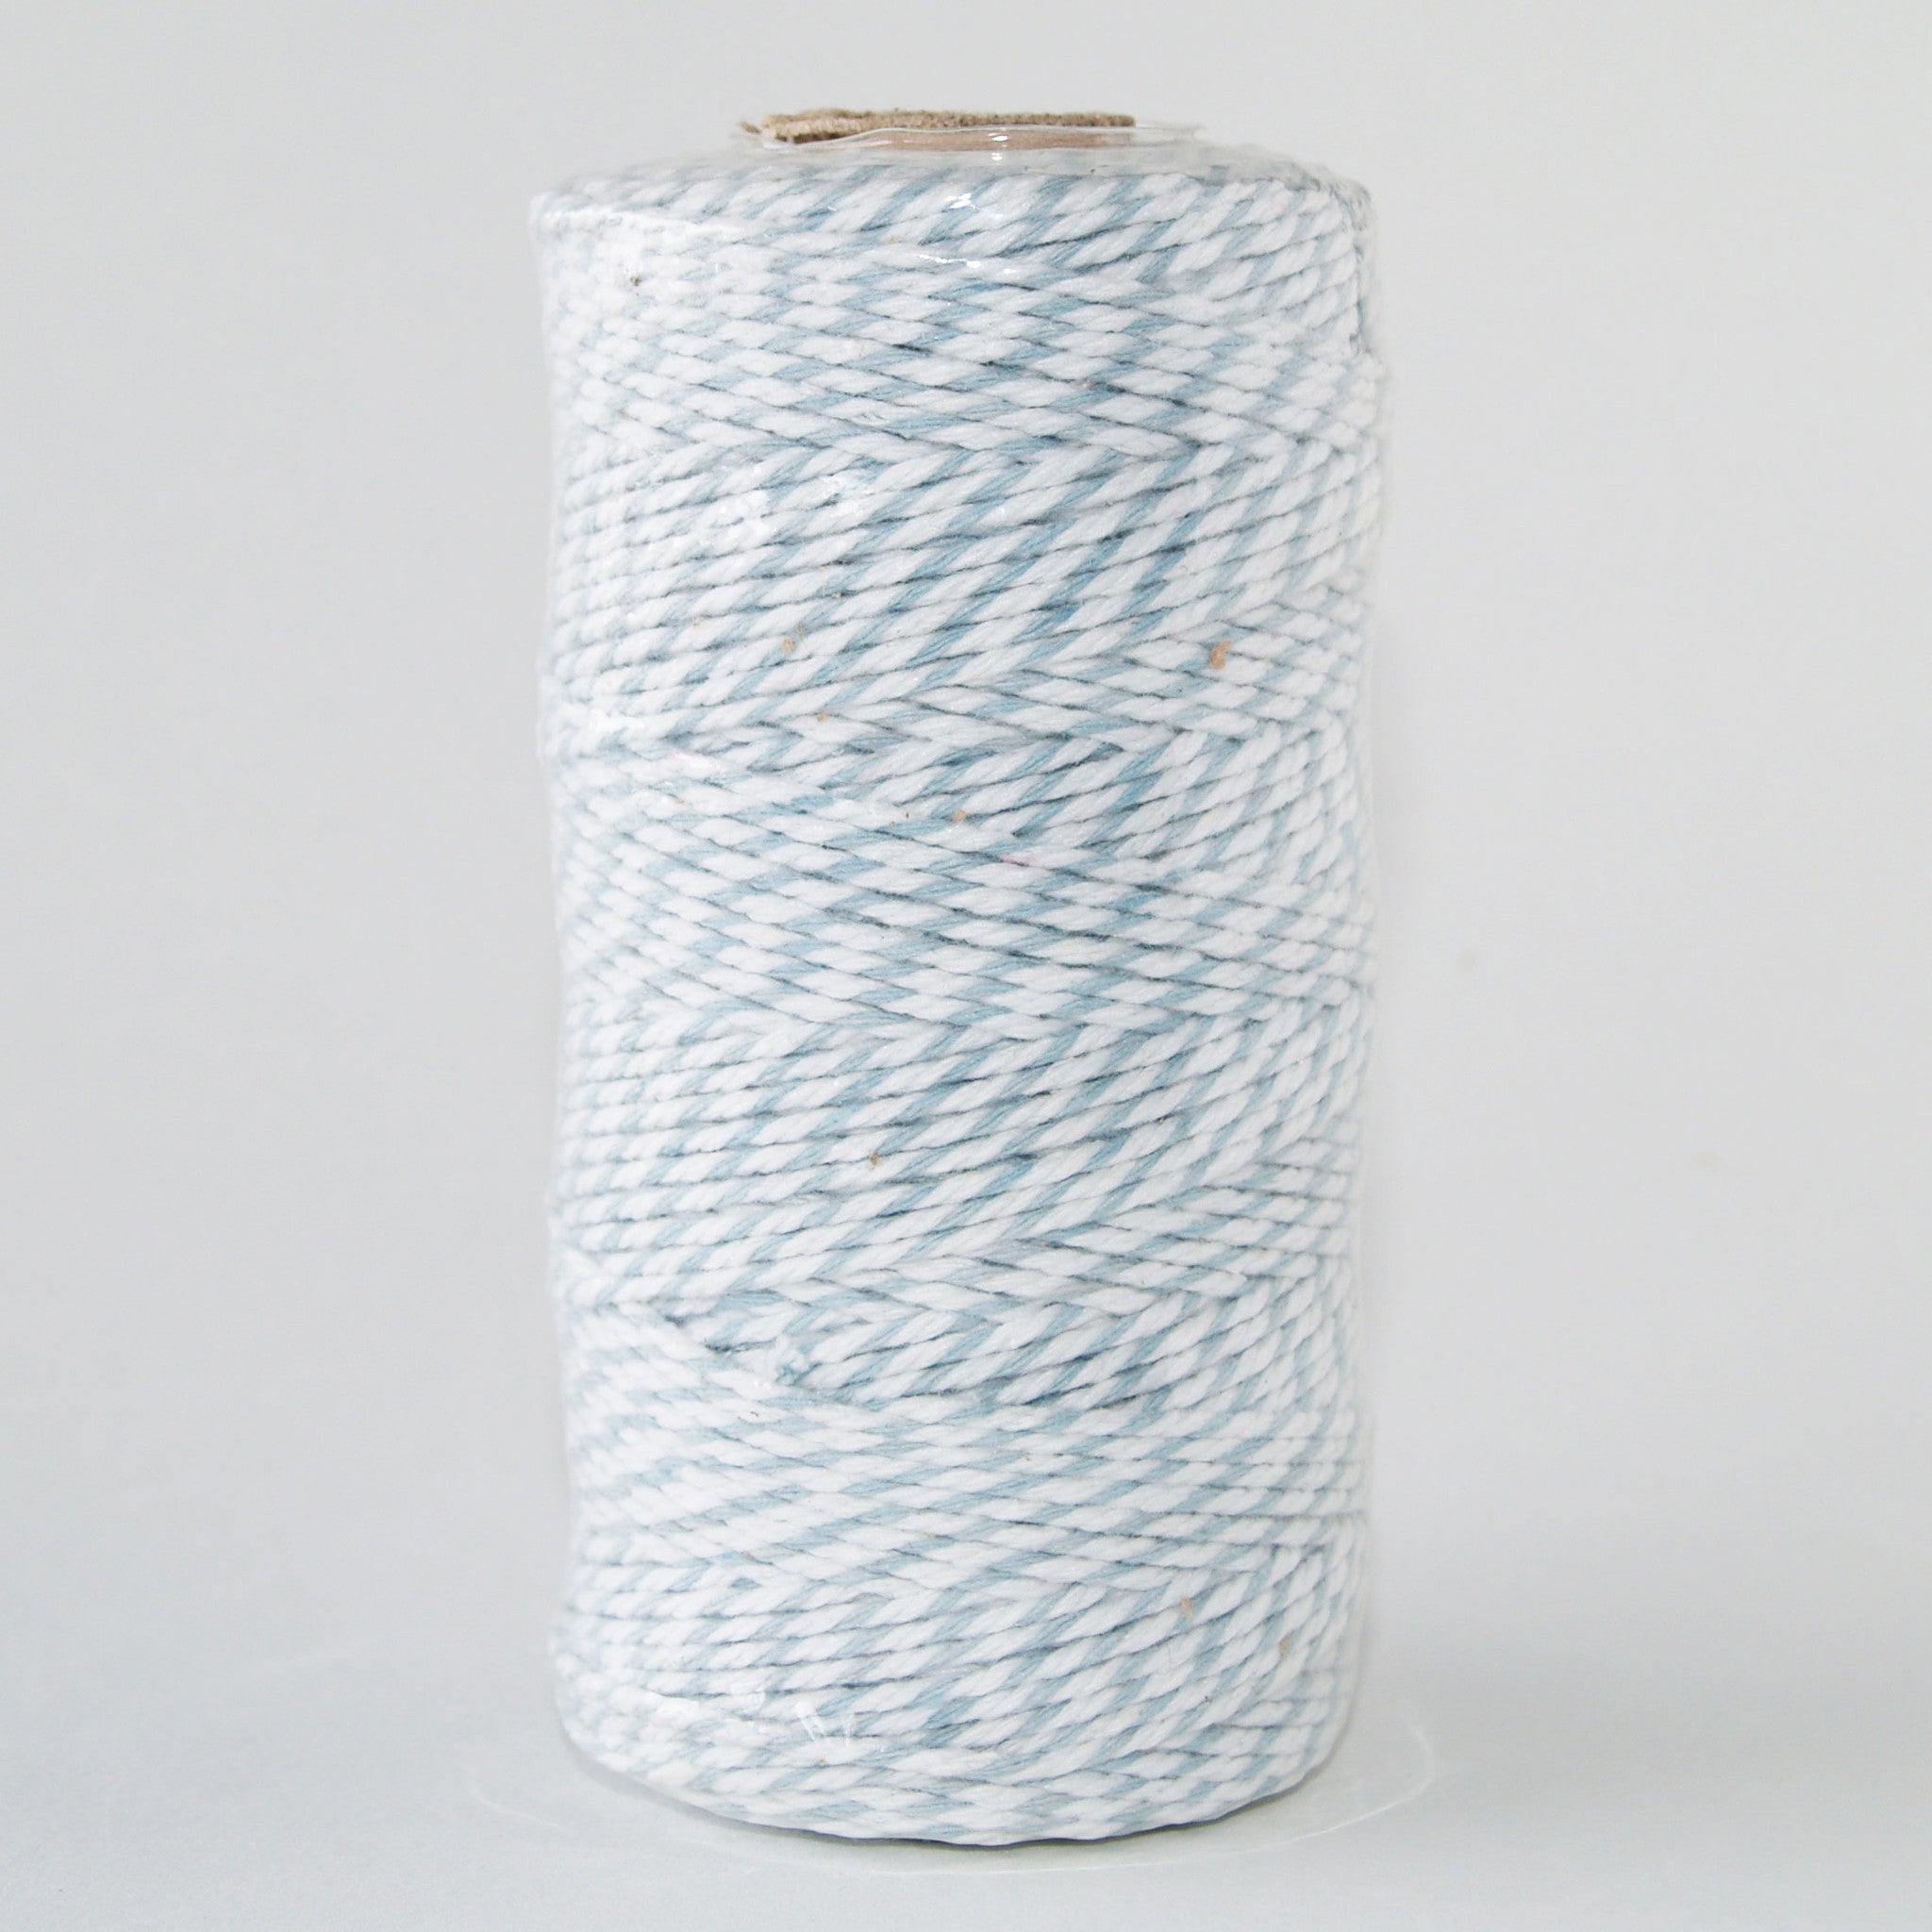
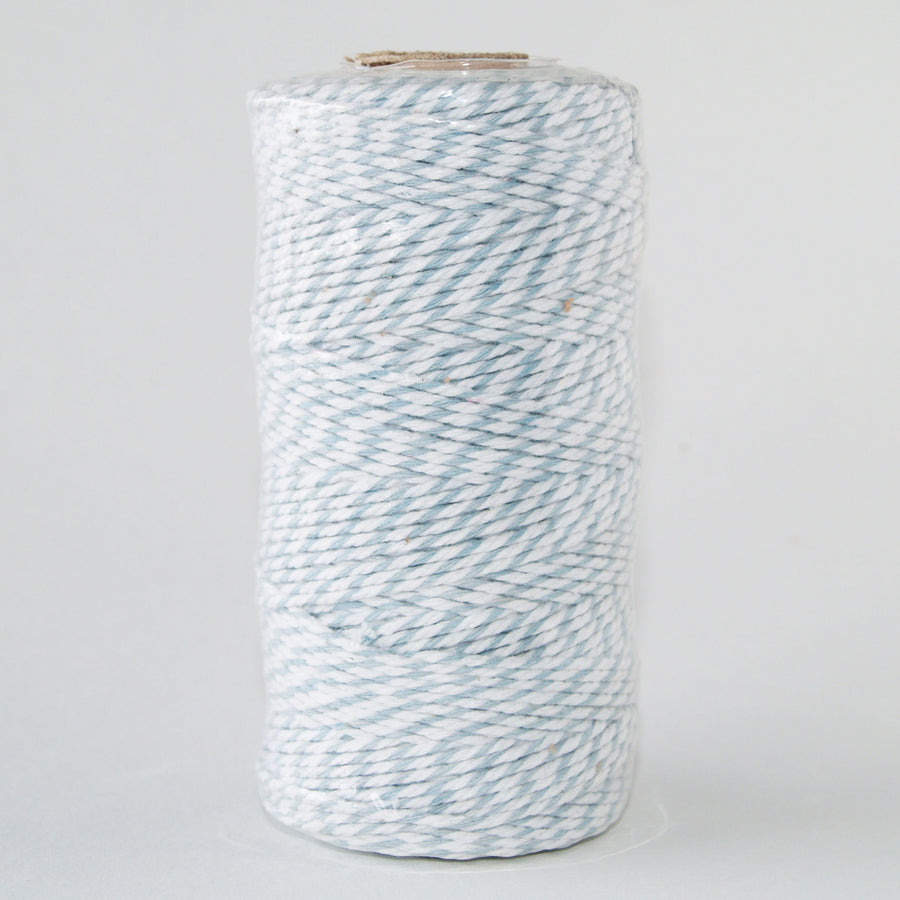
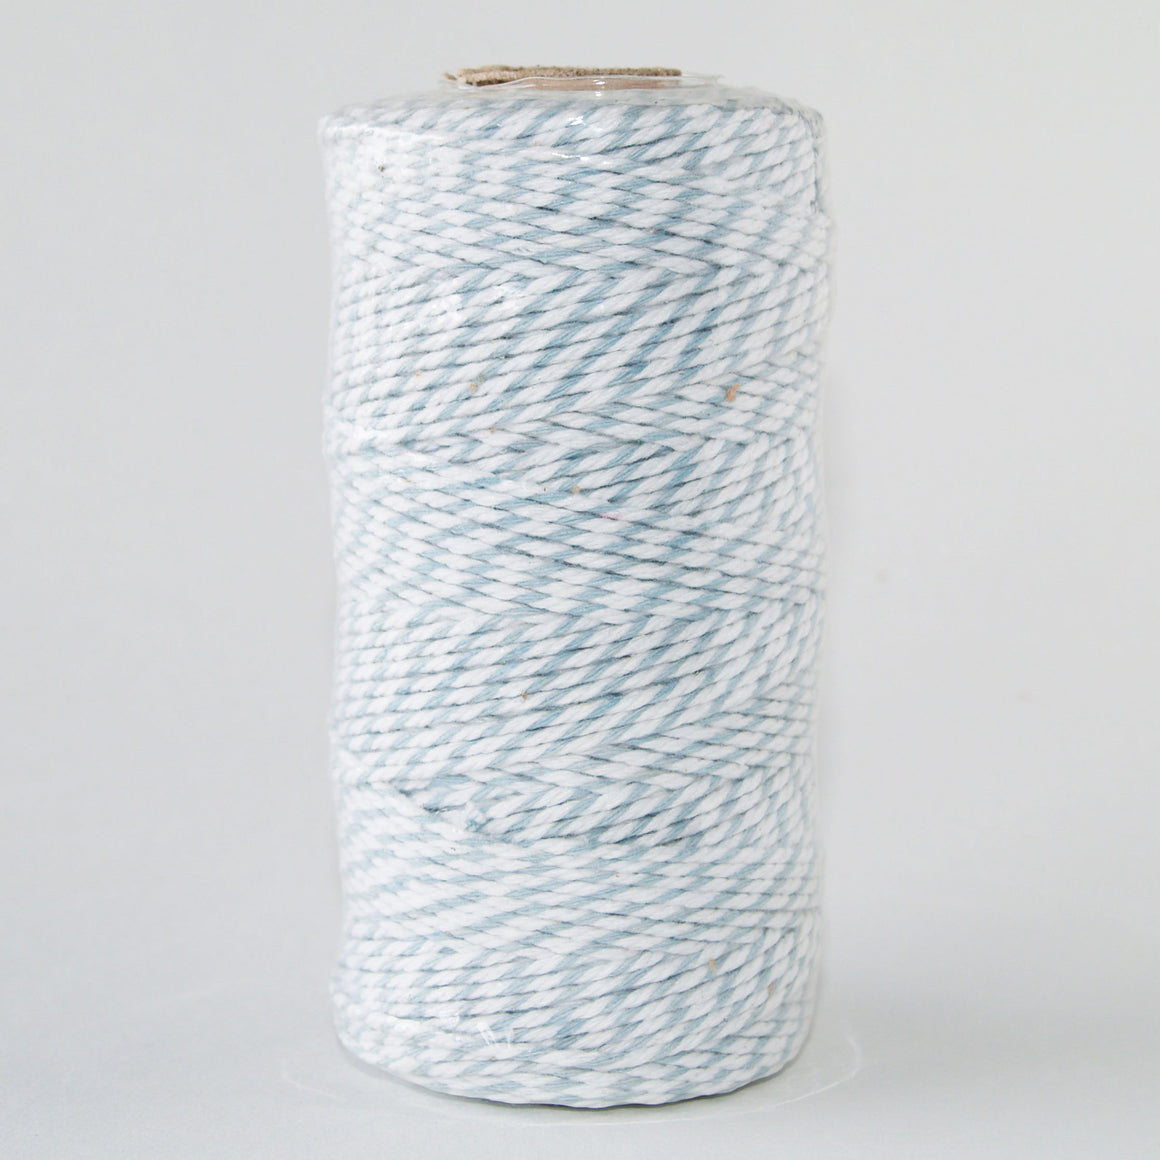
Bakers Twine French Blue and White
$6.95 $14.95
Pale French Blue and white cotton 12 ply twine in 100mt rolls. Bakers Twine can be...
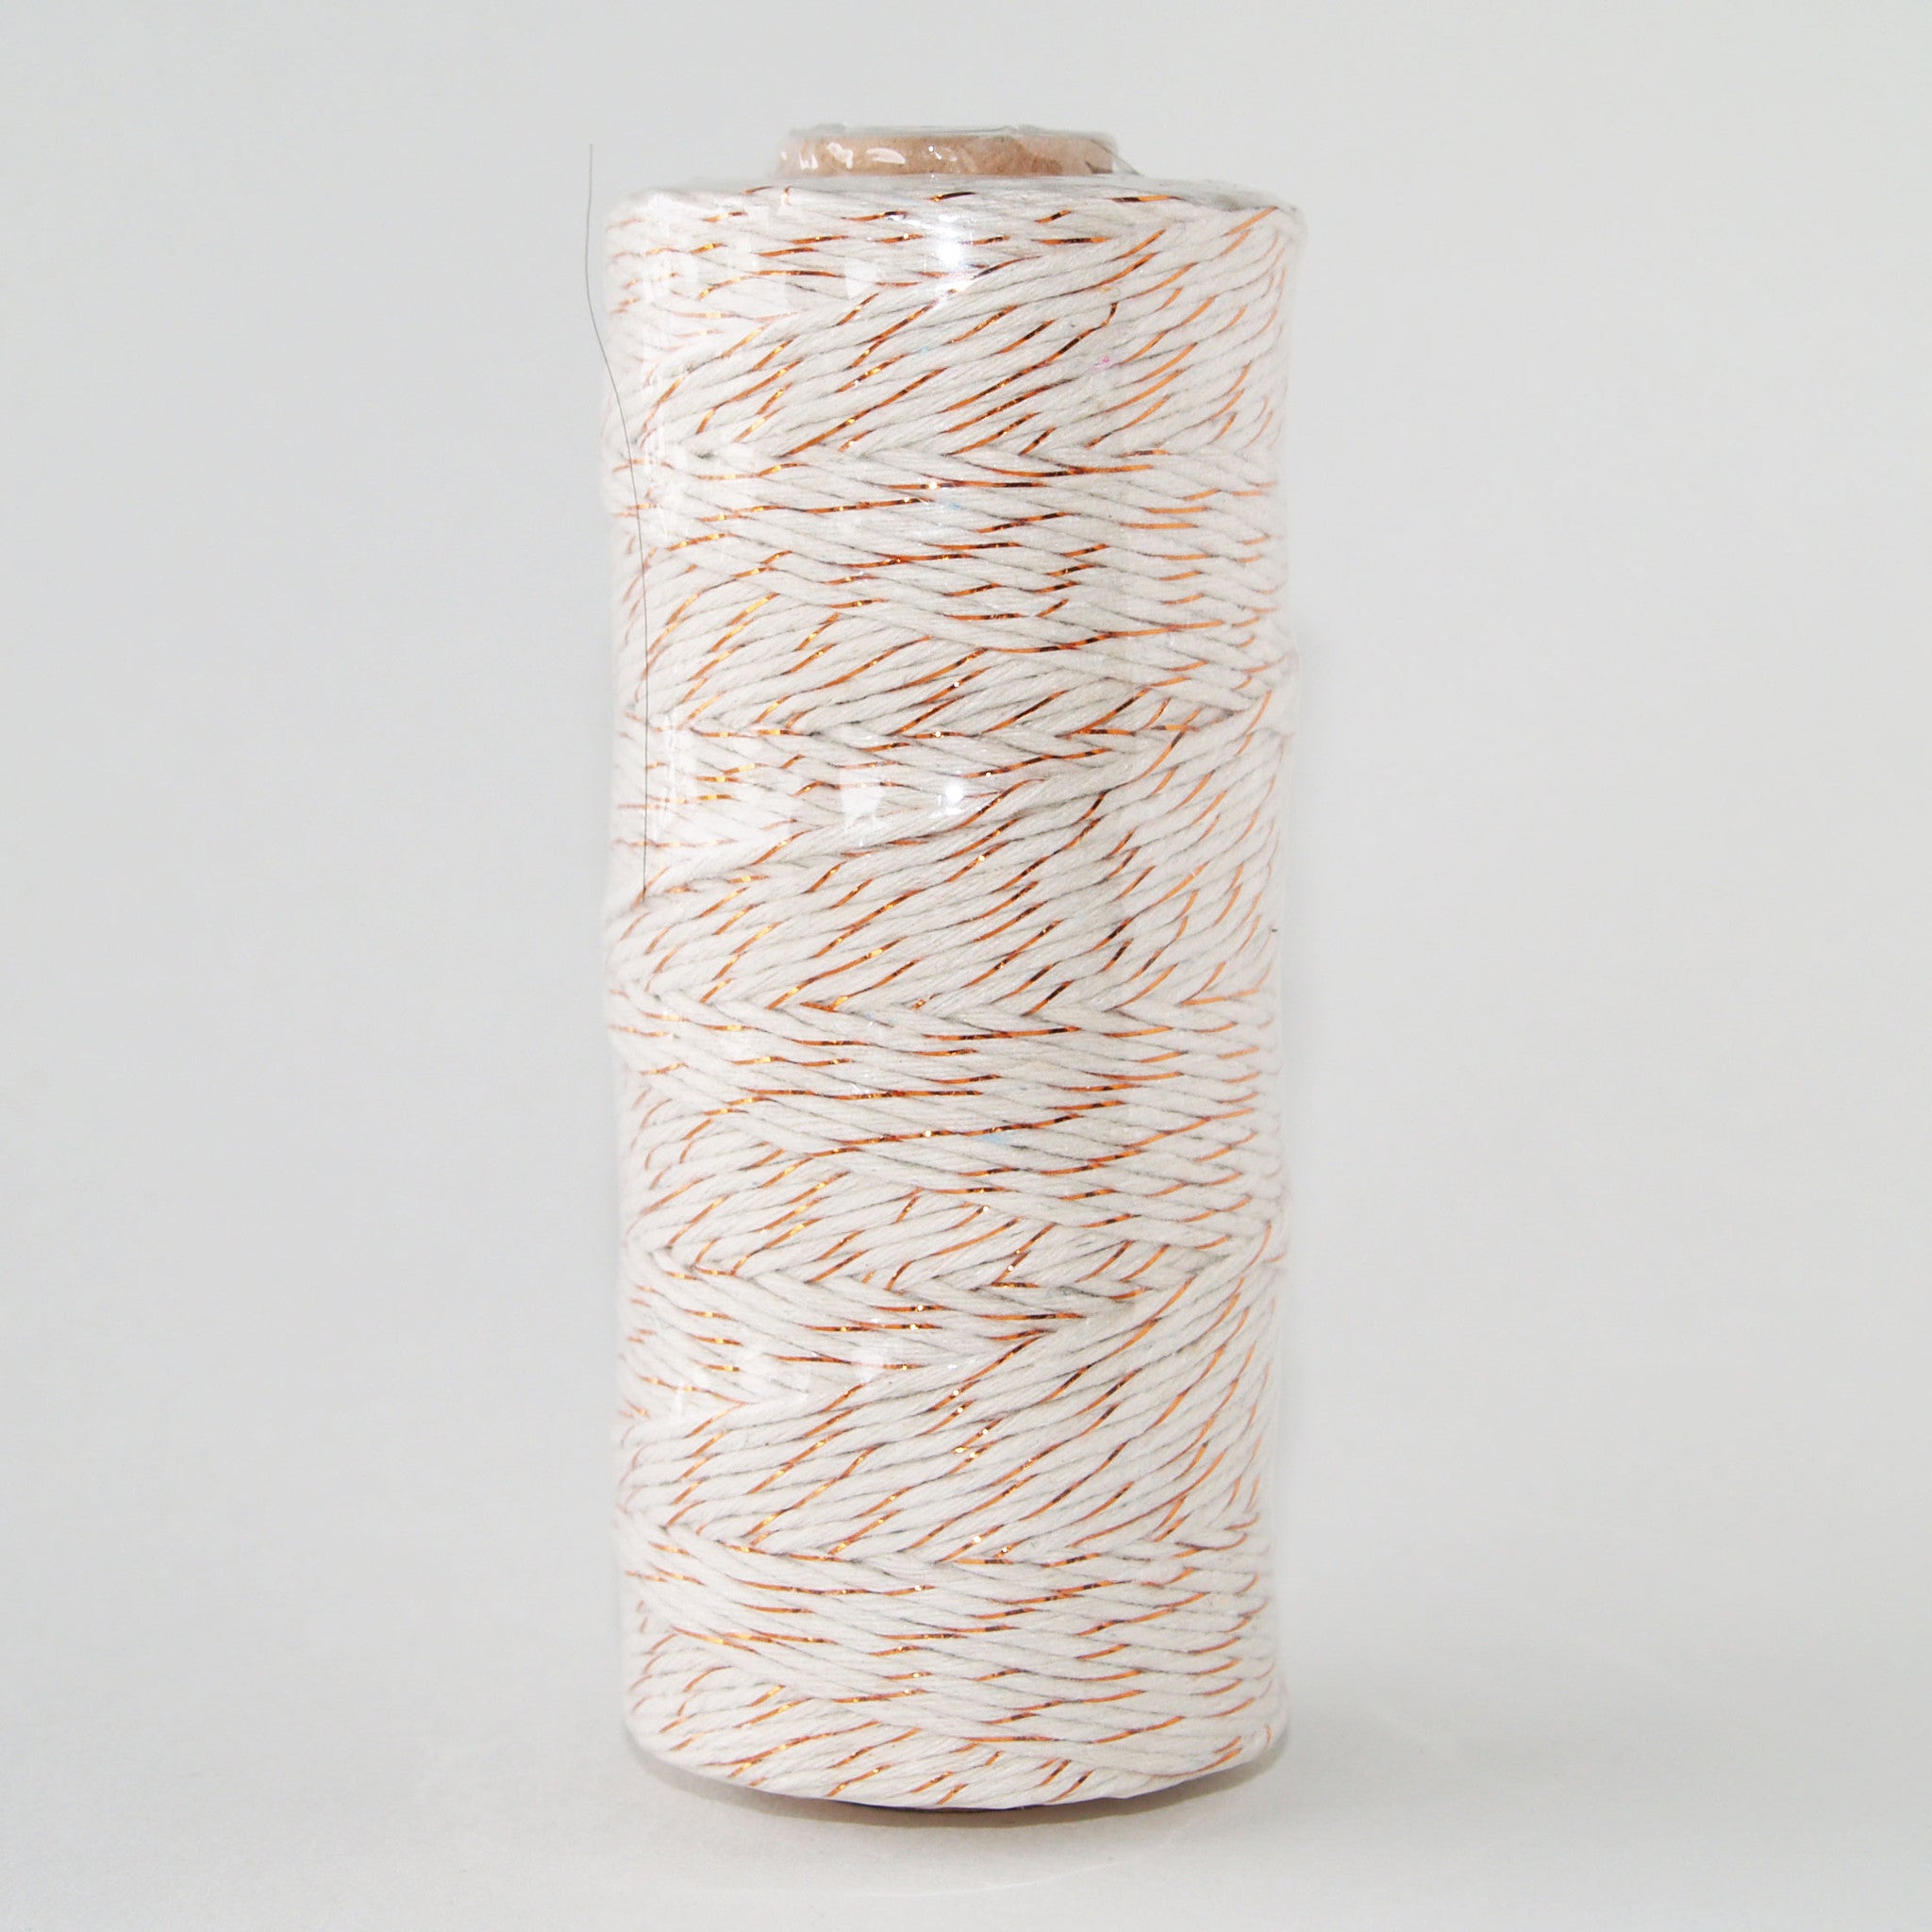
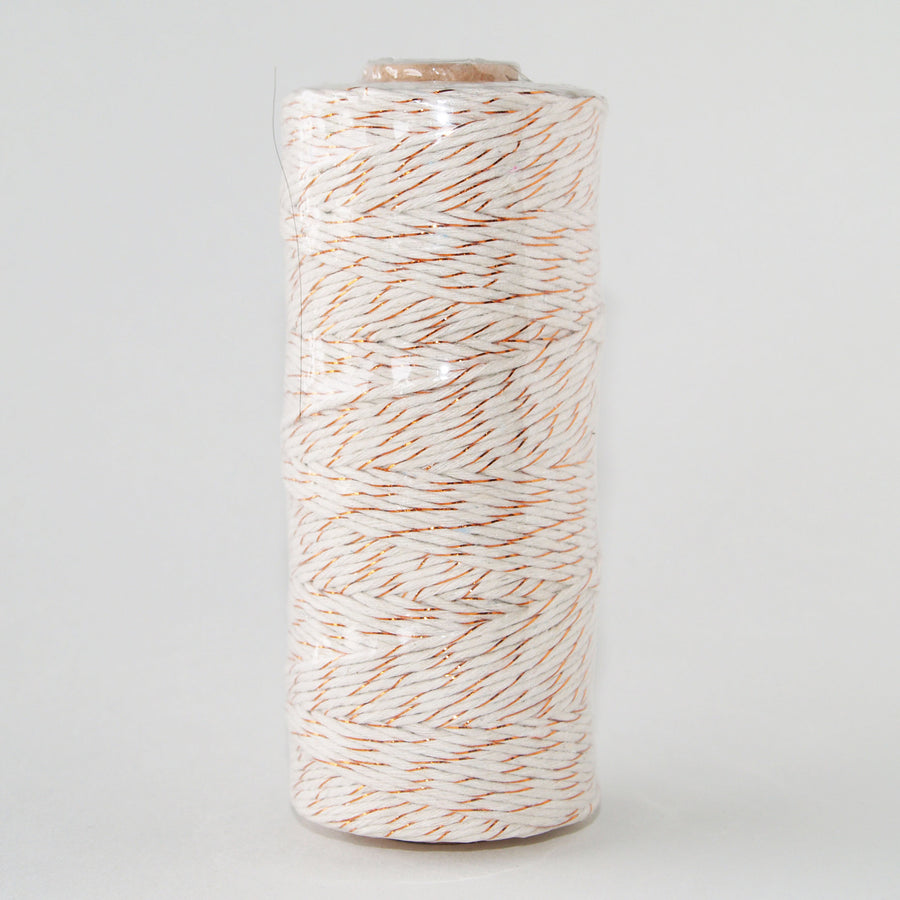
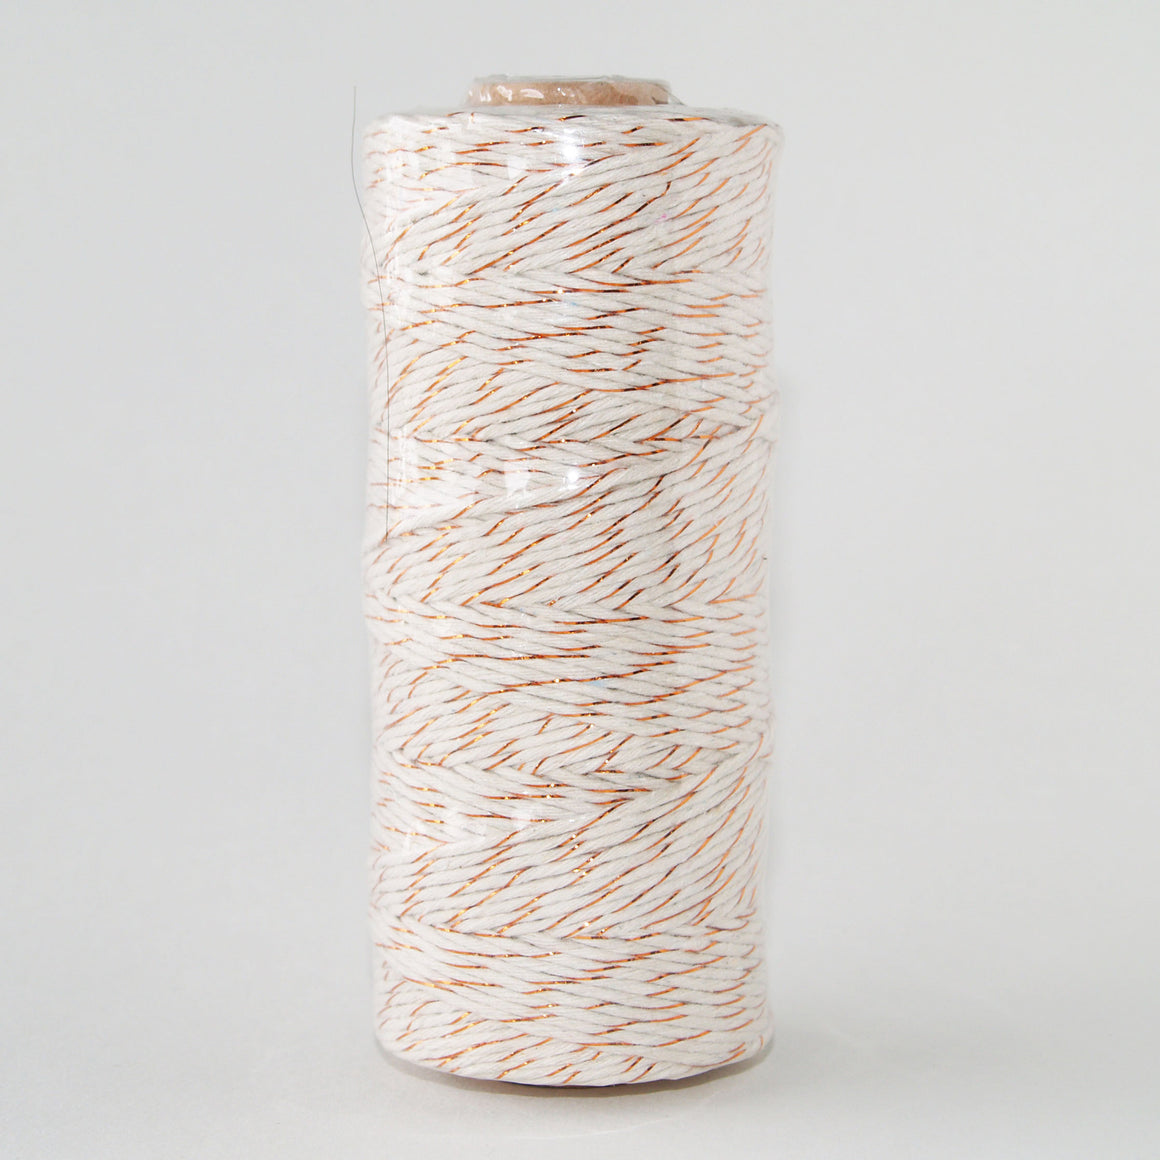
Bakers Twine Metallic Copper and White
$6.95 $14.95
Copper lame and white cotton 10 ply twine in 100mt rolls. Bakers Twine can be used...

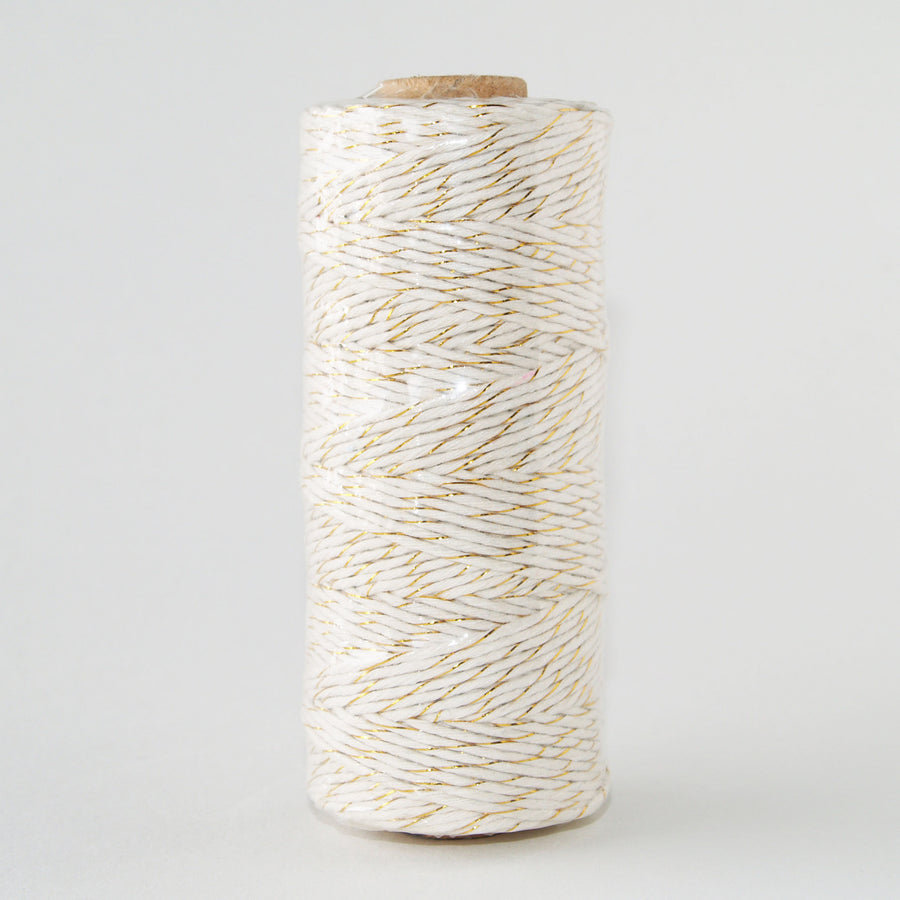

Bakers Twine Metallic Gold and White
$6.95 $14.95
Gold lame and white cotton 10 ply twine in 100mt rolls. Bakers Twine can be used...
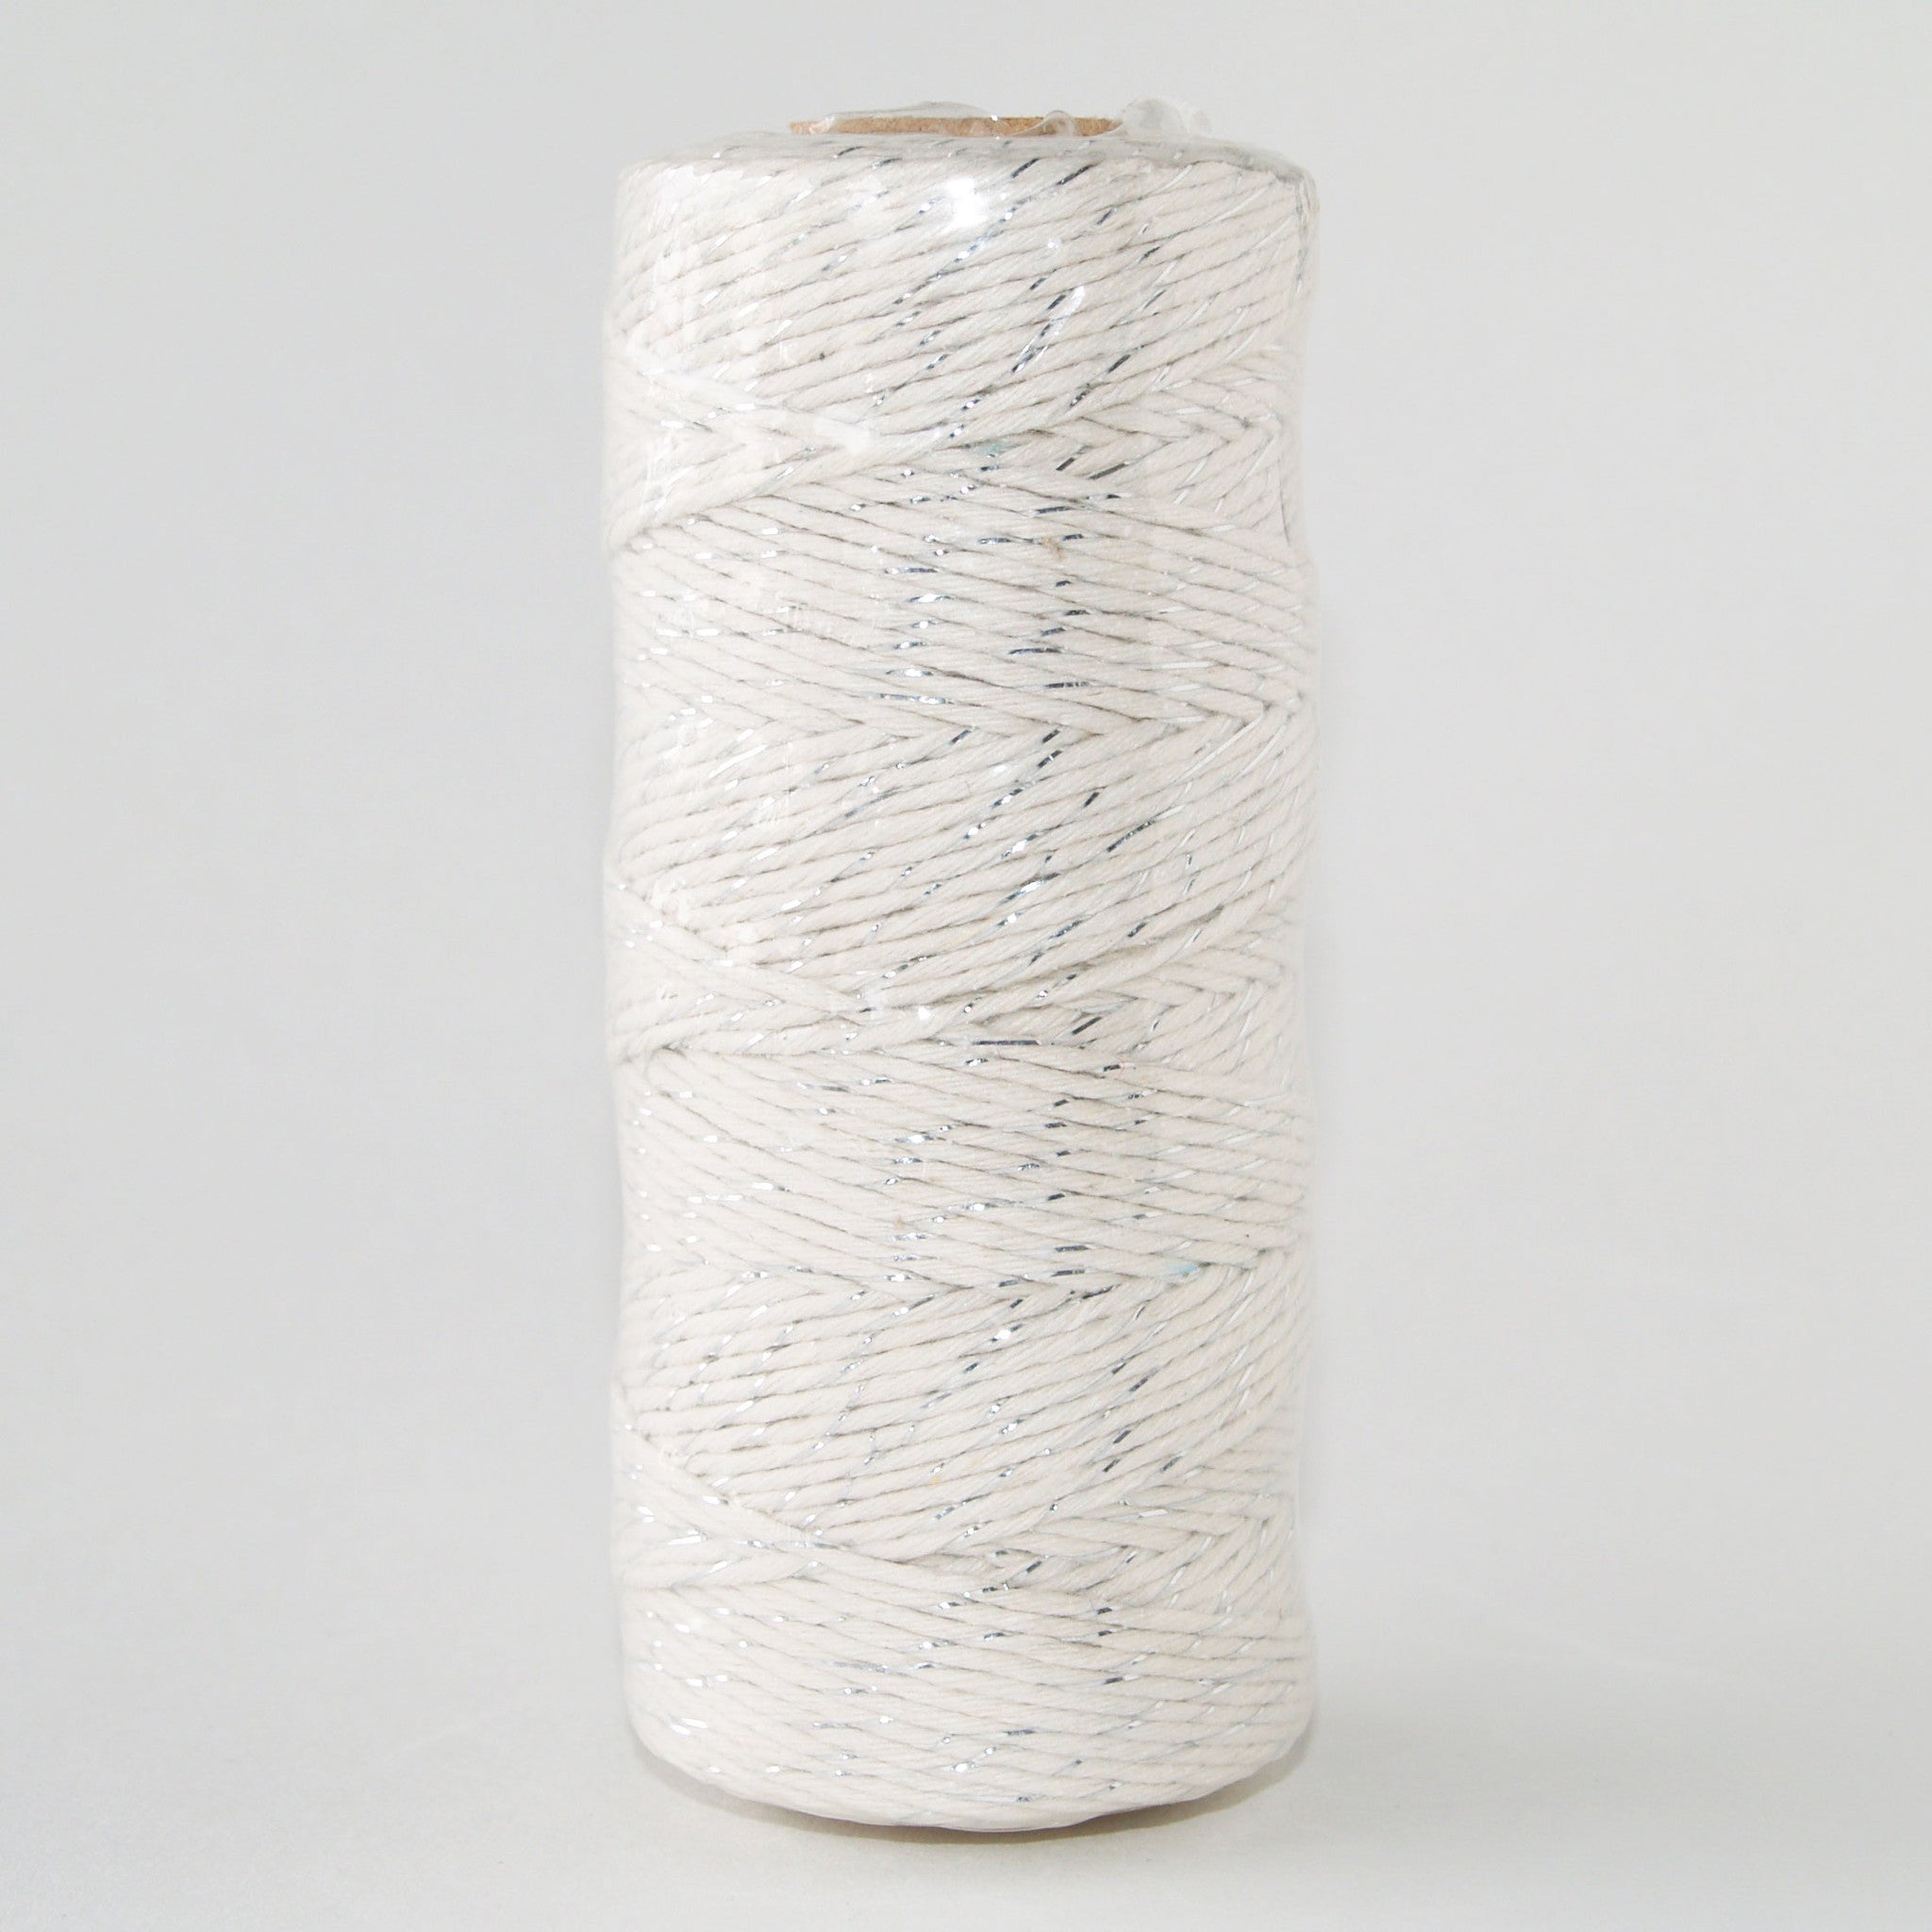
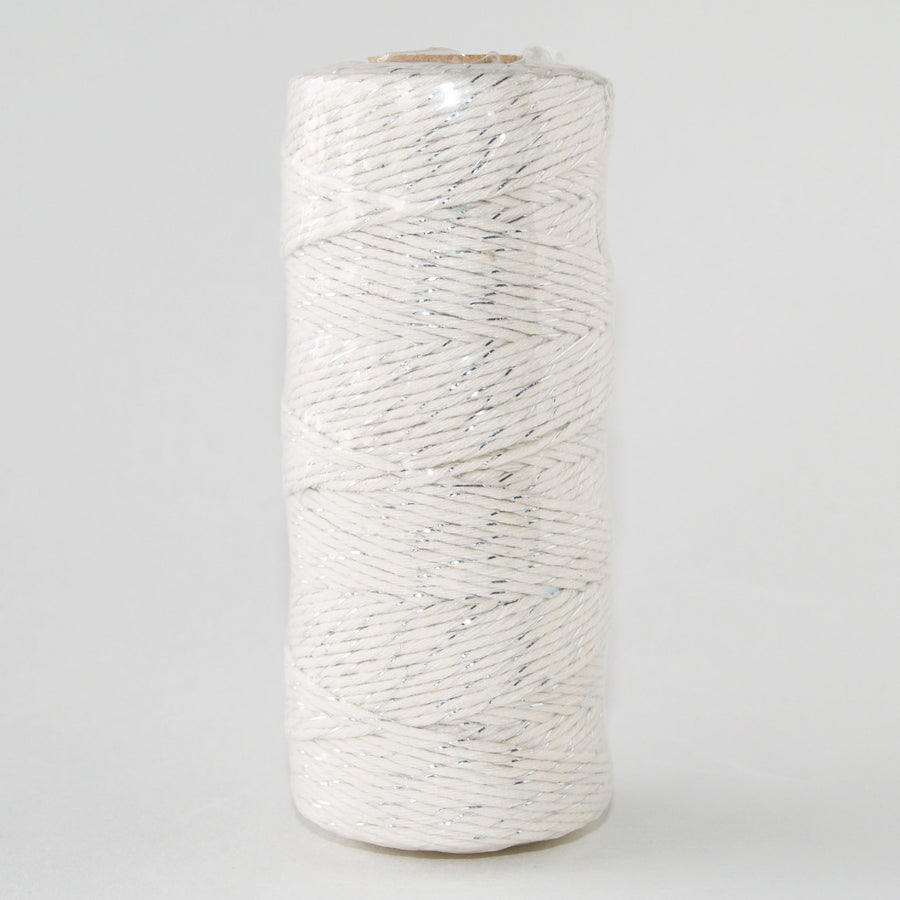
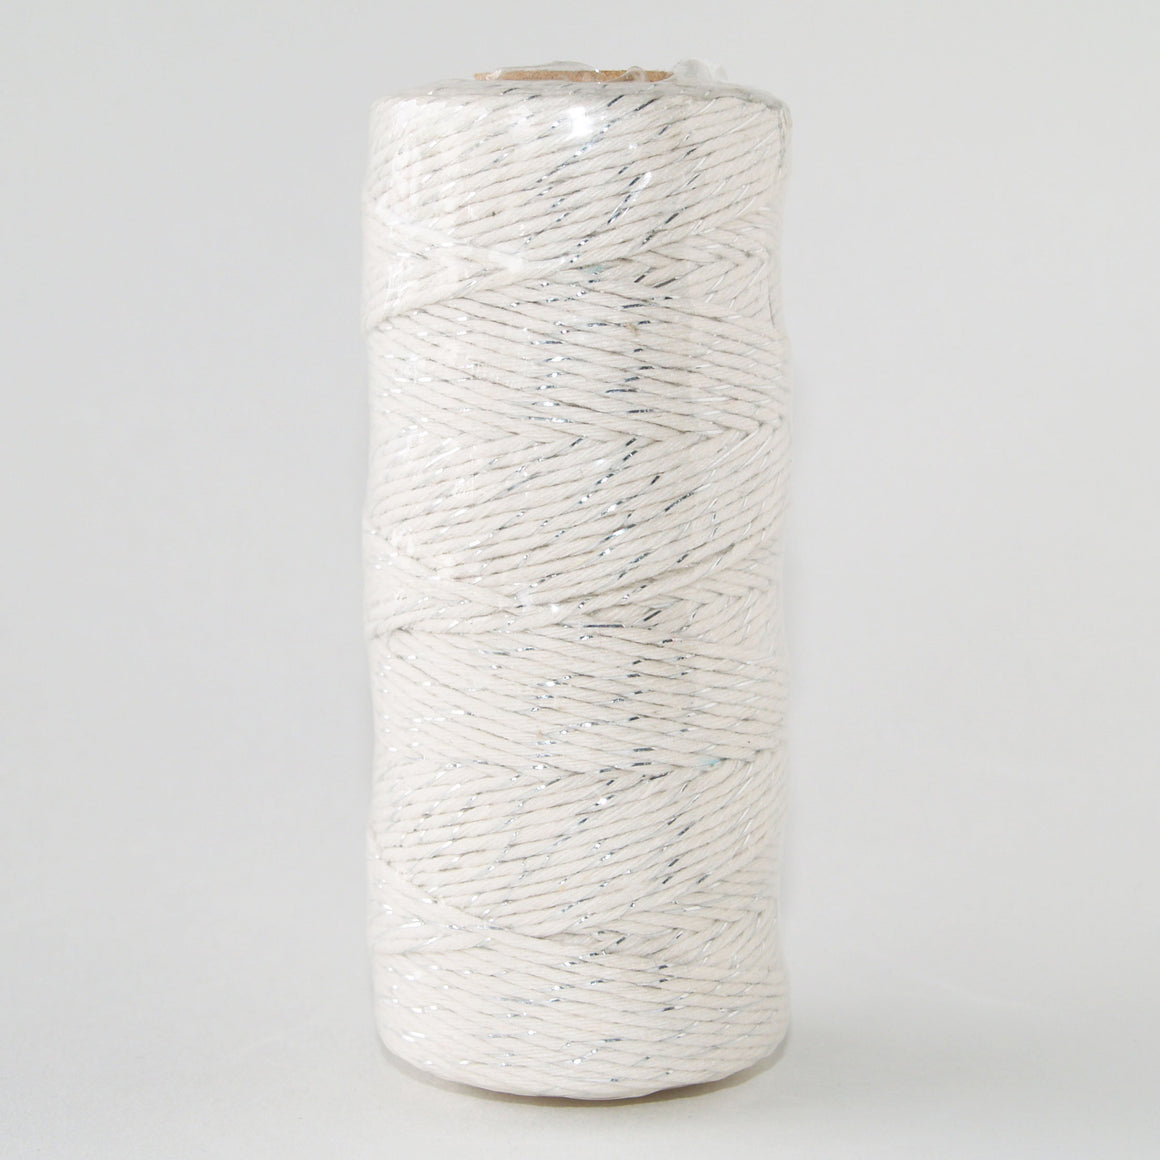
Bakers Twine Metallic Silver and White
$6.95 $14.95
Silver lame and white cotton 10 ply twine in 100mt rolls. Bakers Twine can be used...

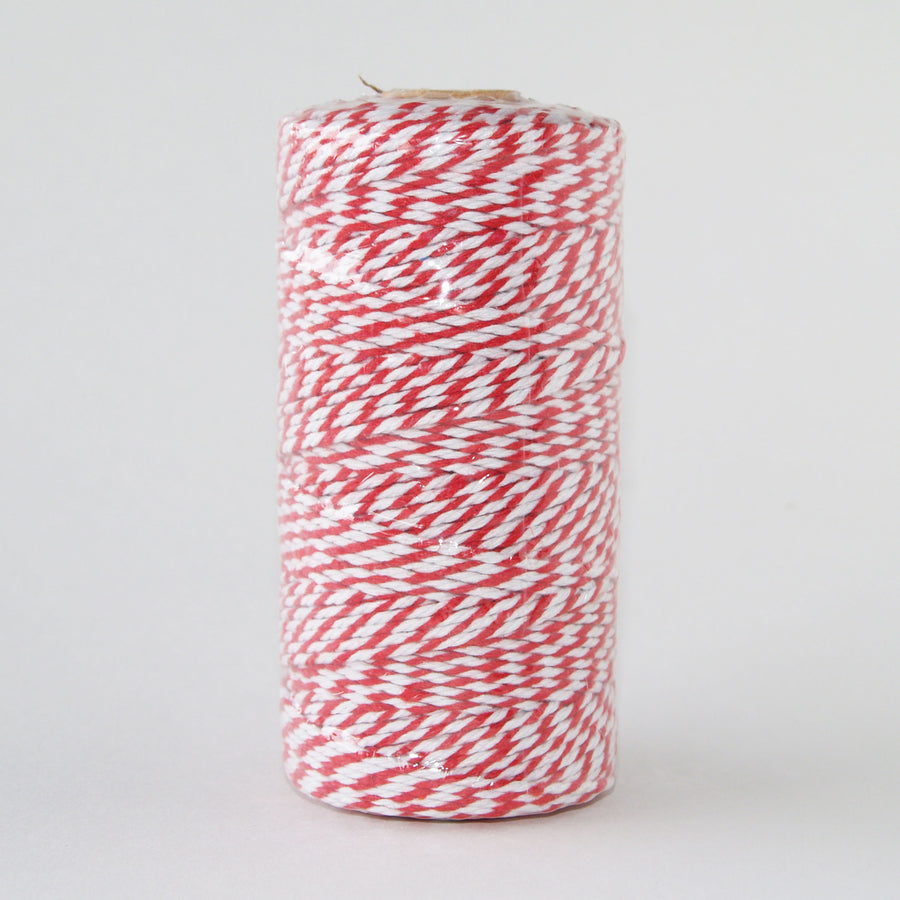

Bakers Twine Red and White
$6.95 $14.95
Red and white cotton 12 ply twine in 100mt rolls. Bakers Twine can be used to...
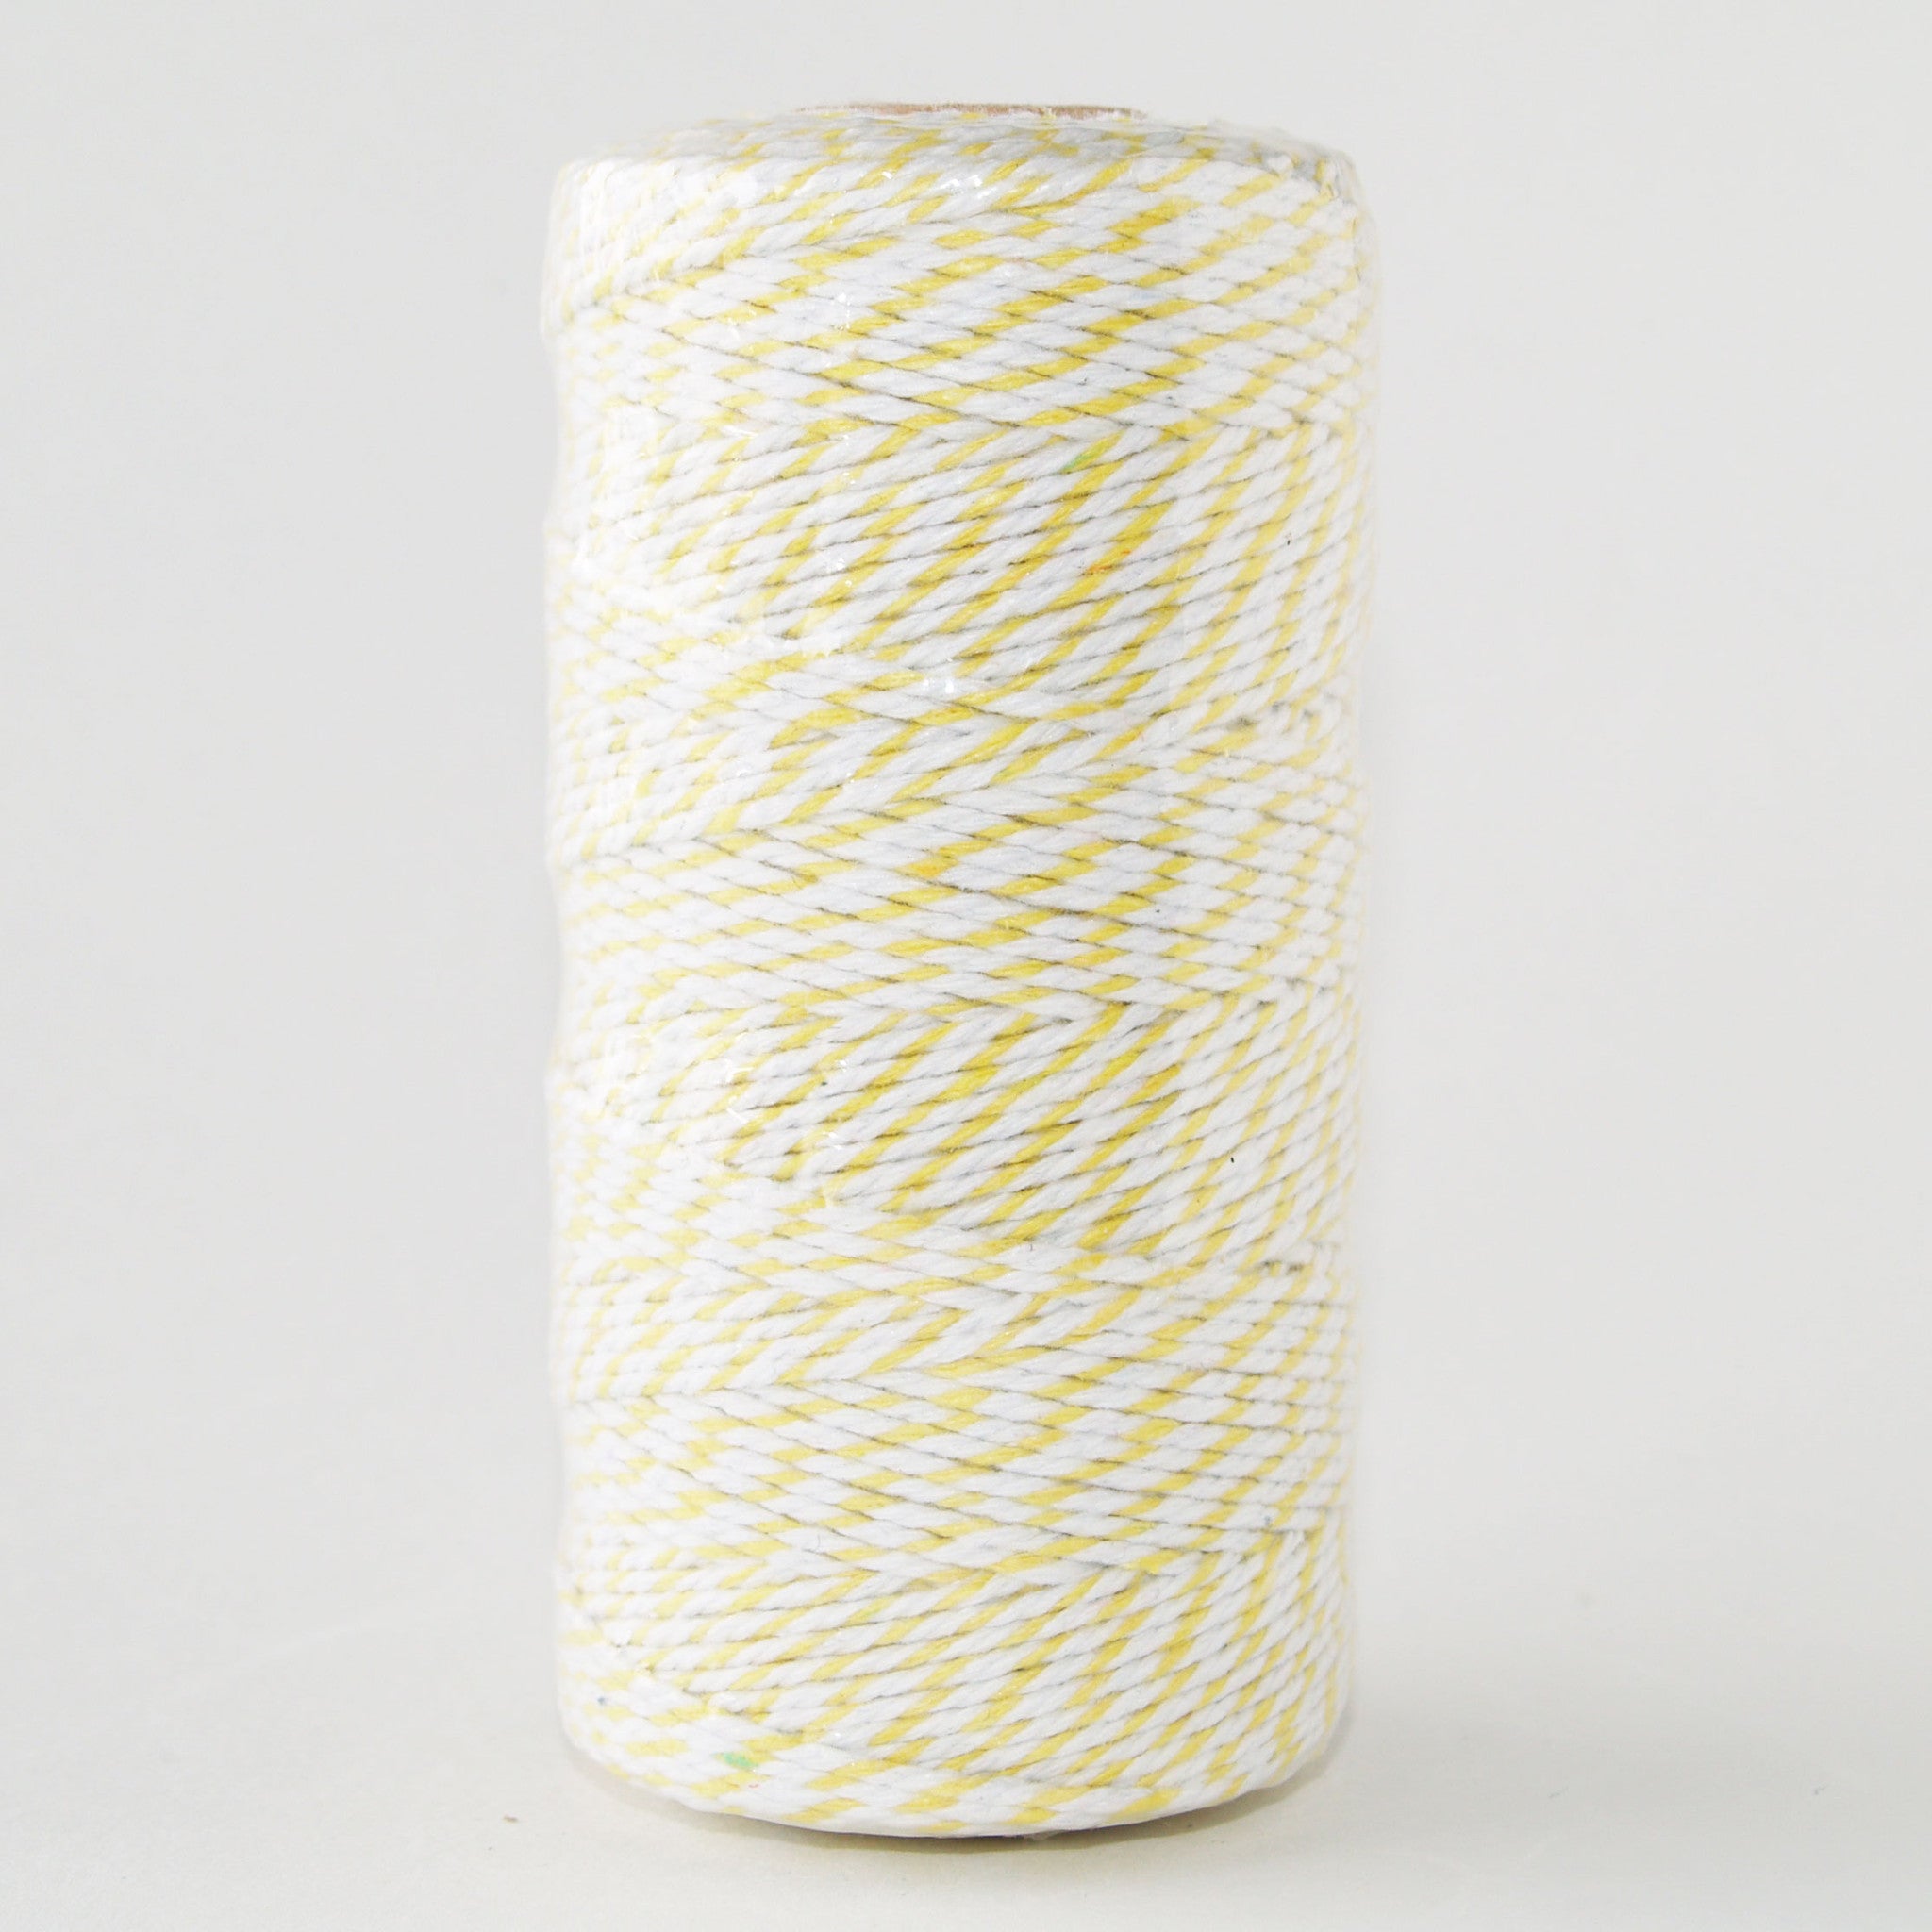
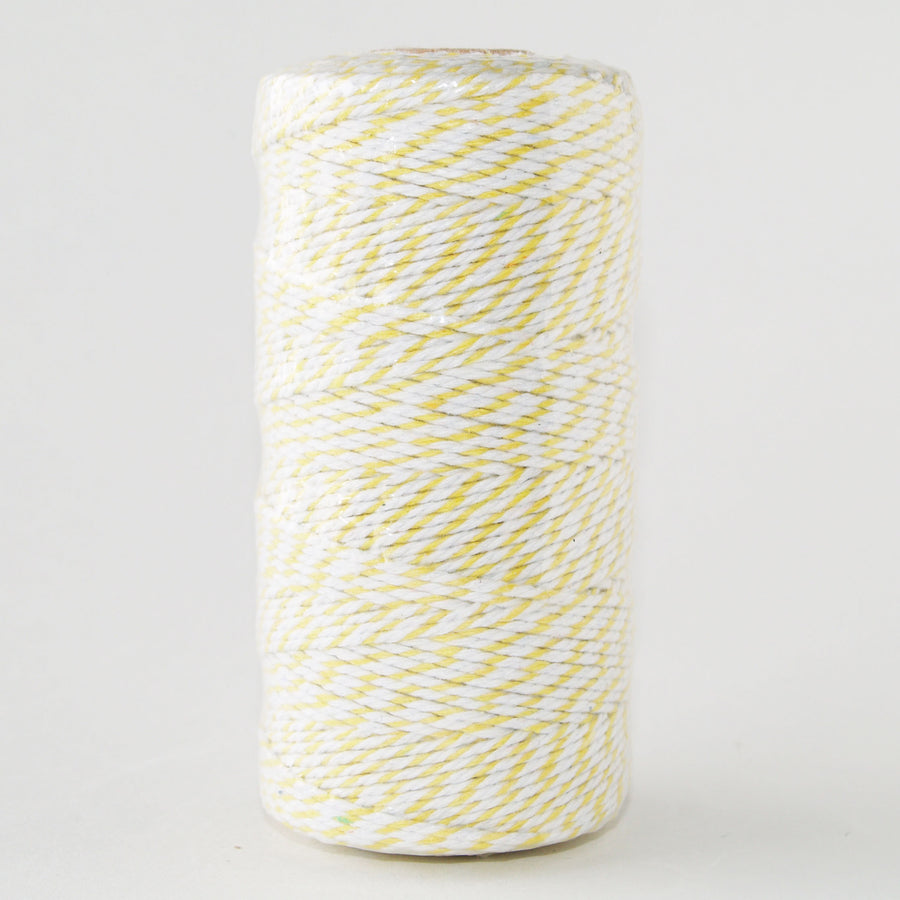
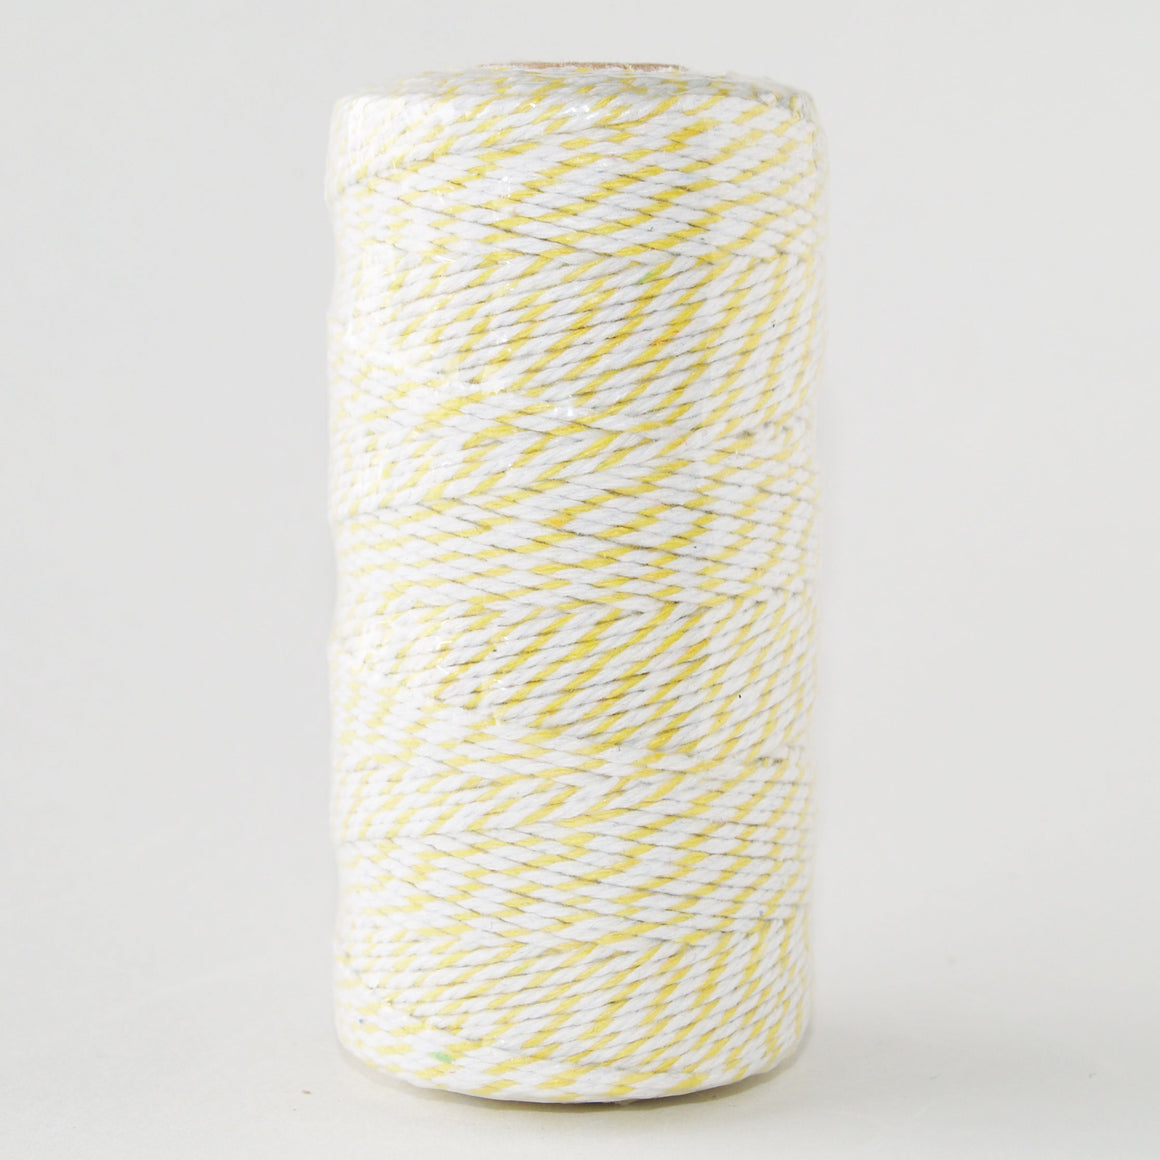
Bakers Twine Yellow and White
$6.95 $14.95
Yellow and white cotton 12 ply twine in 100mt rolls. Bakers Twine can be used to...


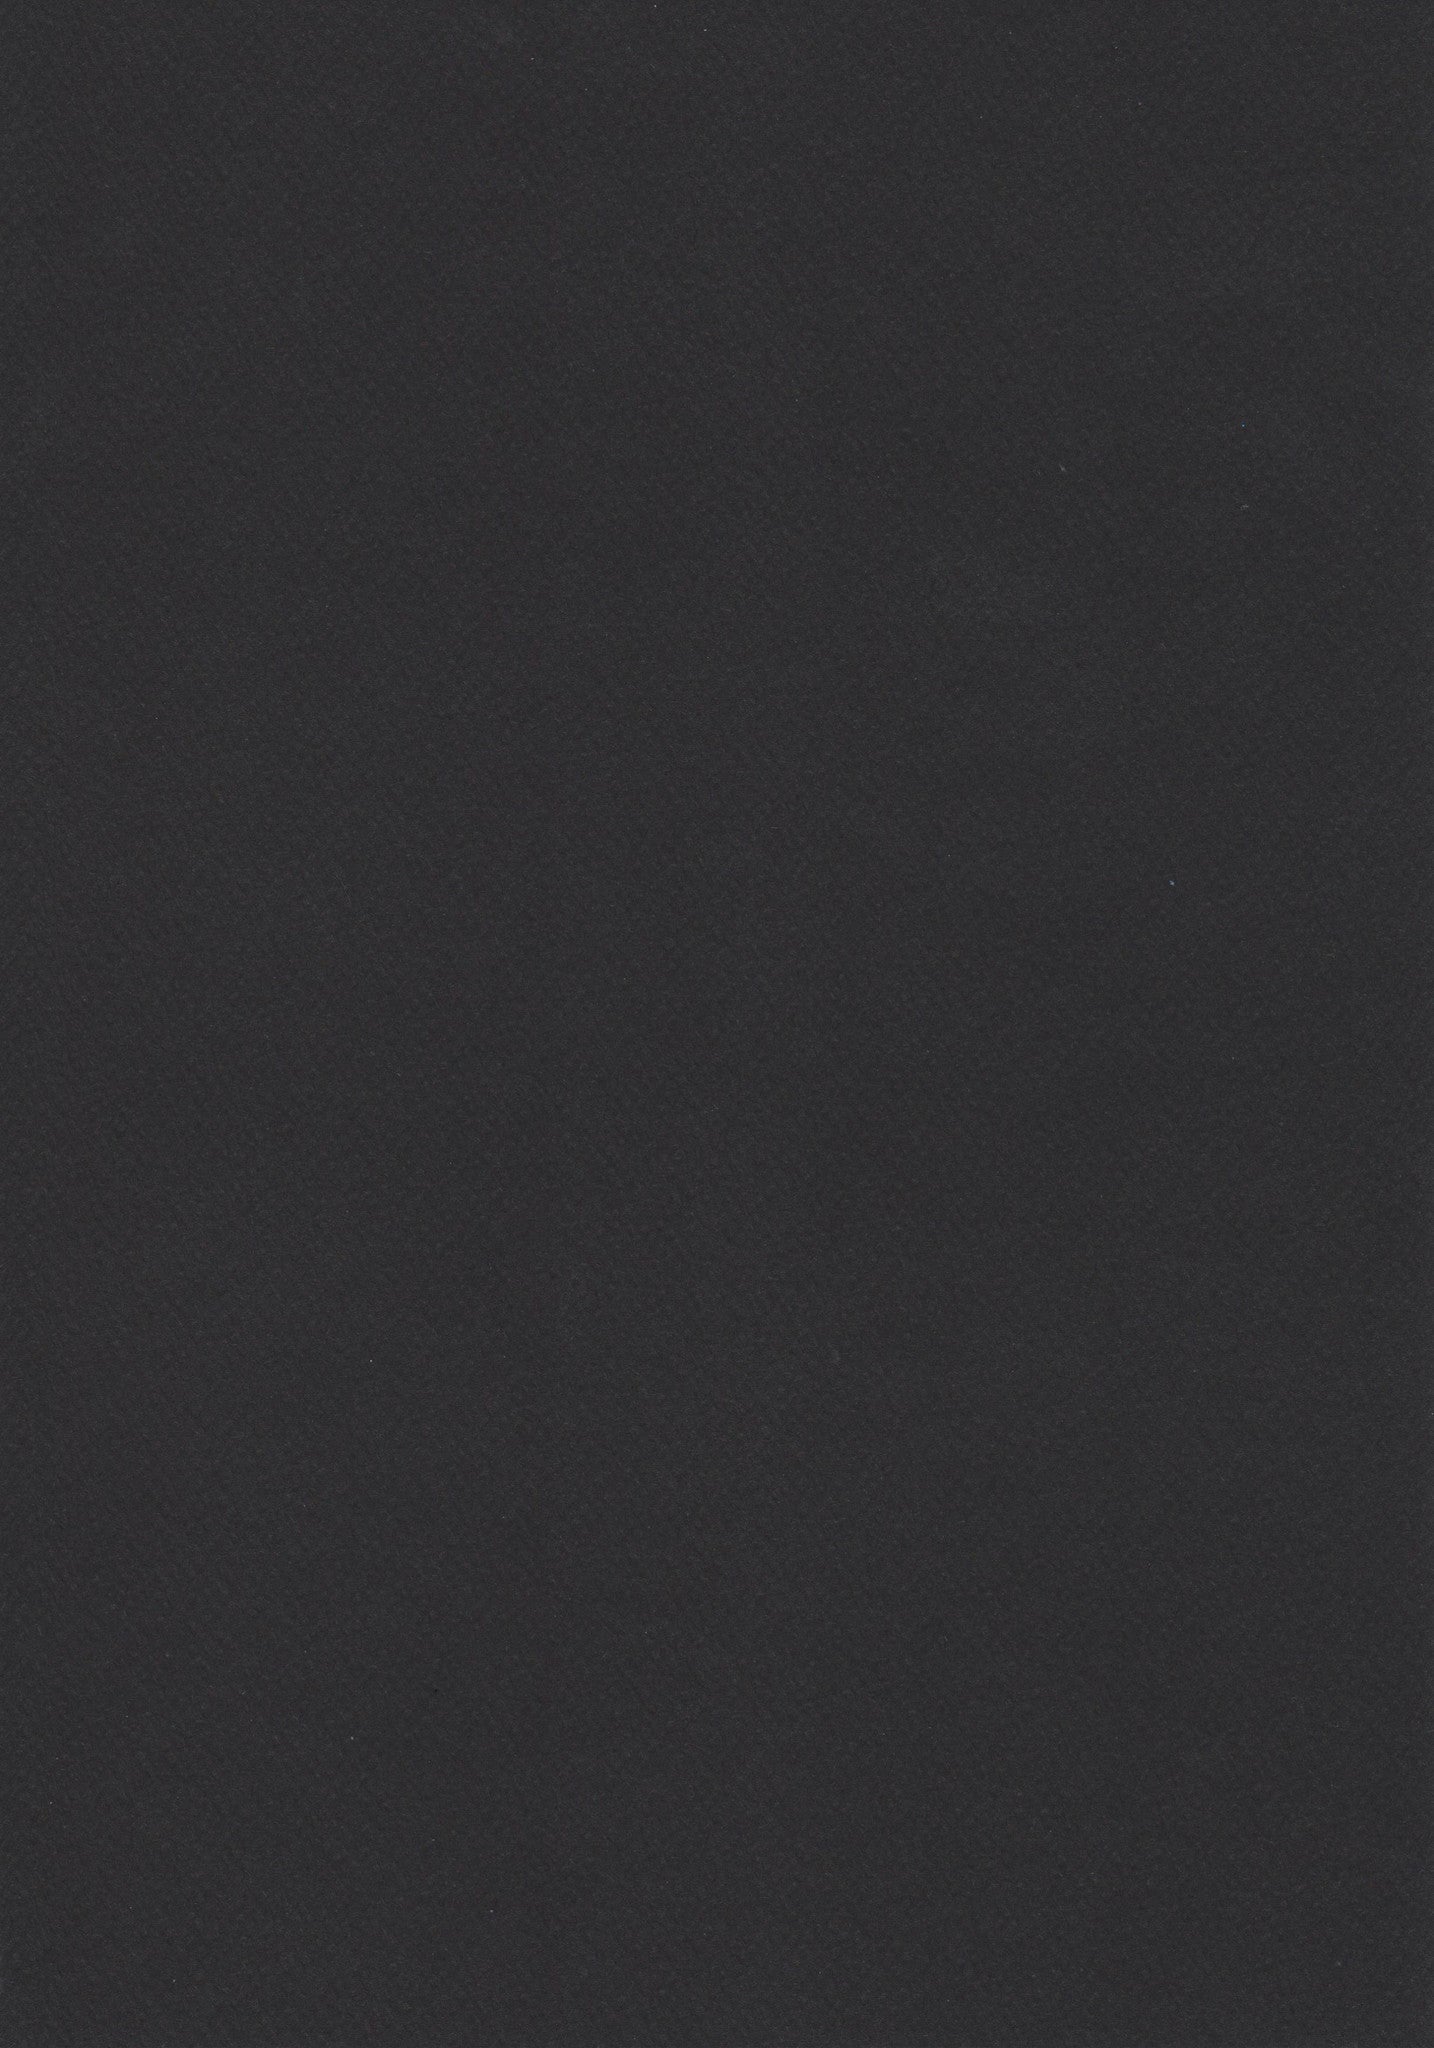
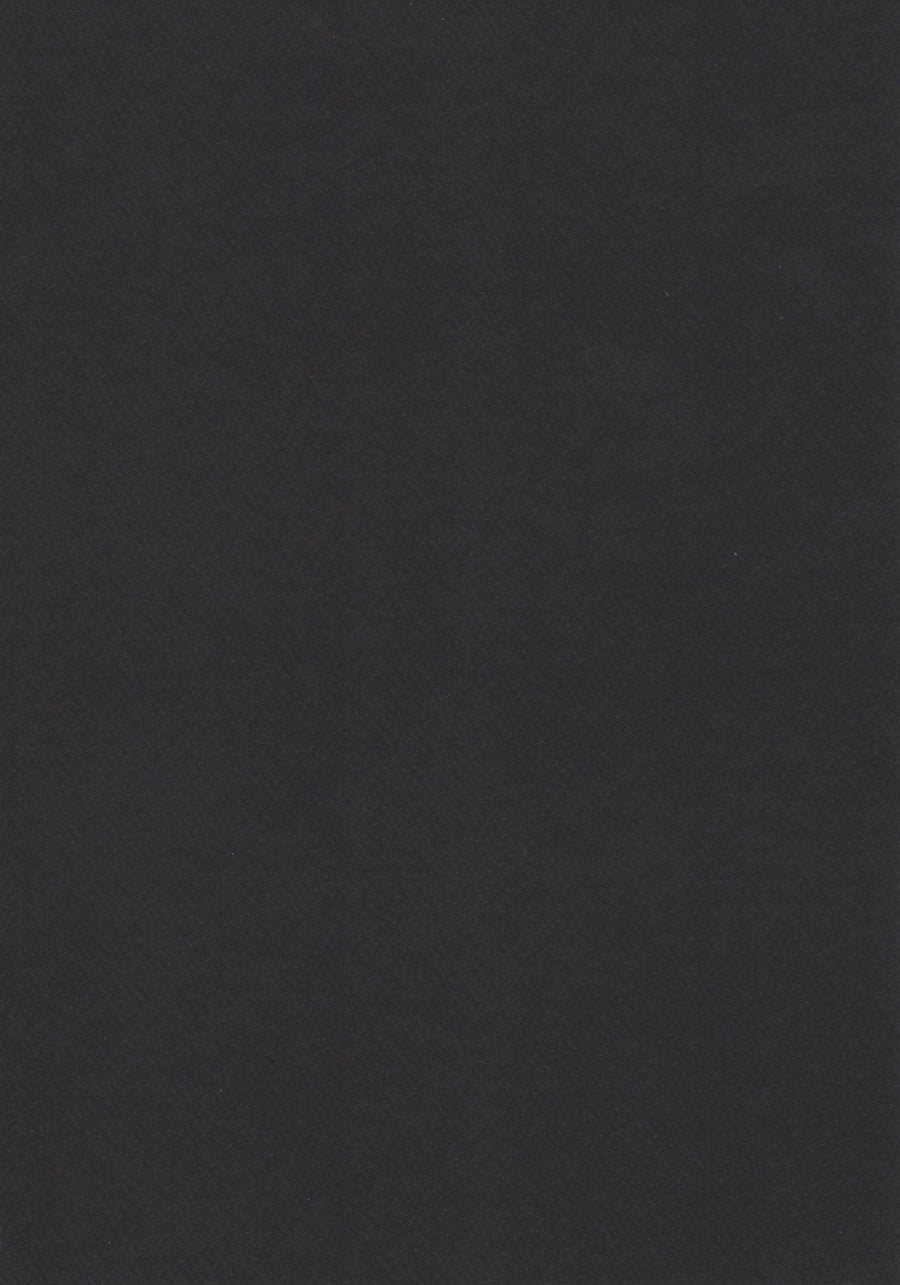
Black 150 x 150mm (peel and seal)
$0.35 $0.70
Black square envelopes are made from a lamp black 120gsm smooth matte paper-stock. This wallet...


Black Matte Smooth C5 Envelopes
$0.60 $0.80
Smooth Black C5 envelopes are made from a lamp black 120gsm smooth matte paper-stock. This...

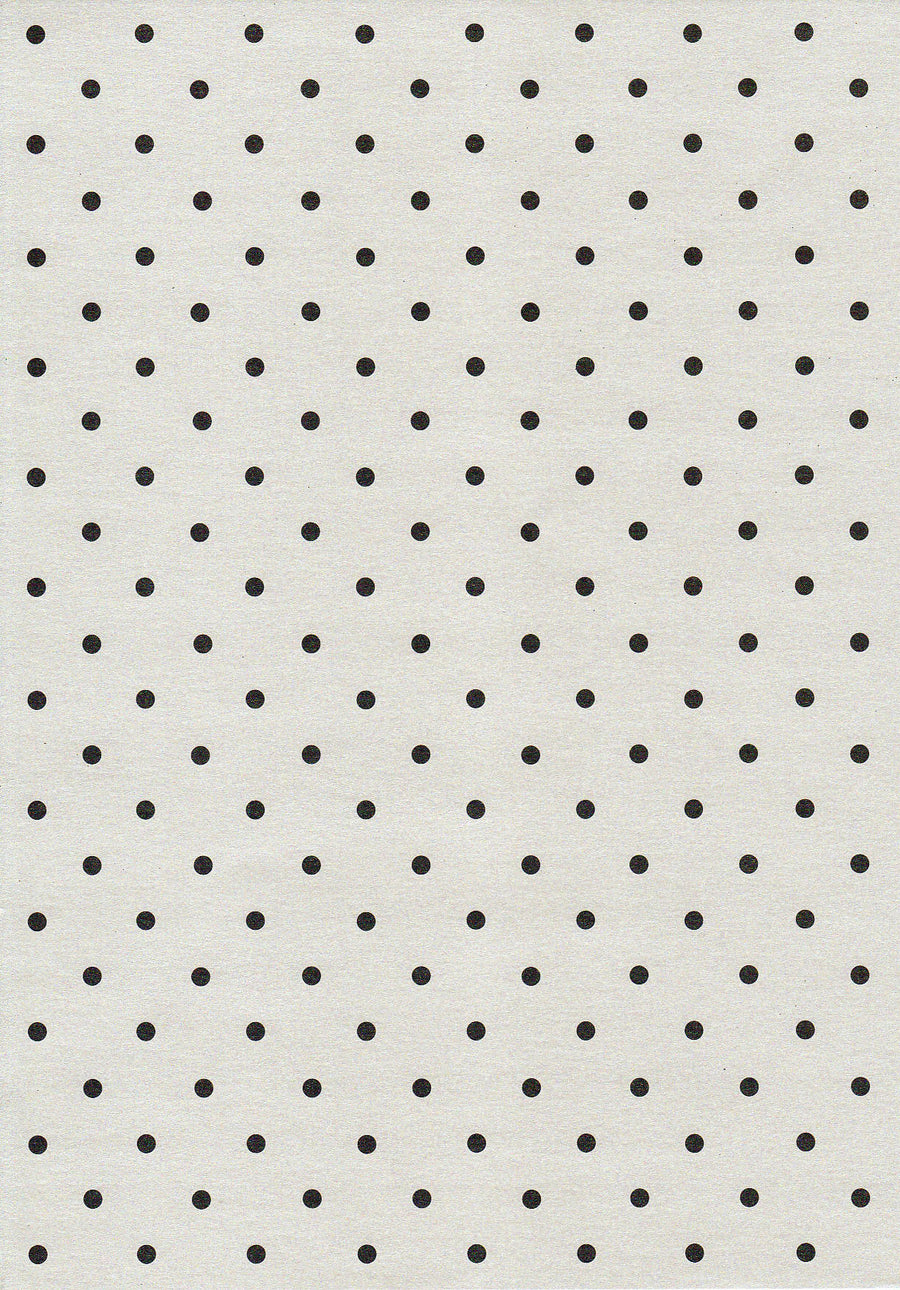
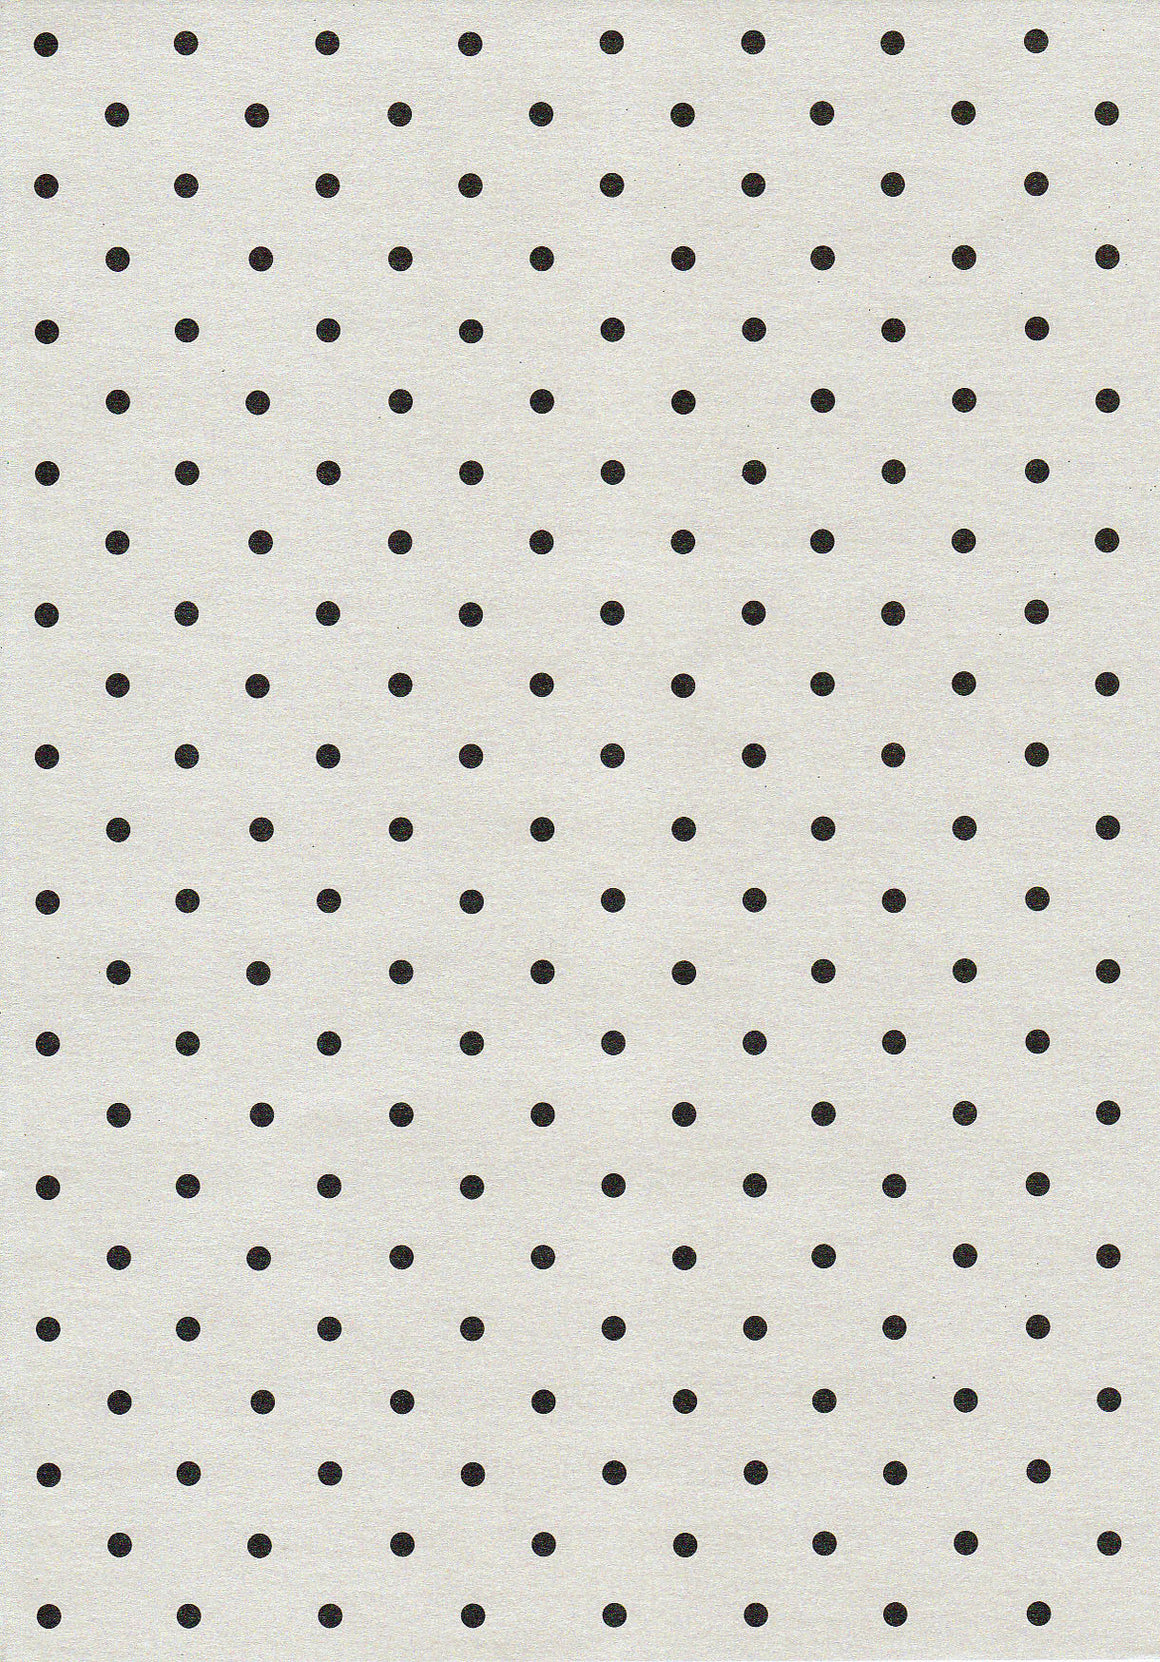
Black Polka Dots on White A4 Paper
$0.75 $1.35
Uniform black polka dots on a metallic off white background. The paper is 120gsm and...
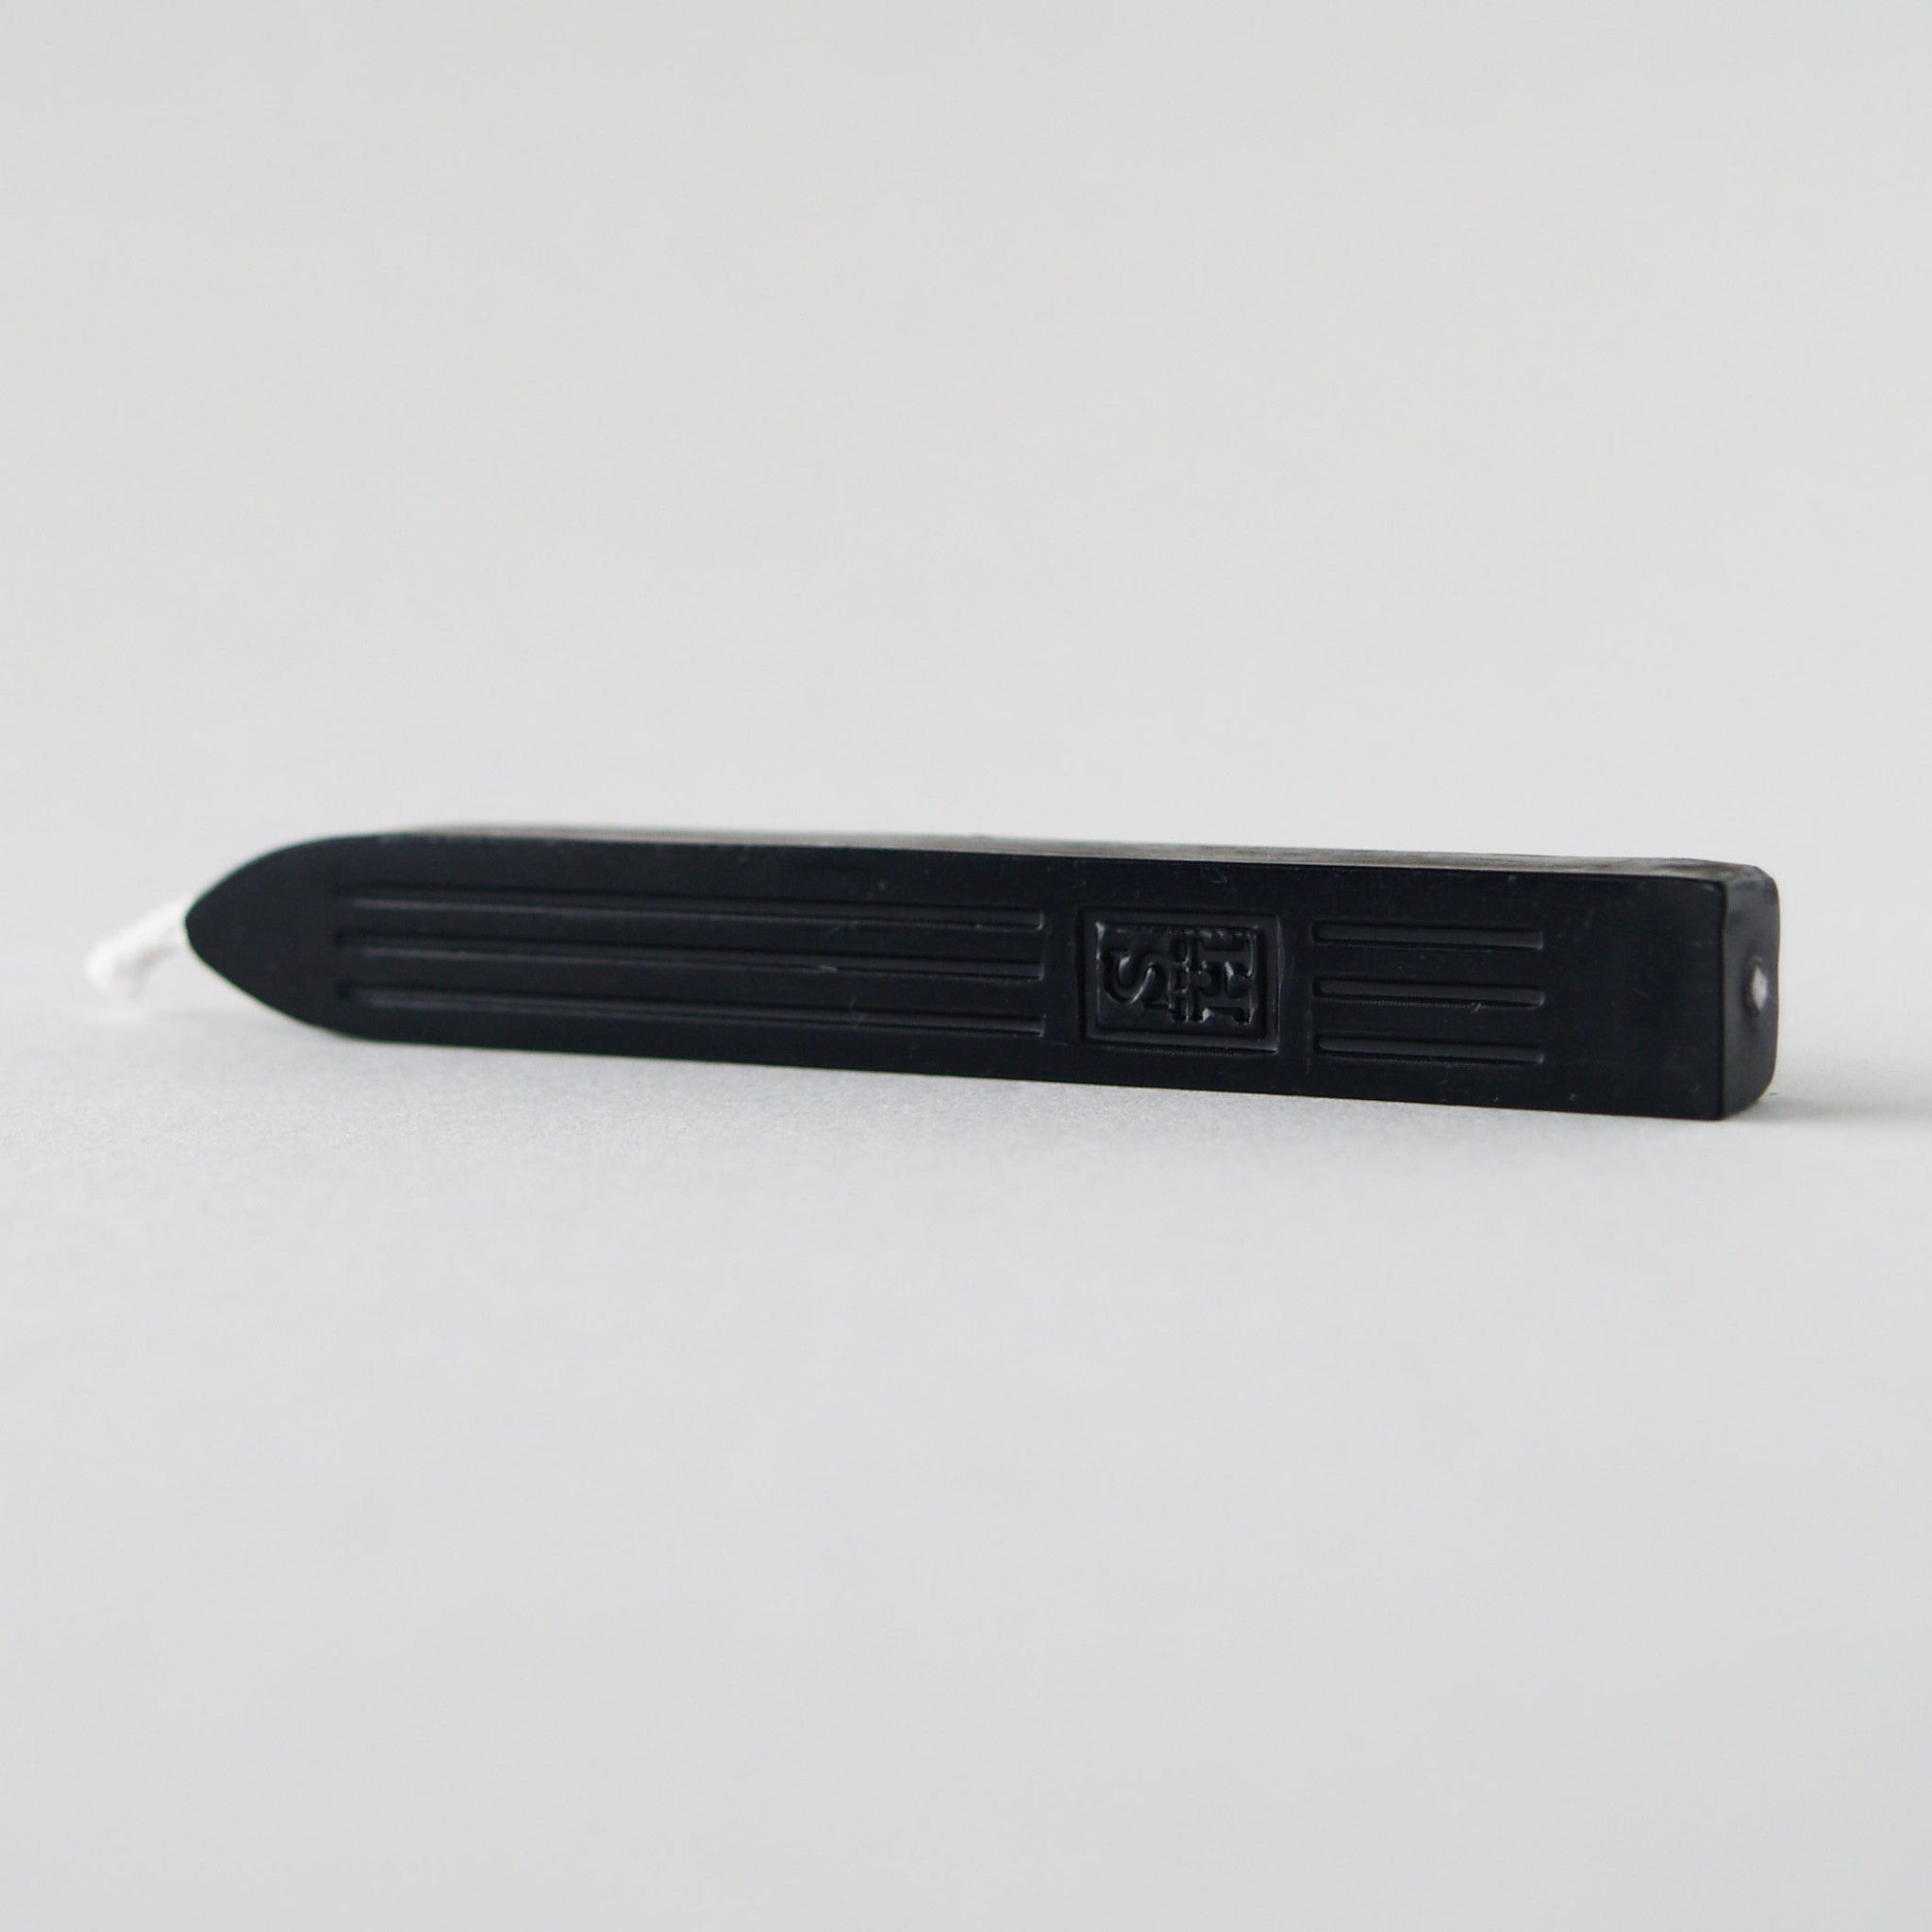
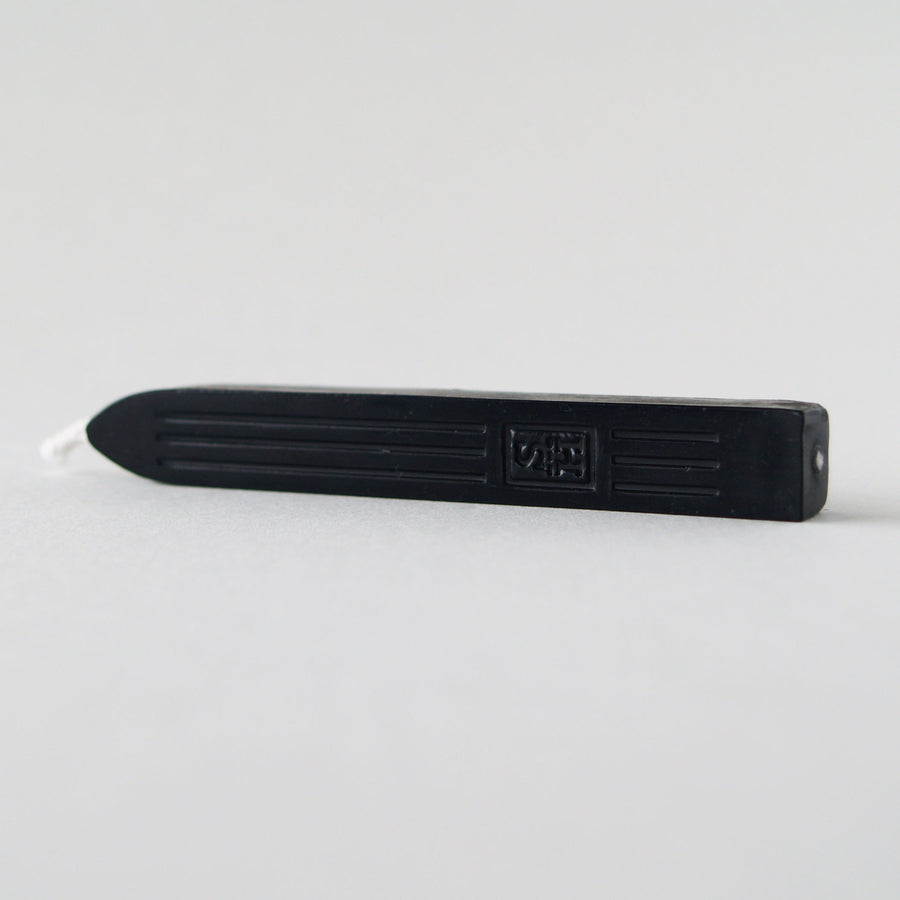
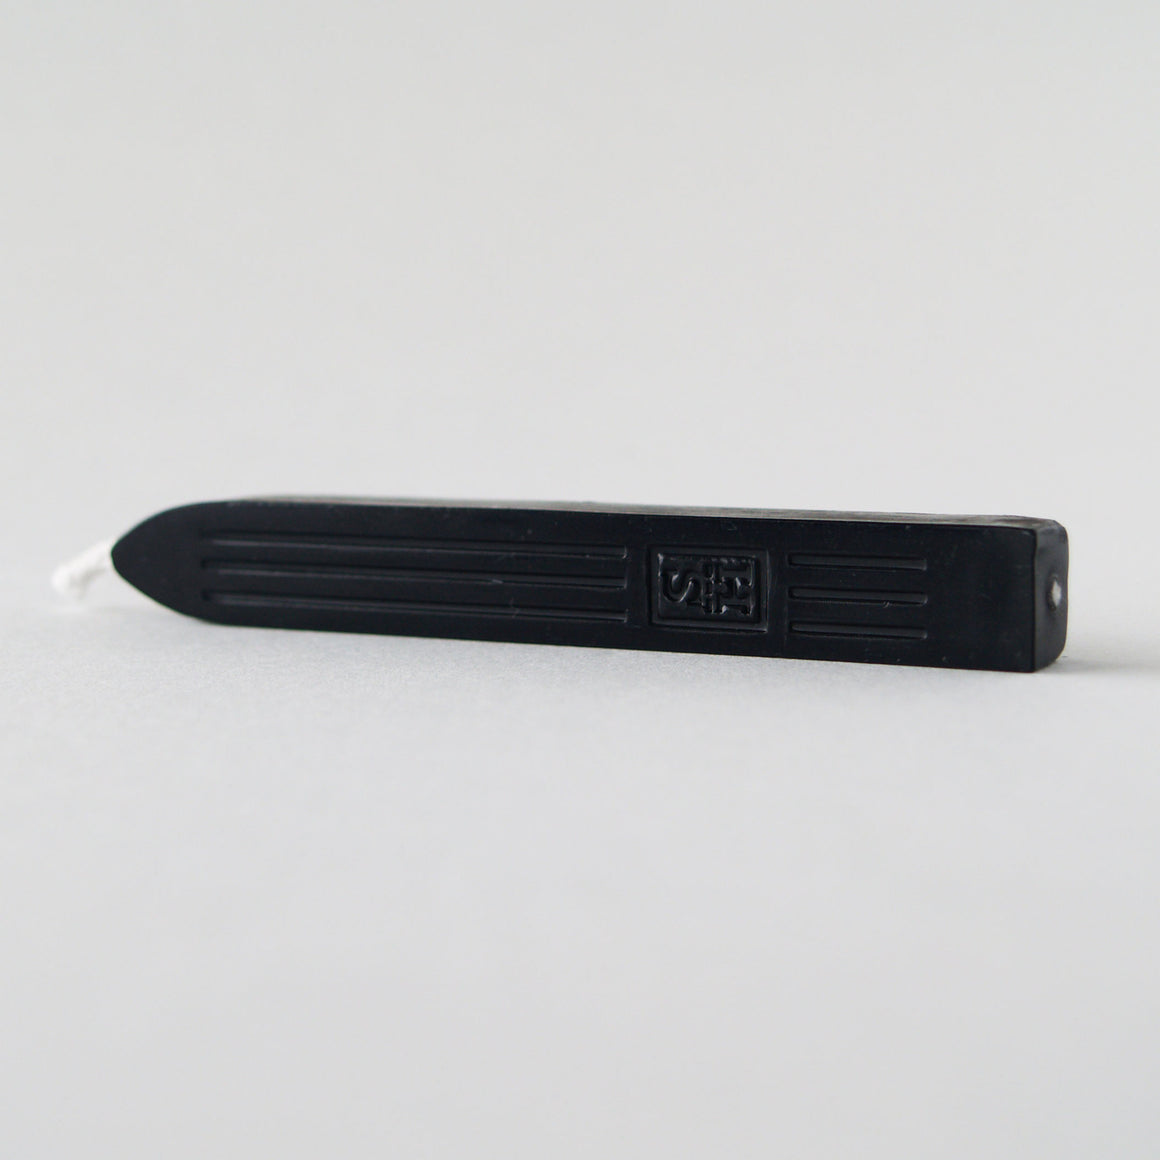
Black Sealing Wax with Wick
$6.50
Elegant black wax with a wick designed to conveniently melt onto your paper product and...
Black Textured A4 Card
$0.30 $0.80
Black textured card-stock is made from premium 220gsm card-stock. Prismacolor's unique uncoated card range is...

Blue Peacock Chiffon A4 Paper
Sold Out
Foiled filigree print set on white slightly textured chiffon paper. The semi translucent paper has a...
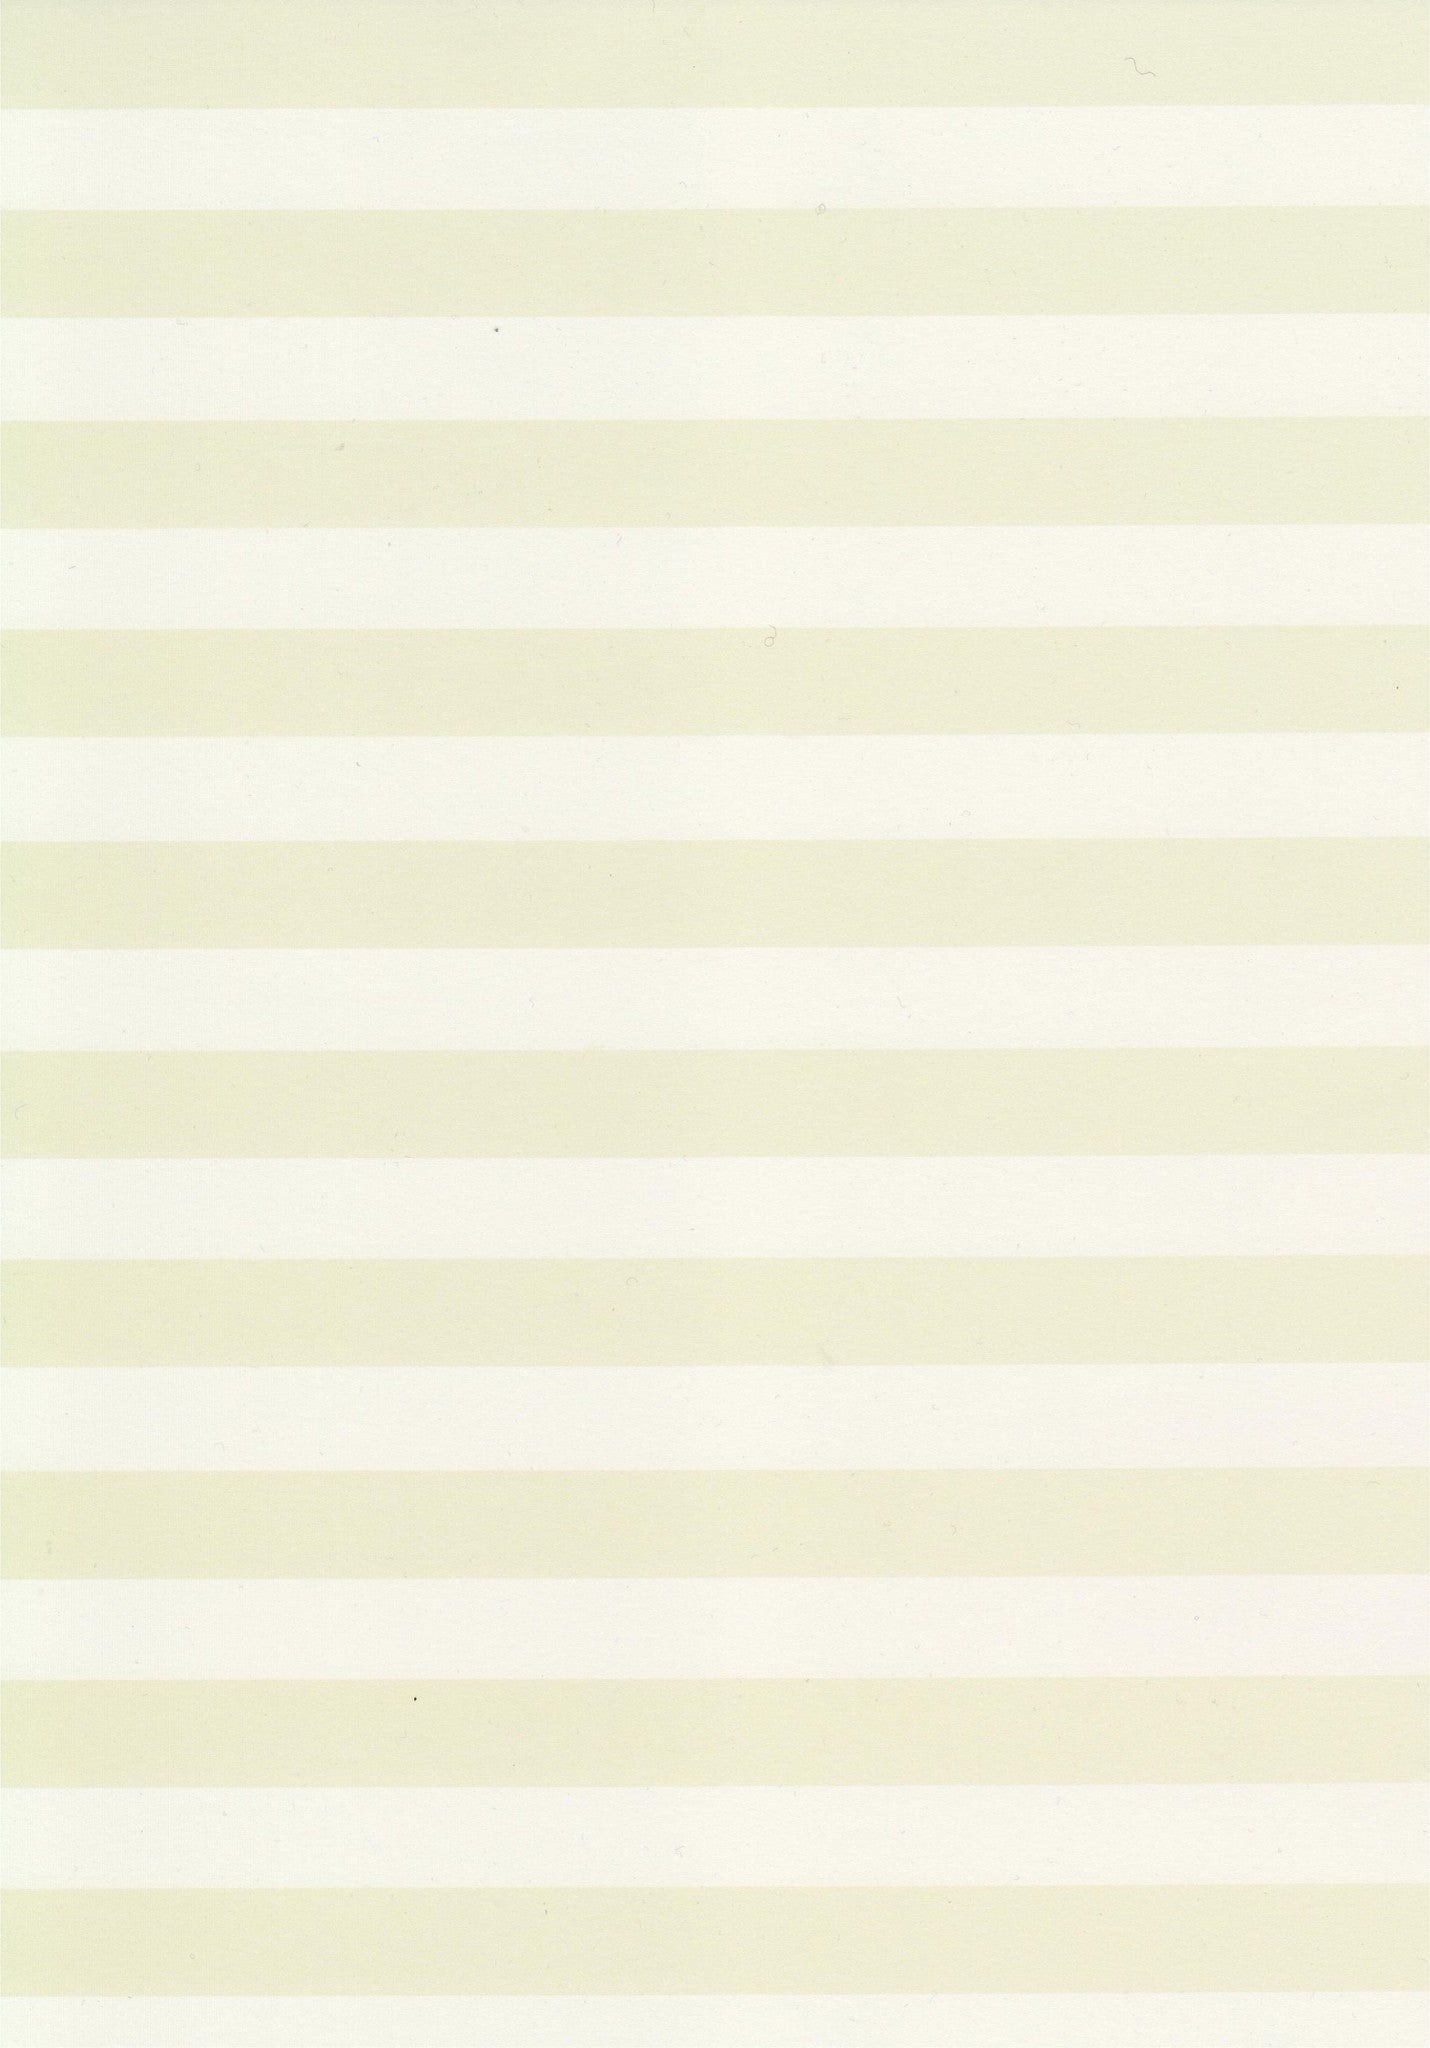
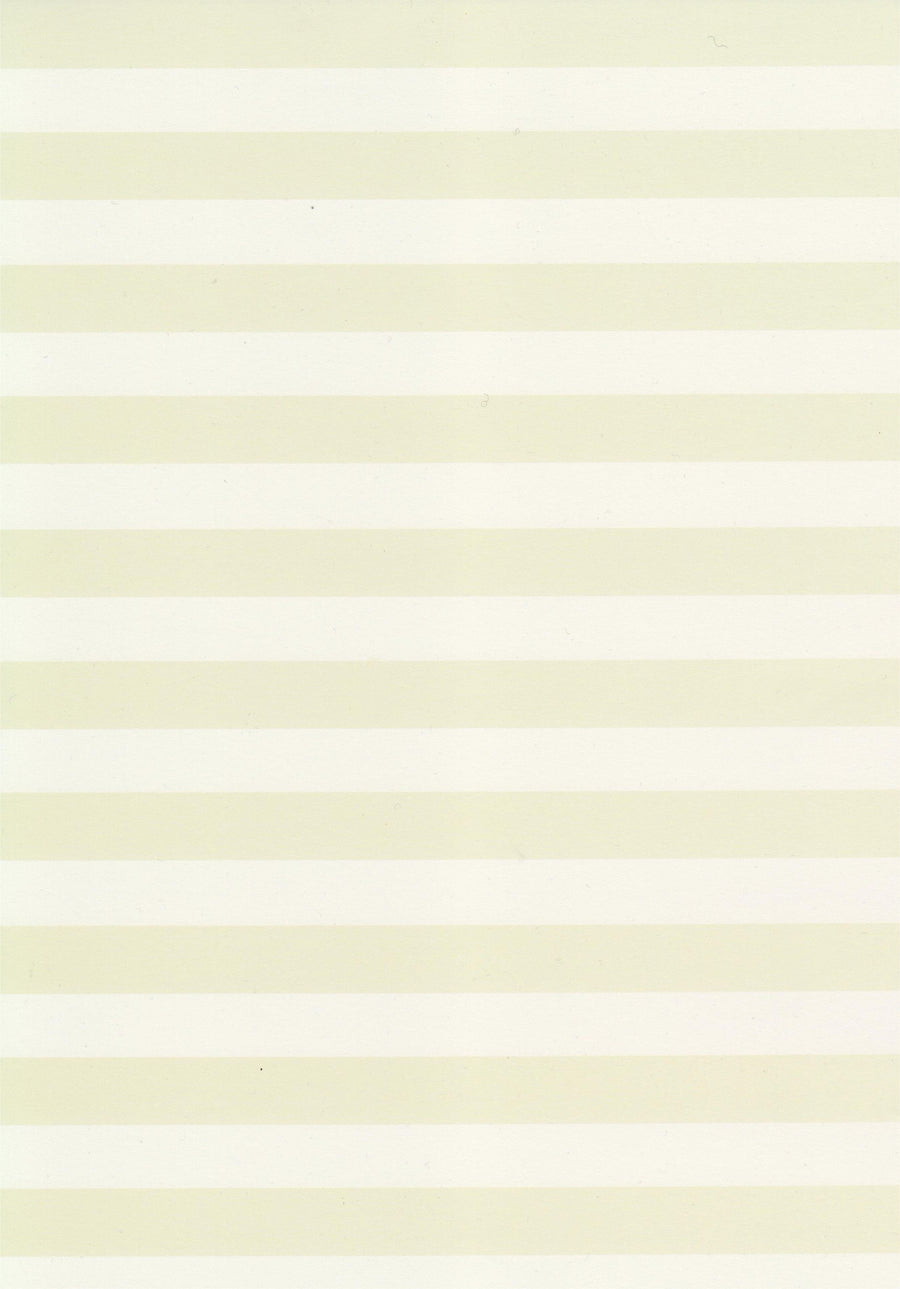
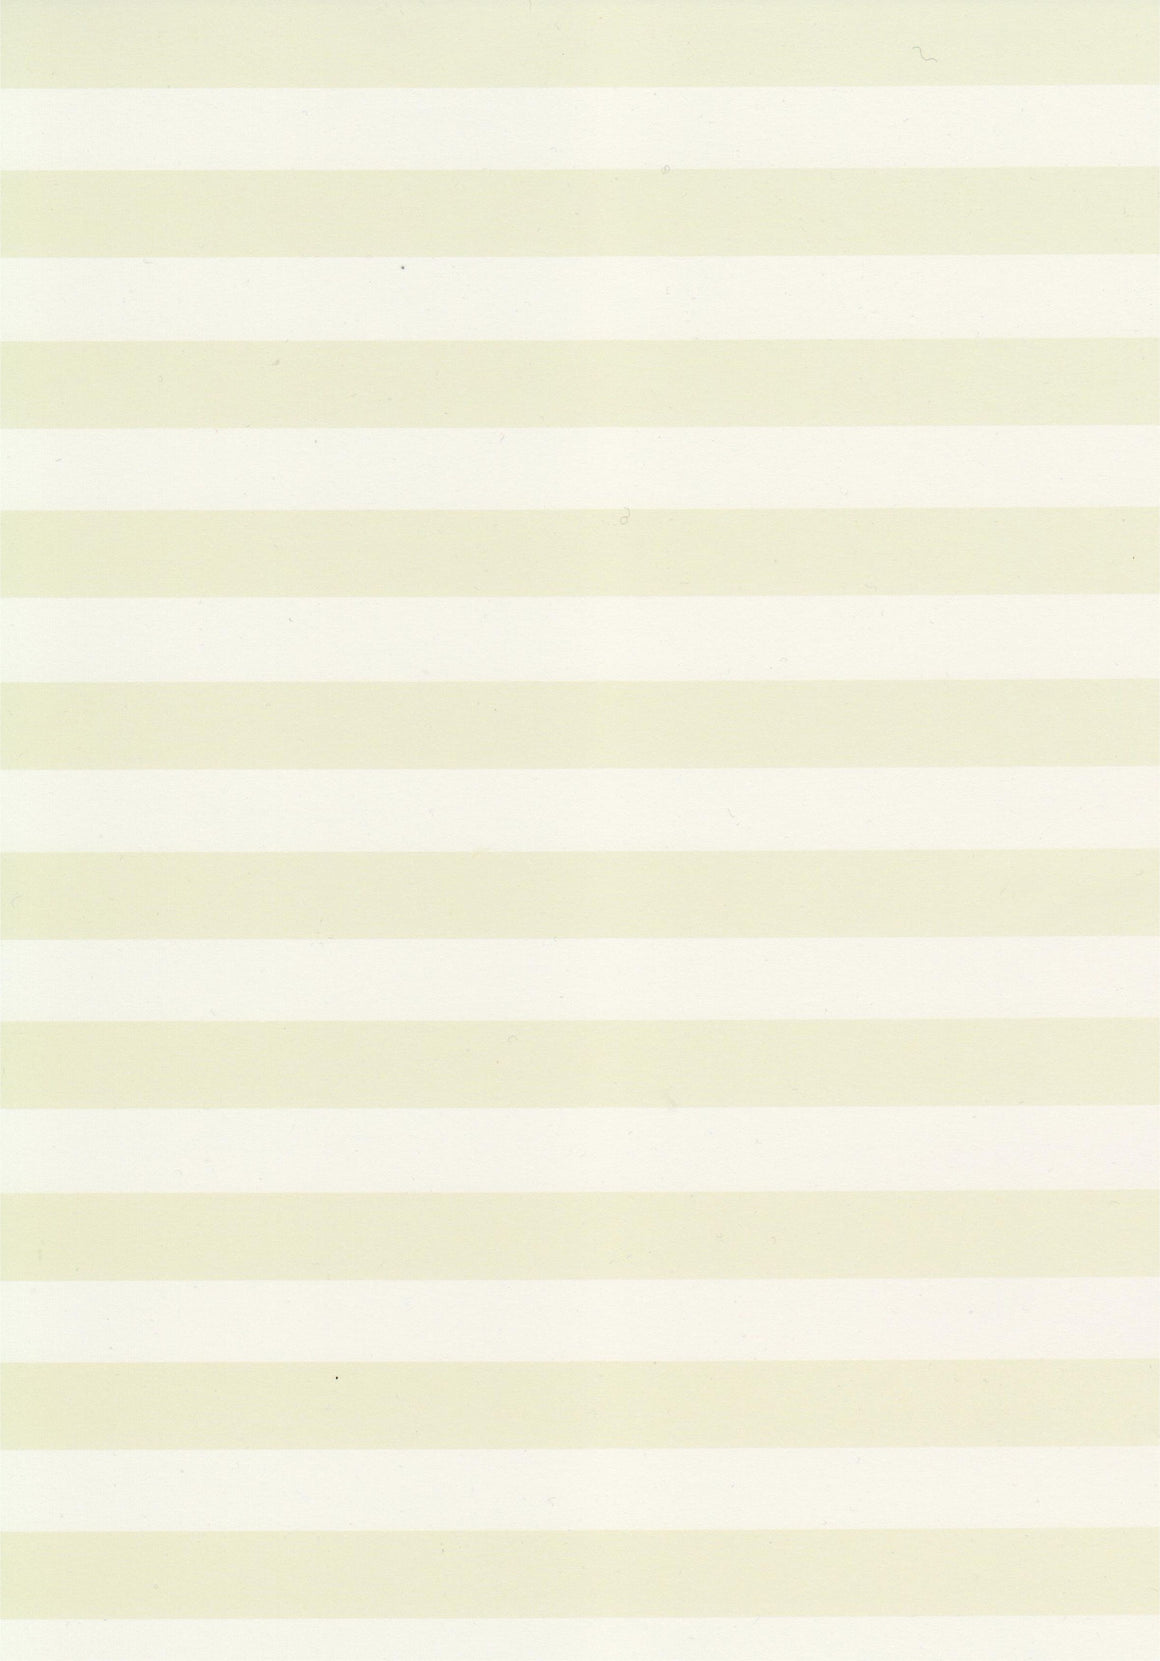
Broadway Archiva A4 Paper
$0.55 $1.35
Bold Naples yellow horizontal stripes set on smooth metallic ivory paper stock. The 120gsm paper...
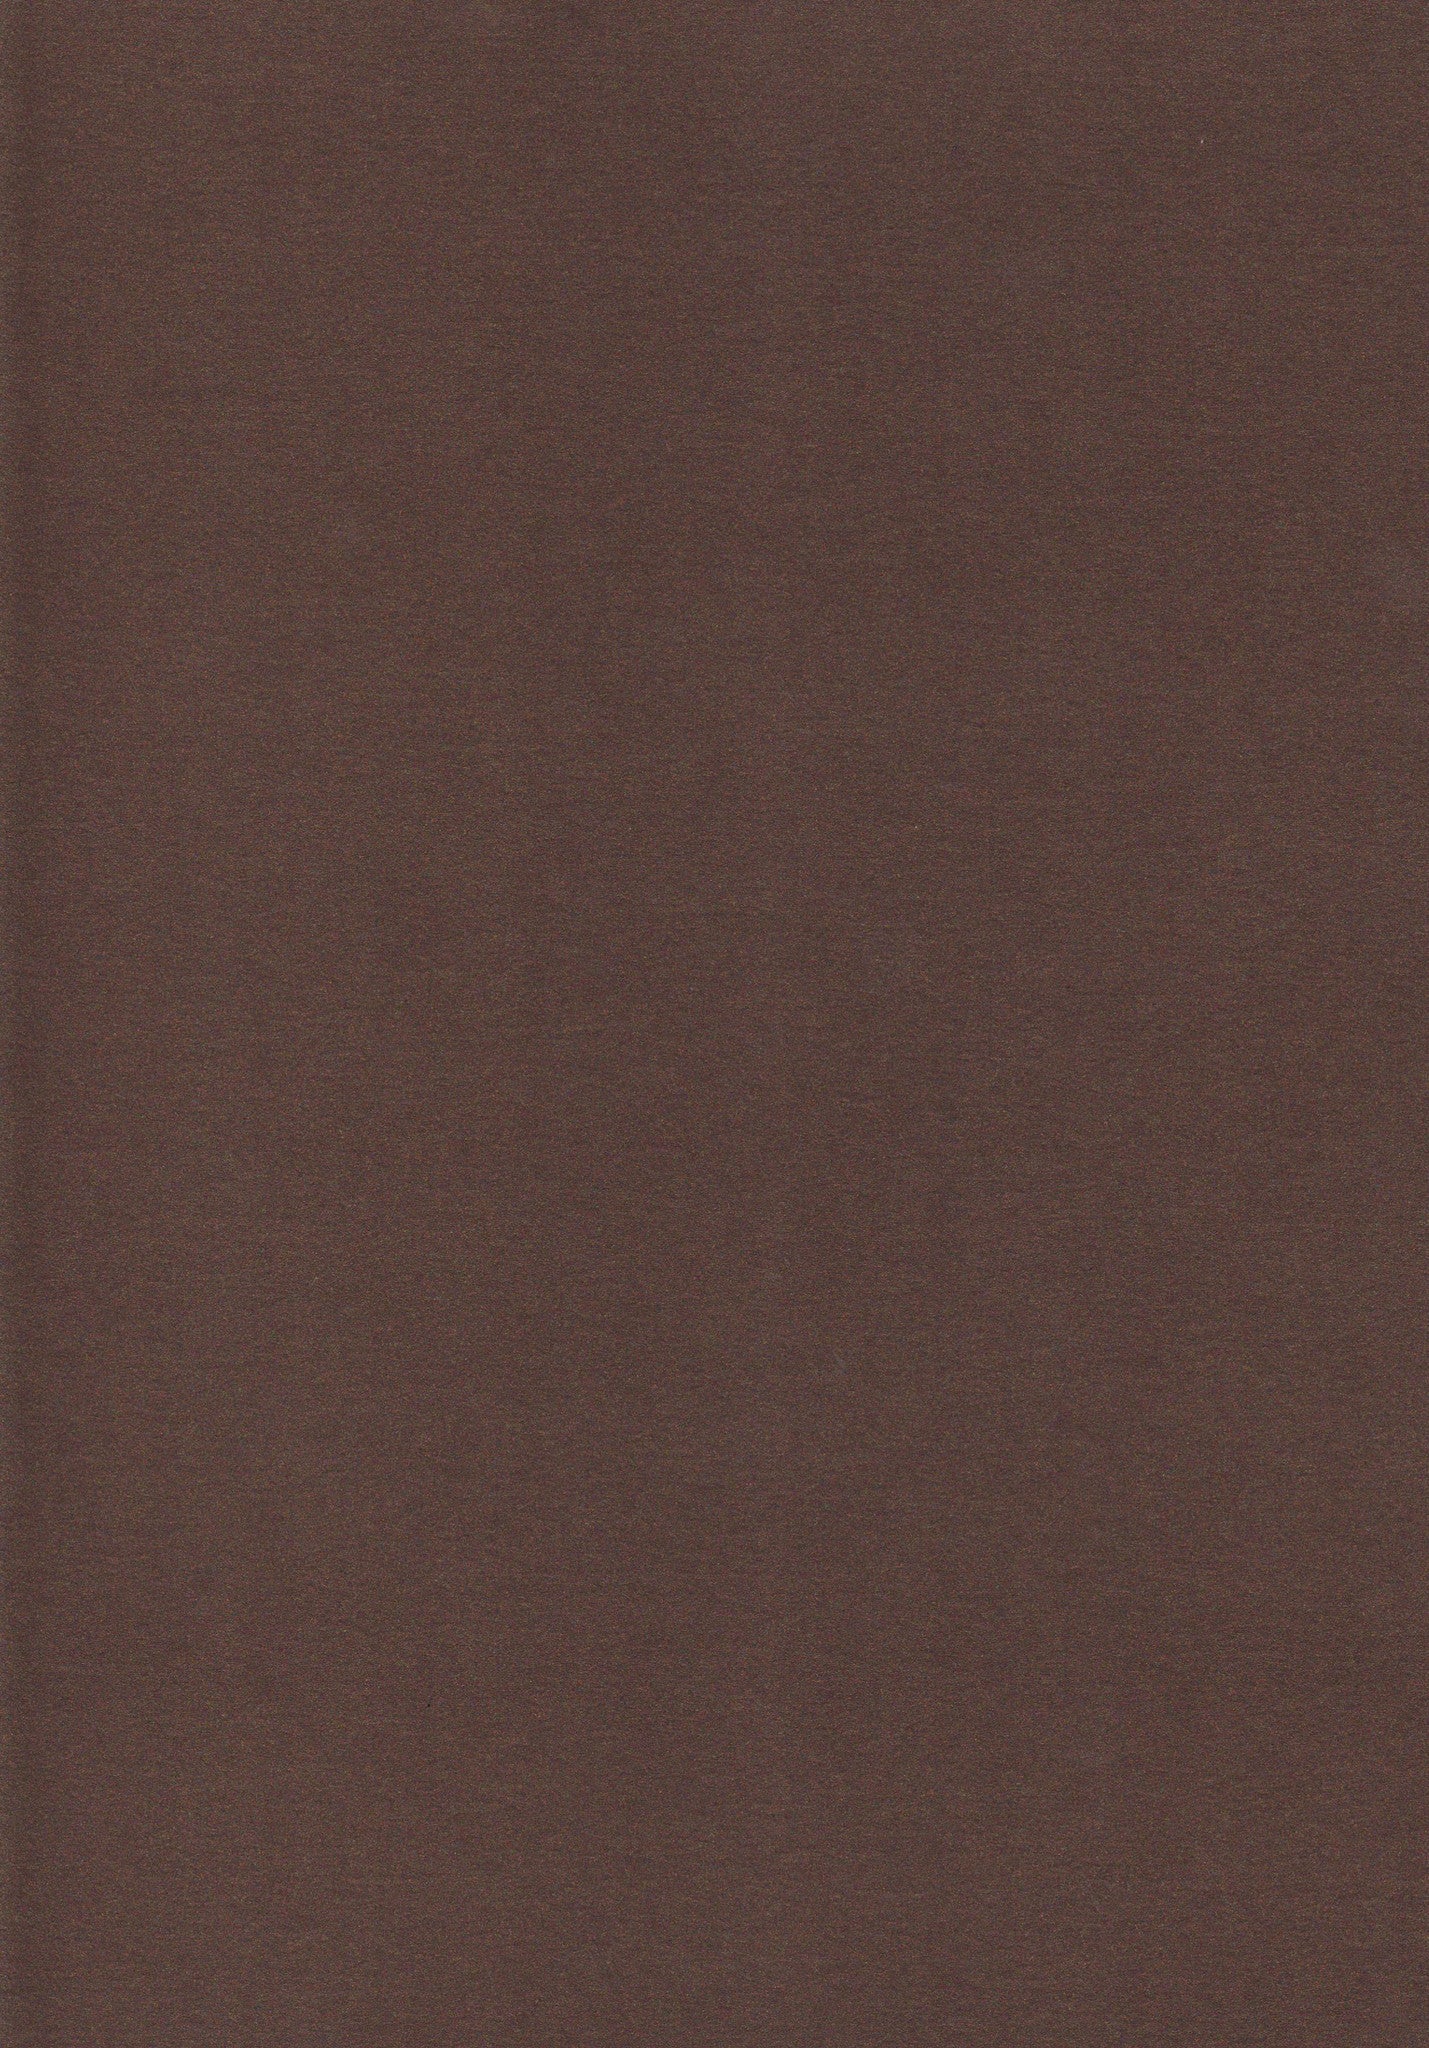
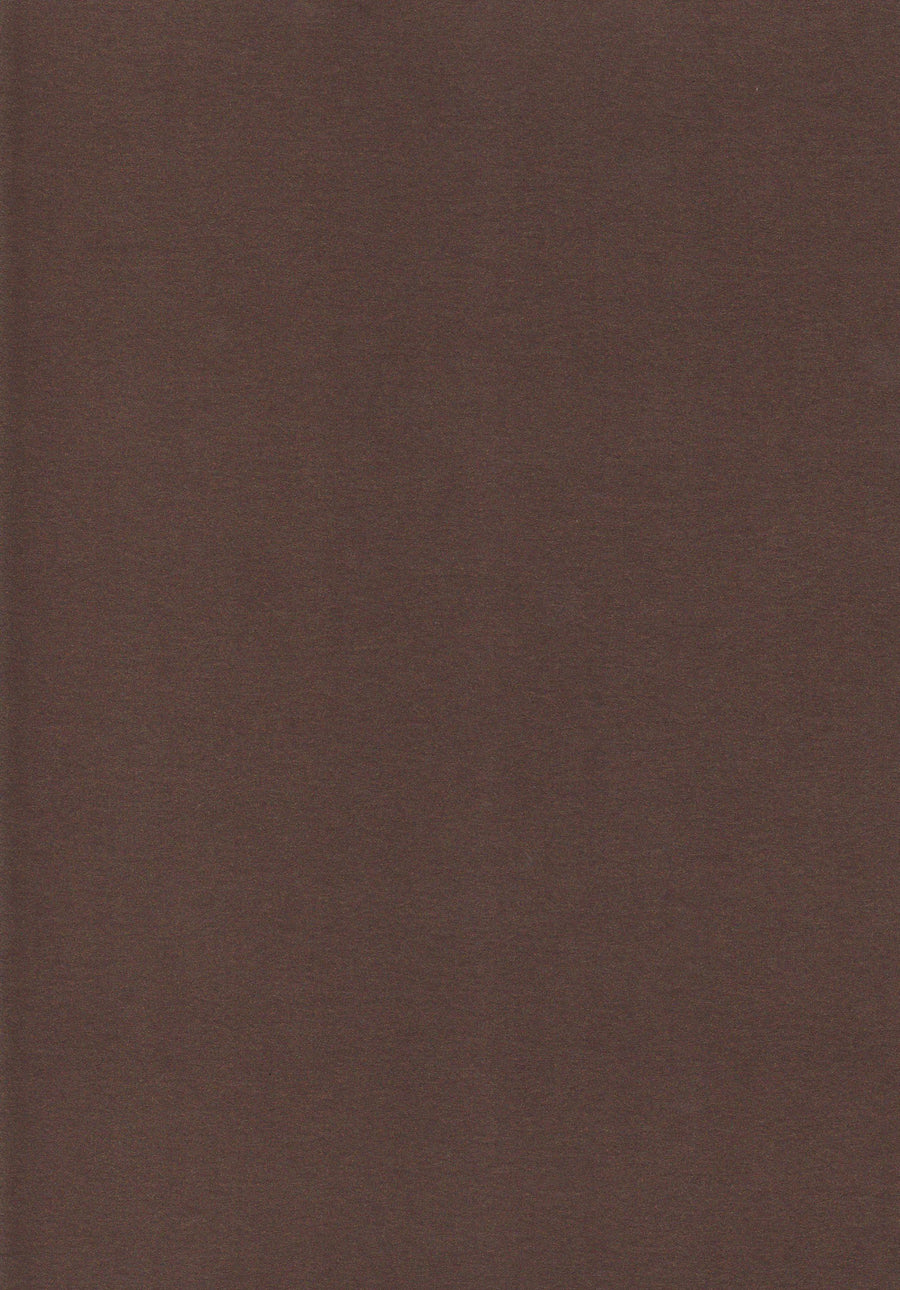

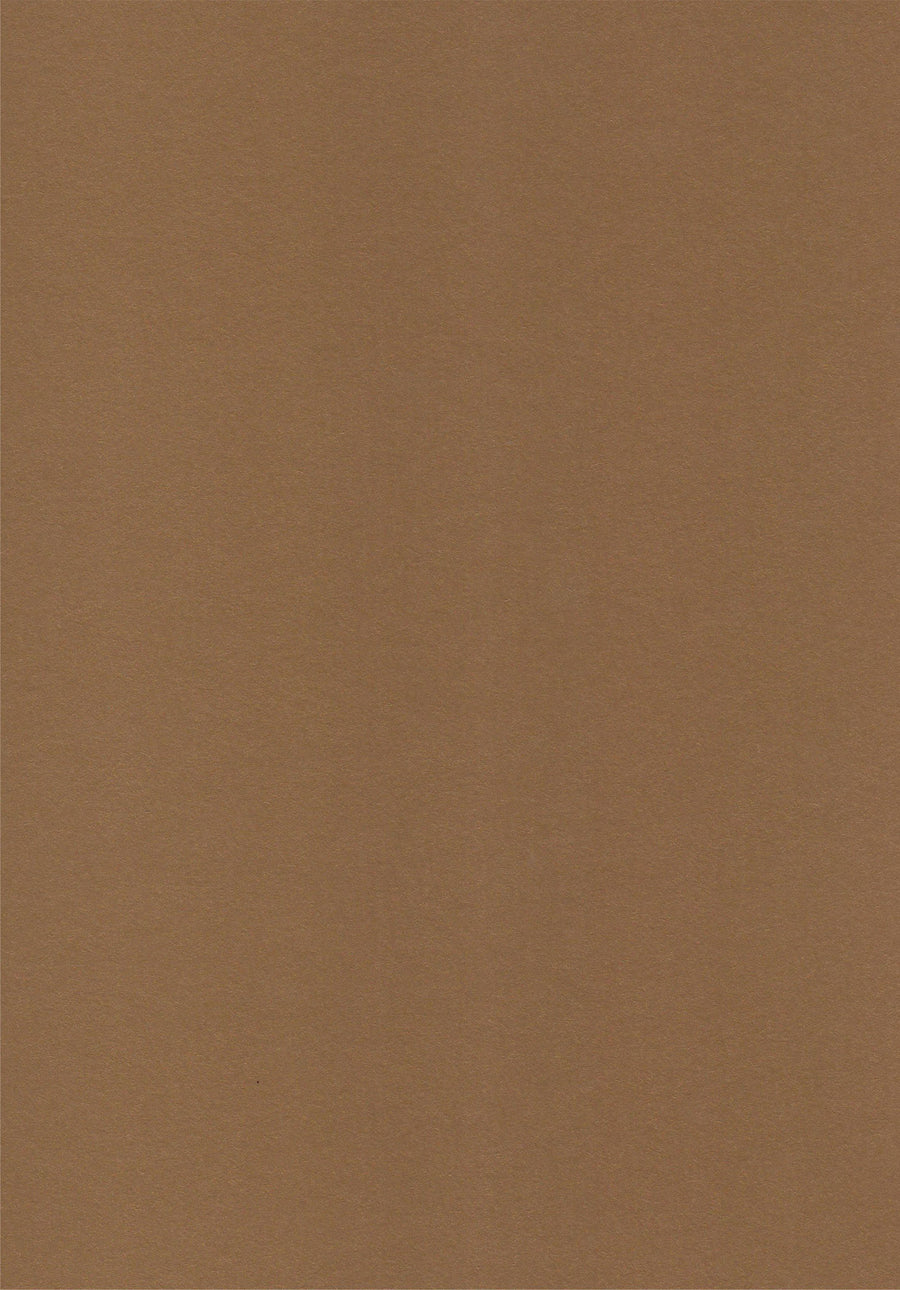
Bronze A4 Card
$0.40 $1.35
Subtle golden sparkle set on a dark brown 285gsm metallic card. This acid free card...


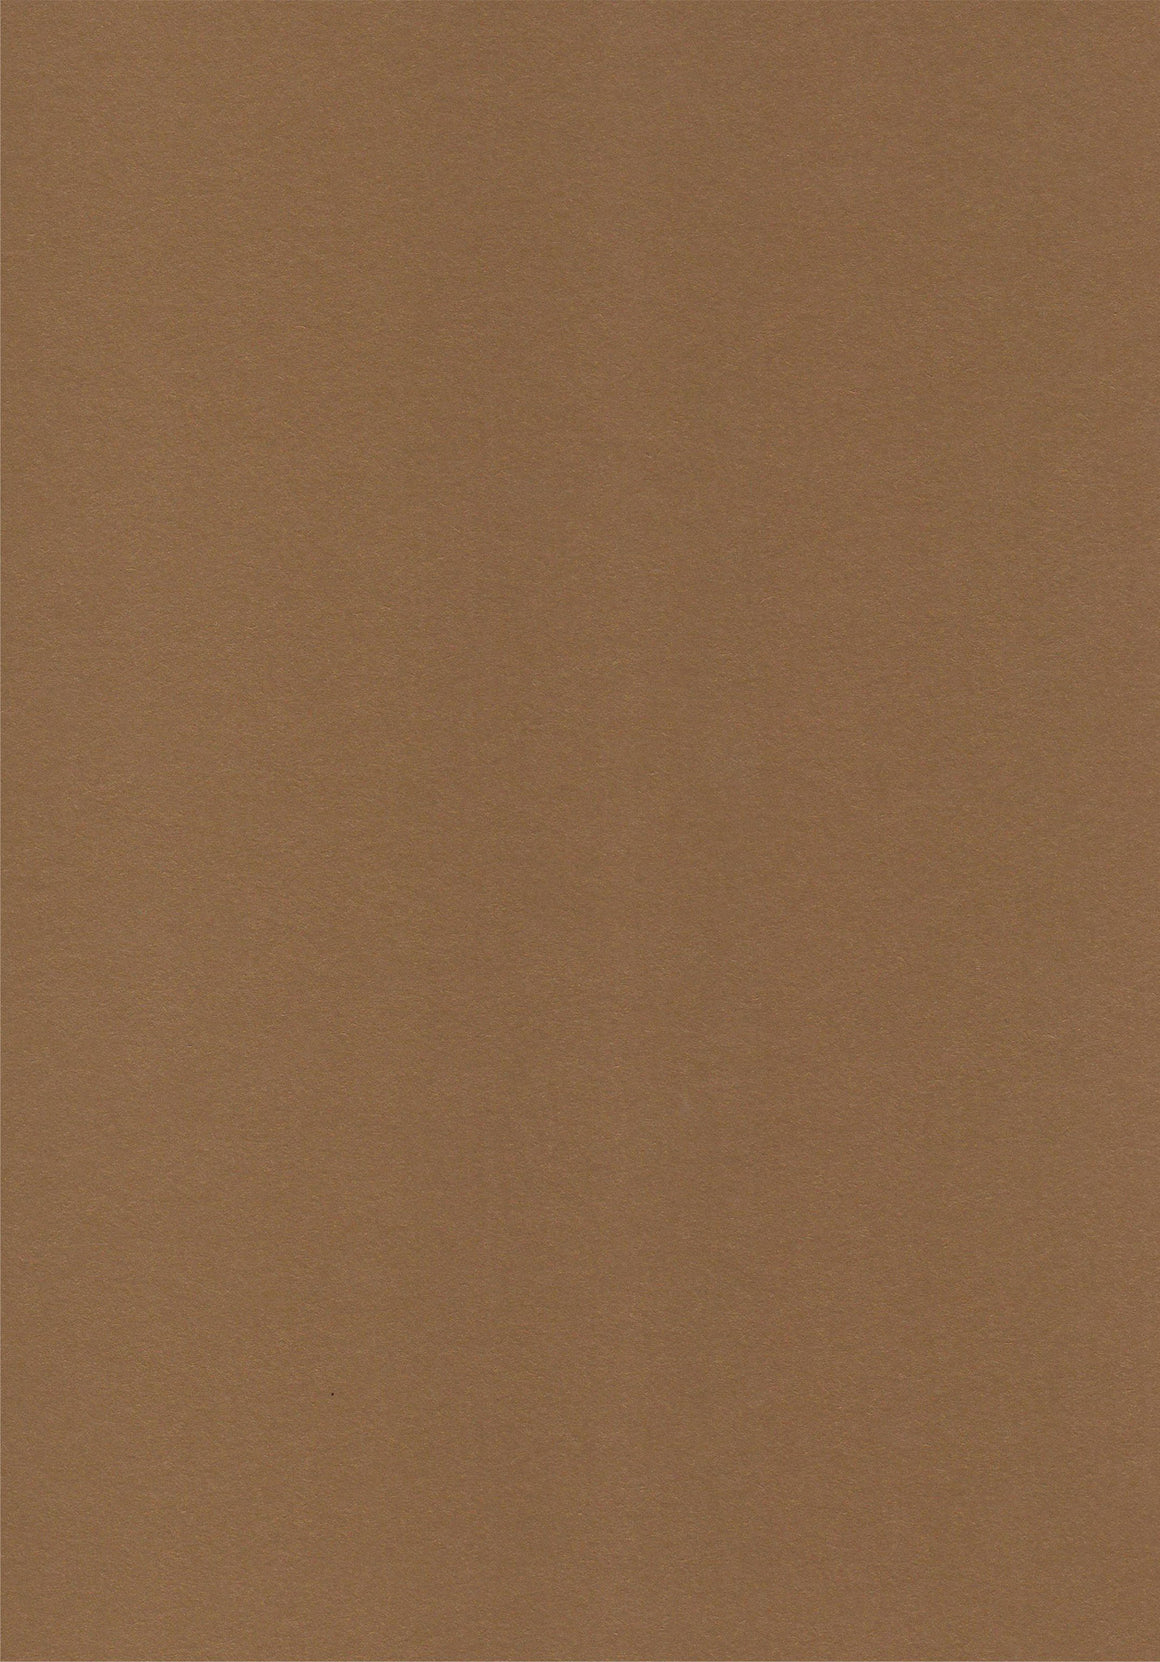
Bronze A4 paper
$0.30 $0.65
Subtle golden shimmer set on a dark brown 120gsm metallic paper. This acid free paper...
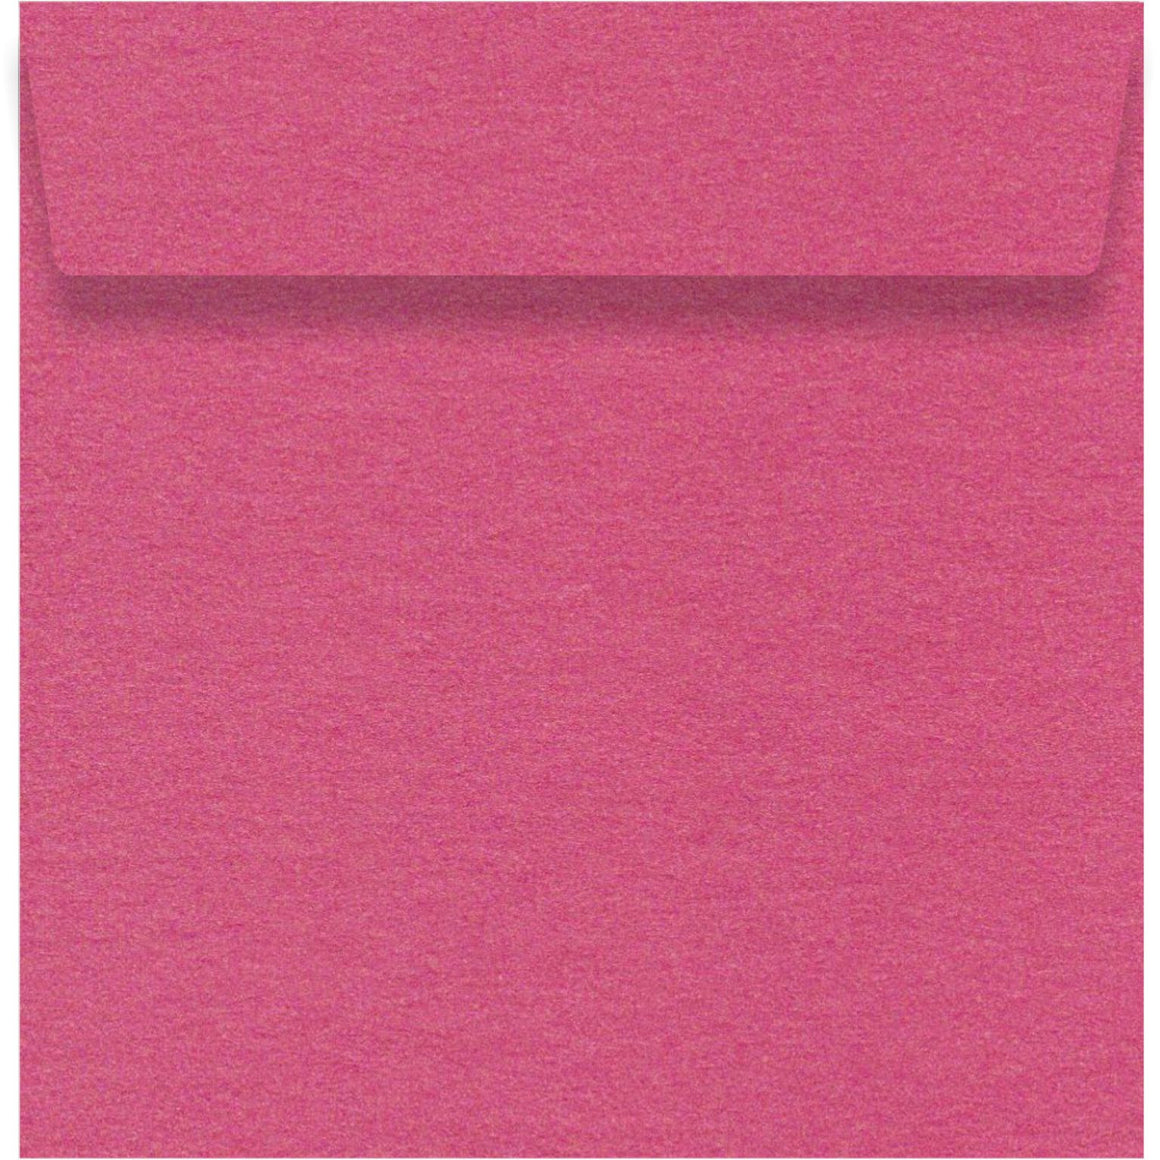
Bullfinch Pink 160 x 160mm
$0.30 $0.50
Bullfinch Pink square envelopes are made from a hot pink 100gsm smooth matte paper-stock. This...

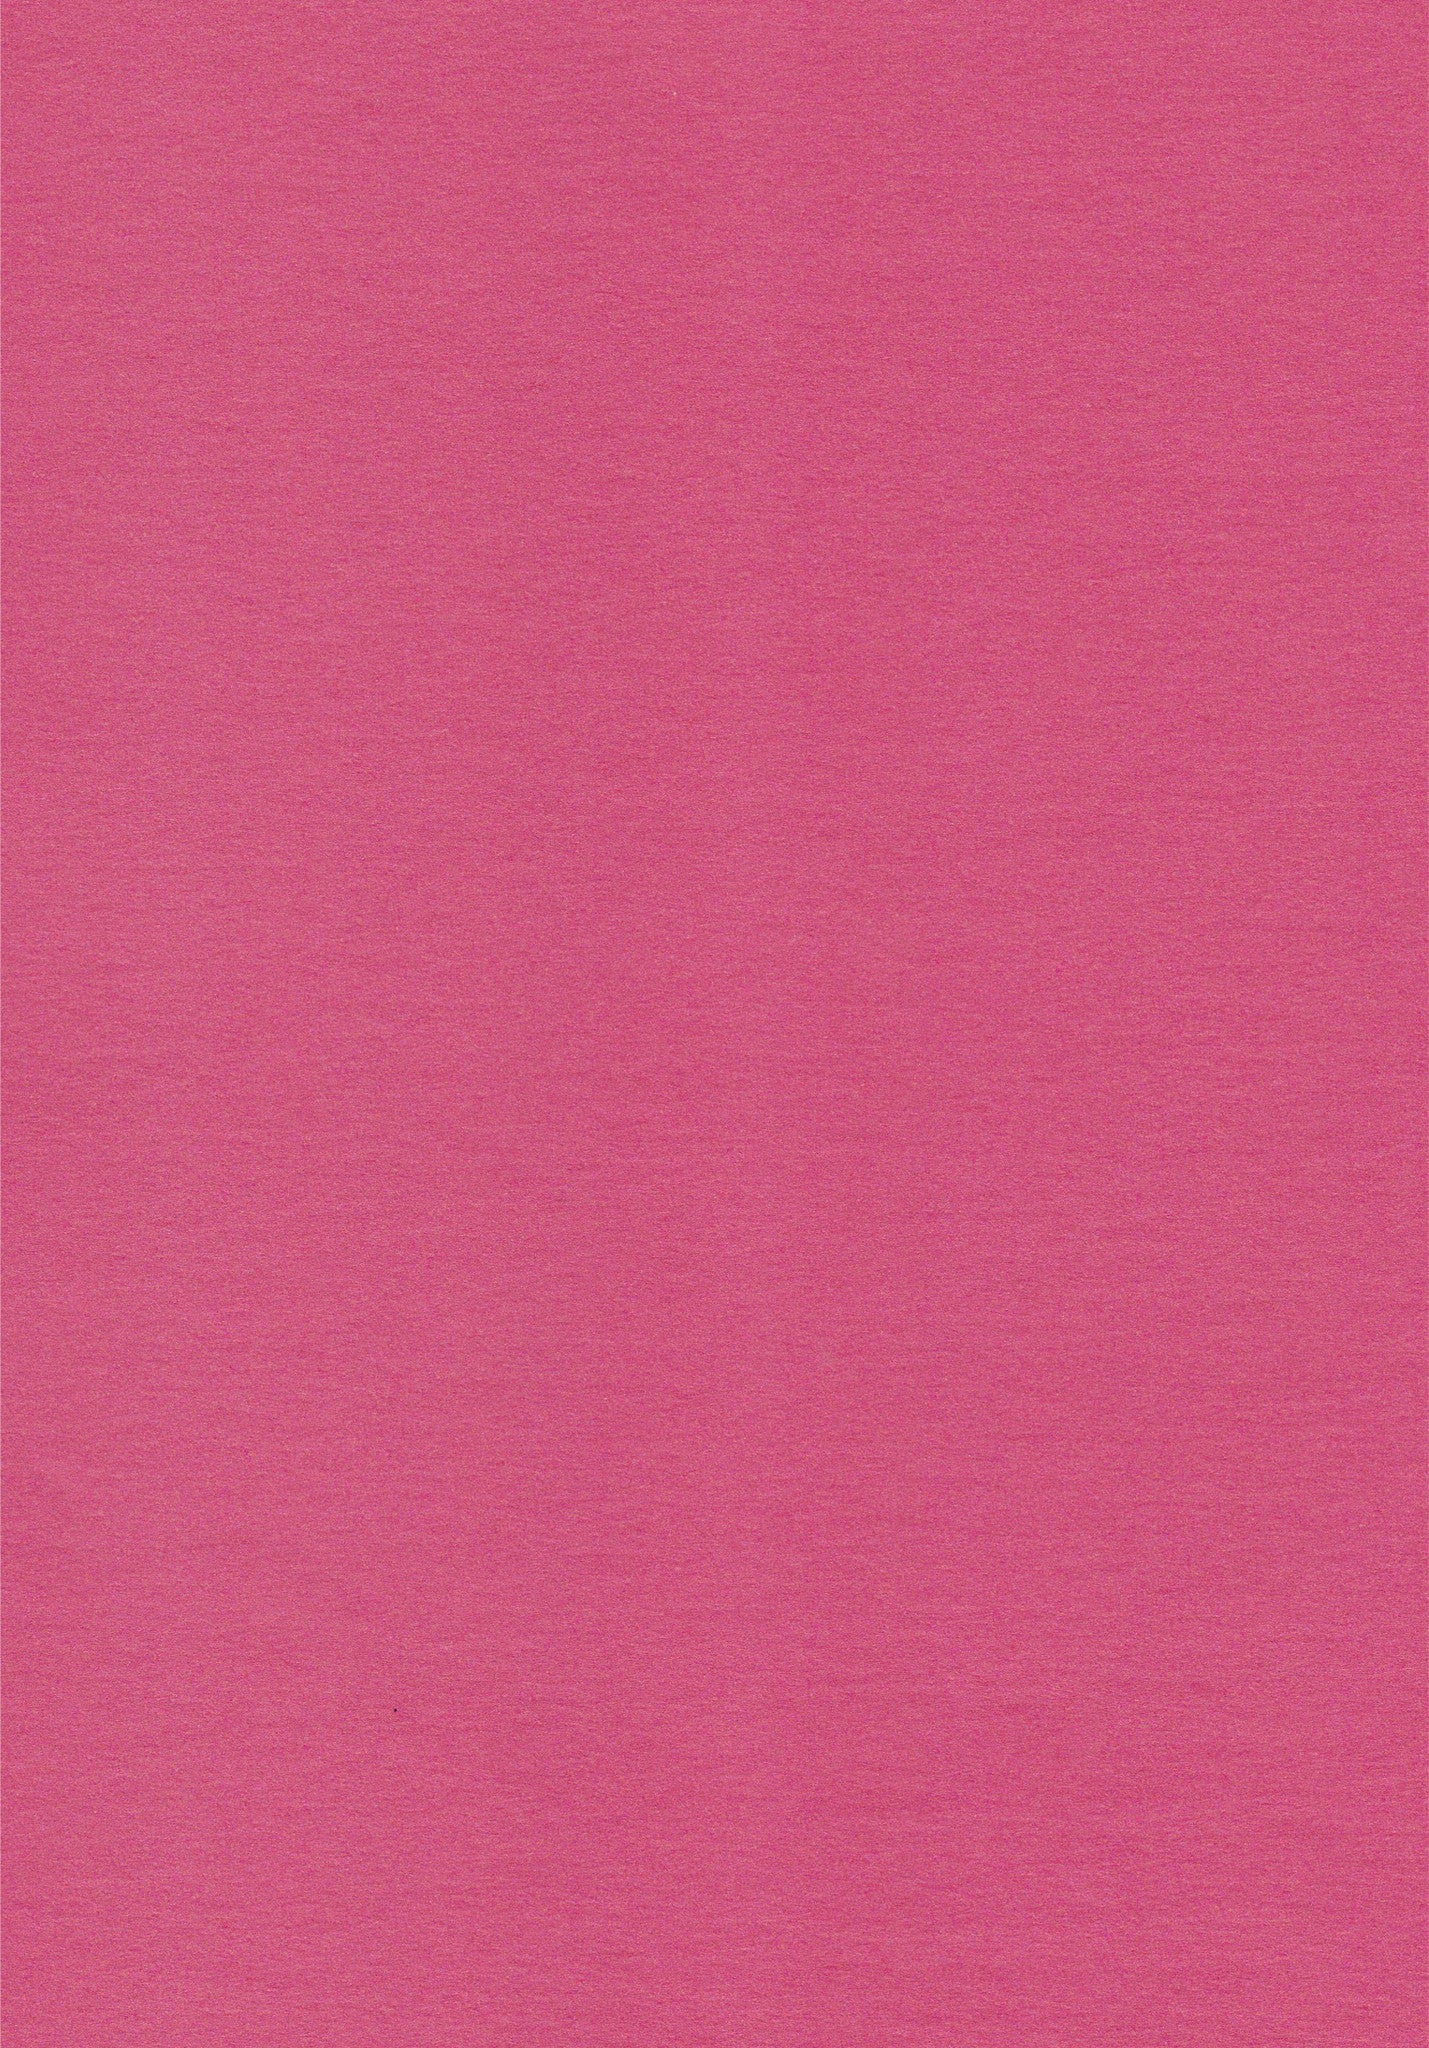
Bullfinch Pink A4 Card
$0.40 $0.70
A vibrant hot pink 220gsm card with a smooth finish. This acid free card is...


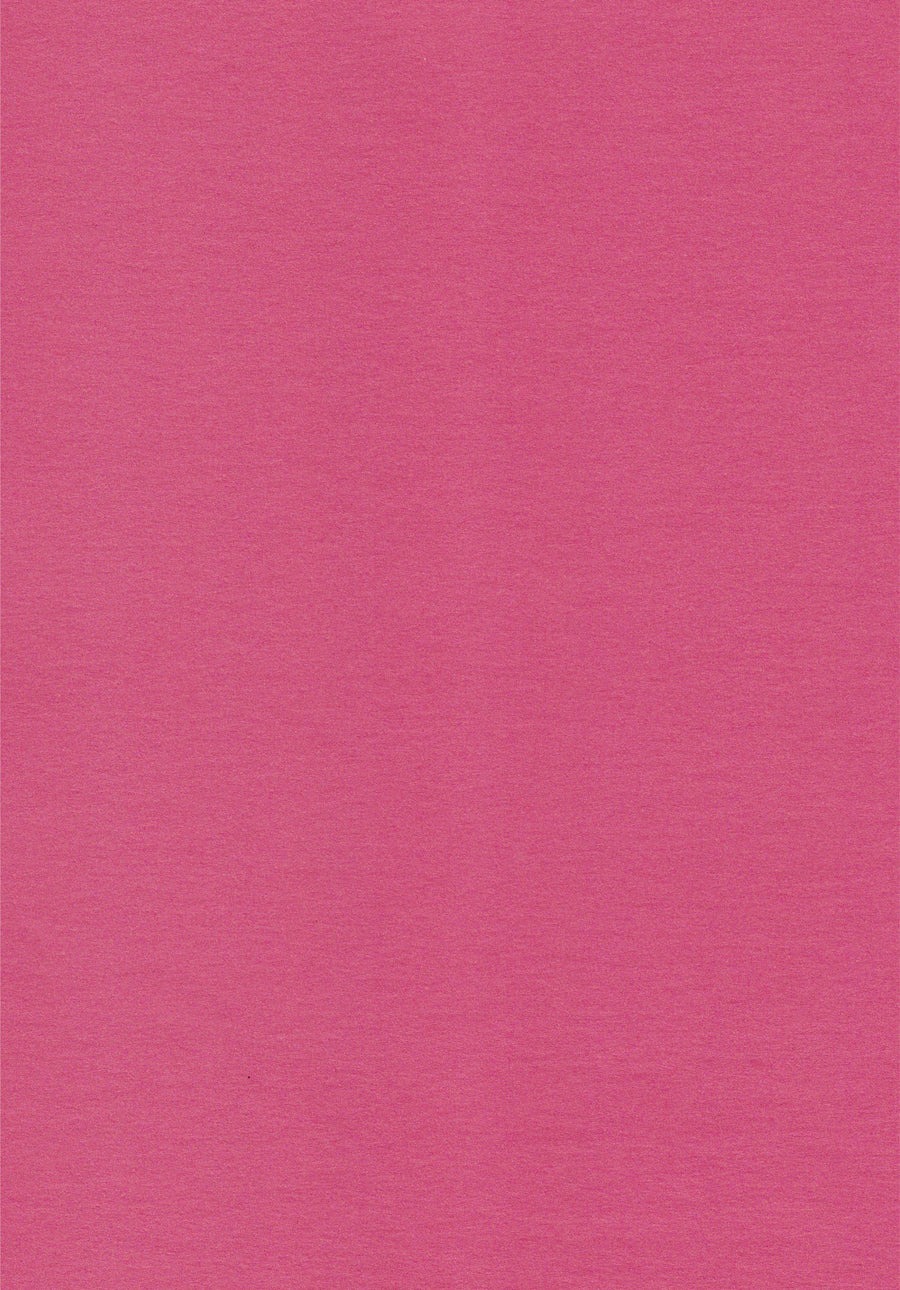
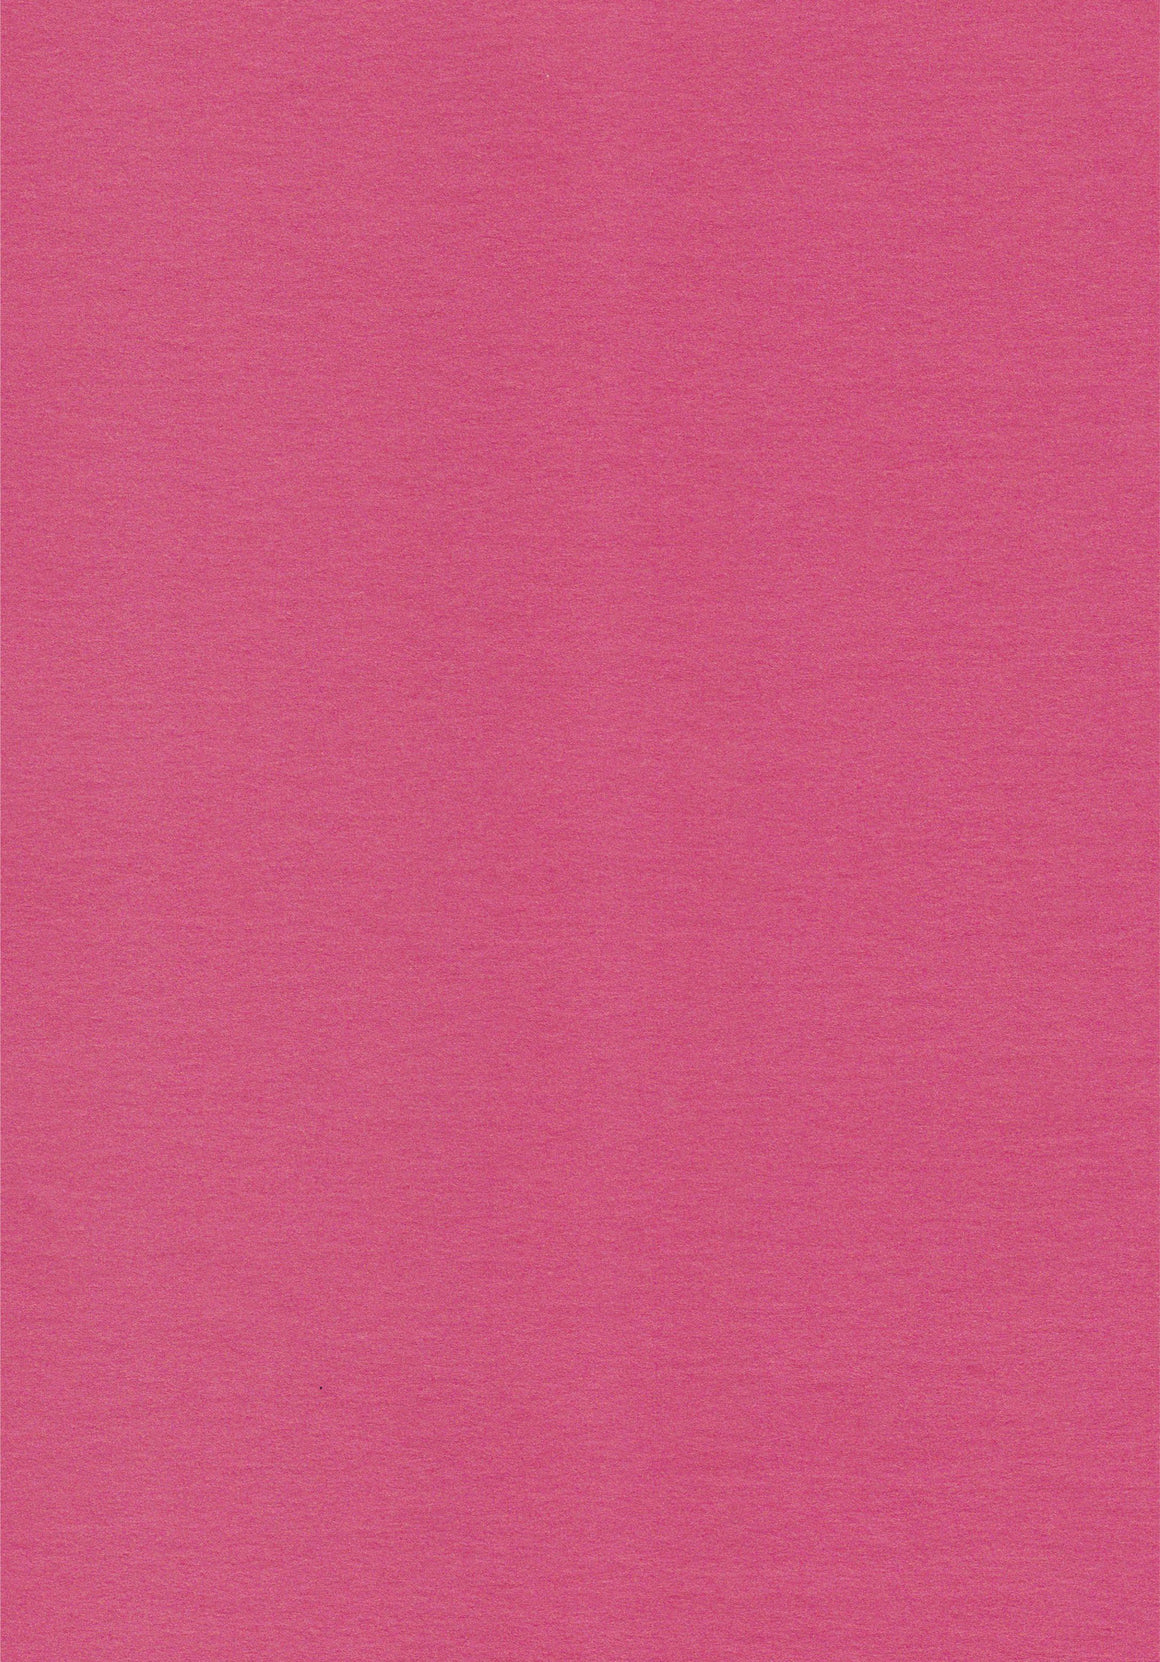
Bullfinch Pink A4 Paper
$0.35
A vibrant hot pink 100gsm paper with a smooth finish. This acid free paper is...


Burgundy 130 x 190mm Envelope
$0.45 $0.65
Burgundy non standard envelopes are made from a lamp black 120gsm smooth matte paper-stock. This...


Burgundy 150 x 150mm (peel and seal)
$0.35 $0.70
Burgundy envelopes are made from a premium 120gsm smooth matte burgundy colour paper. This wallet...


Burgundy C6 Envelope
Sold Out
Burgundy C6 envelopes are made from a 120gsm, smooth matte paper stock. This banker style...


